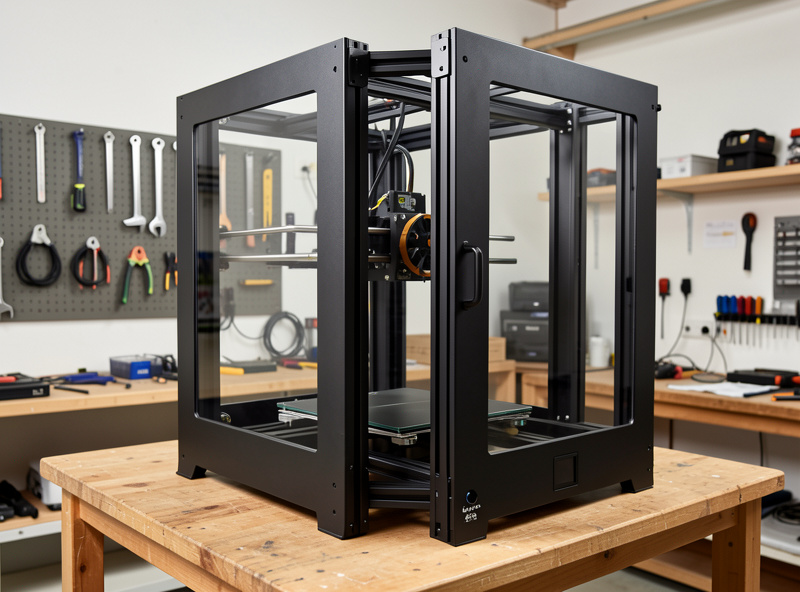
A large format 3D printer is any machine with a build volume big enough to print parts most desktop printers can only make in pieces, roughly a 300 mm bed and up, climbing past 400 mm and 500 mm of height on the consumer end and into meter-class territory on the industrial side. Going big is not just a bigger version of the printer you already run. Every problem you have now scales with the bed.
I run a bench of current-gen machines side by side, and the thing that surprised me most when I started printing genuinely large parts was how many habits I had to unlearn. A first layer that is trivial on a 220 mm Prusa bed becomes a real fight across 420 mm. A 4-hour print becomes a 40-hour print that fails at hour 31. This guide is the map I wish I had: how the formats actually differ, where each one earns its keep, and the total cost nobody puts in the spec sheet.
What Counts as Large Format (and What Does Not)
There is no certification body handing out the “large format” label, so marketing slaps it on anything with a tall Z. In practice, on my bench I draw the line at a 300 mm bed in at least one axis. Below that you are in standard-desktop territory, where a 256 mm Bambu or a 220 mm Prusa already covers the vast majority of functional parts. From 300 mm to about 500 mm is the consumer large-format band: Kobra Max-class bedslingers, the K1 Max-class CoreXY machines, the tall delta printers. Beyond that you are into prosumer and industrial gear that costs more than a used car.
The reason the threshold matters is that the failure modes change, not just the dimensions. A 235 mm gantry stays stiff. A 500 mm gantry sags under its own weight unless the frame is engineered for it. The heated bed that reaches temperature in two minutes at 220 mm can take eight to warm a 420 mm plate evenly, and the corners always lag the center. Once you cross 300 mm, you are buying into a different class of problem, which is exactly why I split this whole topic into its own cluster rather than tacking it onto the general buyers guide.
The Real Problems That Scale With Bed Size
The single biggest reason large prints fail is warping, and it gets worse with every millimeter of bed. A bigger footprint means more cumulative shrinkage pulling the corners up off the plate, and more surface area for an uneven enclosure temperature to create internal stress. On a 220 mm bed I can run PETG with a brim and forget about it. On a 400 mm bed the same part lifts a corner unless I control the chamber, which is why I treat enclosure as non-negotiable at scale and broke it out into its own enclosure requirements guide.

Then there is time. Print time scales roughly with volume, so a part that is twice as tall and twice as wide is not twice the print, it is closer to eight times. I have a network rack panel that takes 14 hours and a planter trough that runs past two full days. At those durations, reliability stops being a nice-to-have. A machine that fails one print in twenty is fine for keychains and miserable for 40-hour runs, because the part that fails is the one you waited two days for. This is the total-cost argument I keep coming back to: the cheapest large printer is rarely the cheapest to actually own.
First-layer adhesion is the third tax. The bigger the plate, the harder it is to keep it flat and level across the whole surface, and the more a 0.1 mm tilt at one corner turns into a detached print. Auto-leveling with a dense mesh, a properly trammed bed, and a Z-offset I trust are mandatory, not optional, once the bed gets big. I lean hard on mesh bed leveling and a clean PEI surface, and I still run a purge line the full width so I can watch the first layer land before I commit to a 30-hour job.
Four Ways to Go Big: FDM, Belt, Sectioning, and Resin
“I need to print something large” has four real answers, and picking the wrong one wastes either money or weeks. Large-format FDM gives you a big single-piece part in one machine. A belt printer trades a tall Z for an effectively unlimited length on a conveyor. Sectioning lets you print oversized parts on the printer you already own and bond them. Large-format resin is its own world for big high-detail models. Here is how they stack up on the dimensions that actually decide the choice.
| Approach | Best for | Max practical size | Rough entry cost | Main drawback |
|---|---|---|---|---|
| Large-format FDM | Single-piece functional parts, big fixtures | ~500 mm cube (consumer) | $400–$900 | Warping, long prints, big failures |
| Belt printer | Very long parts, batch runs, repeat parts | Unlimited length, limited cross-section | $600–$1,200 | 45° layer angle, niche slicing |
| Print in sections | Oversized parts on a normal printer | Limited only by your patience | $0 (use what you own) | Visible seams, bonding, alignment work |
| Large-format resin (MSLA) | Big high-detail models, smooth surfaces | ~300 mm class screens | $500–$1,500 | Brittle parts, mess, ventilation, cost |
The trap most people fall into is assuming bigger FDM is always the answer. Half the time the smarter move is to print the part in sections on a machine you already trust and bond it, especially for one-off projects where buying a 420 mm printer makes no sense. I walk through the head-to-head trade-offs in much more depth in the large format comparison, and the belt question gets its own deep dive in belt printer vs standard 3D printer.
Choosing a Large Format FDM Machine
For consumer large-format FDM the first fork is motion system: bedslinger or CoreXY. A bedslinger moves the bed back and forth on the Y axis, which is fine at 220 mm but turns into a problem at 420 mm, because you are now whipping a heavy, tall, half-printed part forward and backward at speed. Inertia at that scale causes ringing and, on the worst parts, layer shifts. CoreXY keeps the bed moving only in Z and flies the lightweight toolhead in X and Y, which is why the better large machines I have run are CoreXY. The trade is price and complexity.
The second fork is enclosure. If you are printing PLA or PETG decor, an open bedslinger is fine. The moment you want ABS, ASA, polycarbonate, or any carbon-fiber blend at this scale, you need a heated, stable chamber, because those materials warp violently across a big footprint without it. I cover the material side in the carbon fiber filament guide and the polycarbonate guide, but the short version is that material choice and bed size together decide whether you can get away with an open frame. My honest advice for most people buying their first big machine is in the dedicated best large bed 3D printer roundup, broken down by what you actually intend to print.
The third fork, the one nobody enjoys, is reliability and parts support. A 40-hour print on a machine that randomly clogs is a machine you will come to hate. This is where my reliability benchmark matters even though the MK4S is not a large-format machine: it sets the bar I judge everything against. A big printer that needs babysitting every print is not saving you time, it is moving the work from your hands to your nerves. For a deeper machine-by-machine breakdown of the large options against each other, the comparison guide is the place to go.
Belt Printers: Infinite Z and Where It Actually Helps
A belt printer replaces the fixed bed with a moving conveyor and tilts the toolhead, usually to 45 degrees, so the part rolls off the back as it prints. That gives you one axis with no practical length limit: you can print a two-meter part, or a hundred copies of a small part in one queue that ejects each one and starts the next. It is a genuinely different tool, not just a tall FDM printer, and that is the part most buyers miss.
Where it shines is long parts and unattended batch runs. If you print the same bracket fifty times, a belt machine can chain them into a single hands-off job. If you need a one-meter strip of trim, nothing else on a hobby budget touches it. Where it struggles is everything tall and chunky: the 45-degree layer orientation means stair-stepping on top surfaces, supports behave differently, and the slicing workflow is its own learning curve outside the mainstream tools I cover in the slicer comparison. For anyone weighing a belt machine against just buying a bigger conventional printer, I put the full argument in belt printer vs standard 3D printer, and the batch-production angle connects directly to setting up a small print farm.
The Total Cost of Going Big
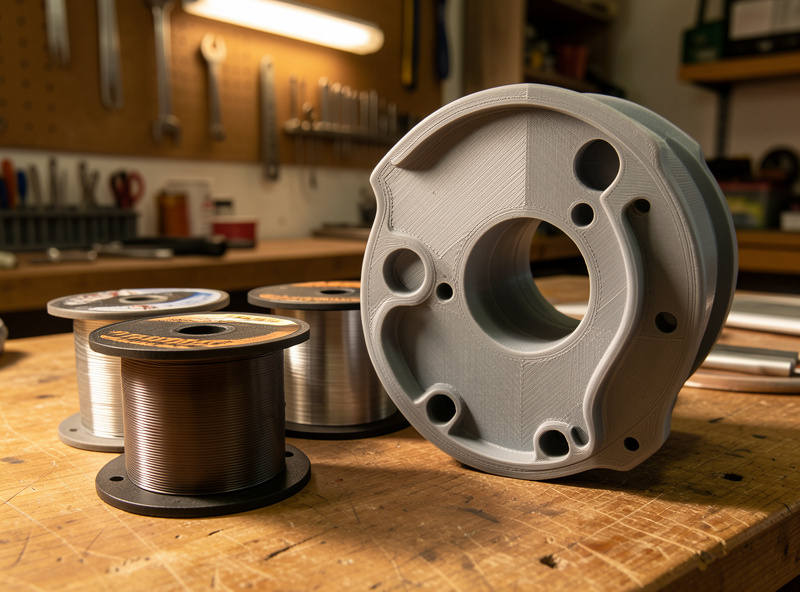
Spec sheets quote the printer price and stop there. The real cost of large-format printing is in the consumables and the failures. A single tall functional part can swallow 800 grams to a kilogram of filament, so a roll that lasts me a month of normal printing disappears in two big jobs. At engineering-grade material prices, the filament cost of one failed 40-hour print can exceed what you would pay for a small printer outright.
Power is the quiet line item. A large heated bed and a hot chamber draw real wattage, and a two-day print is two days of that draw. It is not ruinous, but it is not free, and it adds up across a year of big jobs. Then there is the failure tax I keep hammering: the bigger and longer the print, the more material, time, and power you lose when it goes wrong, and the more it pays to spend up front on a machine that simply does not fail. I would rather run a higher-priced machine that finishes 19 of 20 big prints than a bargain machine that finishes 15 of 20. The cheaper printer is the more expensive printer once you count the scrap. This is the same total-cost lens I apply to every functional print decision.
My Large Format Workflow, Start to Finish
The settings that matter change at scale. I slow the first layer down and drop the first-layer speed further than I would on a small bed, because adhesion across a big plate is unforgiving and a detached corner at hour two ruins the whole run. I run a wider brim, often 8 mm to 10 mm, on anything with sharp corners in a warp-prone material. I lean on orientation and geometry to keep the footprint stable and the tall axis printing into the chamber heat rather than fighting it.
In the slicer I check estimated material against what is actually on the spool before I start, because running out at hour 30 of a 40-hour print is a special kind of pain that a spool runout sensor only partly saves you from. For multi-day parts I run a small test of the first 20 layers, confirm the first layer and corners are locked down, then commit. And for anything that pushes past the practical limit of even a big bed, I stop fighting the machine and split the model into sections, print each on a known-good machine, and bond them, which is often faster and far more reliable than a single heroic print. The same logic feeds the prototype-then-manufacture workflow when a part needs to scale beyond one-offs.
Whichever route you pick, treat the build chamber as part of the machine, not an accessory. A controlled environment is the difference between a big printer that works and a big printer that gathers dust, which is why the enclosure requirements and broader safety and air quality picture matter more at scale than they ever did on a small open printer. And if your “large” need is really about detail rather than raw functional strength, the large resin printer options deserve a look before you commit to a meter-class FDM machine.
Materials Change the Math at Scale
Material choice matters more on a big bed than on a small one, because the forces that warp a part grow with its footprint. PLA is the easy answer: it barely shrinks, prints cool, and a big PLA part on an open machine is genuinely low-drama. The catch is that PLA creeps and softens in heat, so for anything structural that lives in a warm car, a sunny window, or near machinery, it is the wrong call no matter how easy it prints.
PETG is my default for large functional parts. It is tougher than PLA, handles heat and UV far better, and bonds layer-to-layer well, which matters when a part is load-bearing. It does want a controlled first layer and a touch more patience with stringing, a fight I documented in the PETG stringing sequence. ABS and ASA give you the best heat and impact resistance, but at large size they are the warping champions and demand a hot, sealed chamber, full stop. Carbon-fiber blends like PETG-CF and PA-CF add stiffness and dimensional stability, which is exactly why people reach for them on big engineering parts, but they chew through hardened nozzles and still need the same environmental control. The honest takeaway is that the bigger the part, the more your material and your chamber have to agree with each other, and the more a mismatch shows up as a lifted corner at hour two.
Who Should Skip Large Format Entirely
Not everyone asking about large format actually needs it, and the most useful thing I can do is talk some people out of a purchase they will regret. If your “large” parts are really a handful of one-off projects a year, you do not need a 420 mm machine taking up half a bench and burning filament on multi-day prints. You need a reliable mid-size printer and a willingness to split the part and bond it, which gets you the result for the cost of some glue and an afternoon.
If what you want is detail rather than size, large FDM is the wrong tool entirely and a resin printer is the answer, with the trade-offs I lay out in the large resin options guide. And if you are printing the same medium part in volume, a belt machine or a batch-production setup beats a single huge bed. Large format earns its place when you genuinely, repeatedly need big single-piece functional parts: enclosures, panels, jigs, planters, tooling. For everything else, the big machine is a tax you pay in space, time, and scrap. I would rather see someone buy a printer they will run every week than a giant one they fire up twice a year and fight every time.
Frequently Asked Questions
What size bed counts as a large format 3D printer?
In practice, a large format printer has a build volume of roughly 300mm or more in at least one axis, climbing past 400 to 500mm on the consumer end. Below 300mm you are in standard desktop territory, where most functional parts already fit.
Is a large format FDM printer harder to use than a normal one?
Yes, meaningfully. Warping, first-layer adhesion across a big plate, gantry stiffness, and multi-day print reliability all get harder as the bed grows. A habit that is trivial at 220mm can fail a print at 420mm, so machine quality and chamber control matter far more.
Should I buy a large printer or print my part in sections?
For one-off oversized parts, sectioning on a printer you already trust is often cheaper and more reliable than buying a 400mm machine. Buy large format only if you regularly need big single-piece parts and can justify the warping and failure risk that comes with scale.
What is a belt printer good for?
A belt printer gives you one axis with effectively unlimited length and can chain repeat parts into one unattended job. It excels at very long parts and batch runs, but the 45-degree layer angle causes stair-stepping on top surfaces and uses a niche slicing workflow.
Do I need an enclosure for a large format printer?
For PLA and PETG, no. For ABS, ASA, polycarbonate, or carbon-fiber blends at large size, a heated stable chamber is effectively mandatory, because those materials warp severely across a big footprint without controlled temperature.
Why do large prints fail more often than small ones?
Bigger footprints mean more cumulative warping force, more surface for uneven temperature to stress, and print times measured in days. A failure rate that is acceptable for short prints becomes painful when the failed part represents 40 hours and a kilogram of filament.