Polycarbonate is the toughest common material you can run on a desktop FDM printer, and it is also the one most likely to humble a printer that handles everything else. A well-printed PC part stays rigid in a hot car where PLA would sag and shrugs off impacts that crack ABS, thanks to a glass-transition temperature up around 145°C. The catch is that polycarbonate wants a hot nozzle, a hot bed, an enclosure, and a dry spool — get any of those wrong and it warps off the plate before the print finishes.
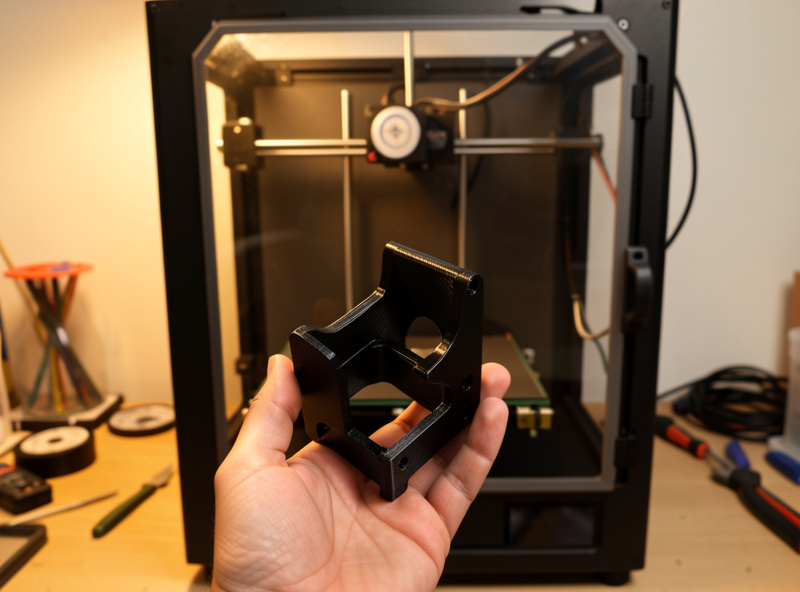
This is the polycarbonate deep-dive from the specialty filament guide. I run PC on my enclosed machines — usually the Bambu P1S with the chamber buttoned right up — for parts that have to survive heat or repeated impact, and over a lot of warped first attempts I have worked out what actually matters. Everything here assumes you have already decided PC is the right call; if you are still mapping the families, start with the hub and come back.
Why Reach for Polycarbonate at All
Polycarbonate earns its place on two numbers: heat resistance and impact strength. Its glass-transition point sits far above anything PLA, PETG, or even ABS can claim, so PC parts hold their shape near heat sources, in enclosed electronics, or in direct summer sun through a windshield. Just as important, polycarbonate is genuinely tough rather than merely strong — it bends and absorbs energy instead of snapping, which is why it shows up in riot shields and machine guards in its molded form.
On my bench that translates to specific jobs: brackets that sit near the heated bed of another printer, housings for parts that get warm, and fixtures that take repeated knocks. If a part only needs rigidity at room temperature, PETG or a carbon-fiber blend is easier and cheaper. I reach for polycarbonate when the failure mode I am designing against is heat or impact, because nothing else in the common-filament shelf handles both as well.
The Hardware Polycarbonate Demands
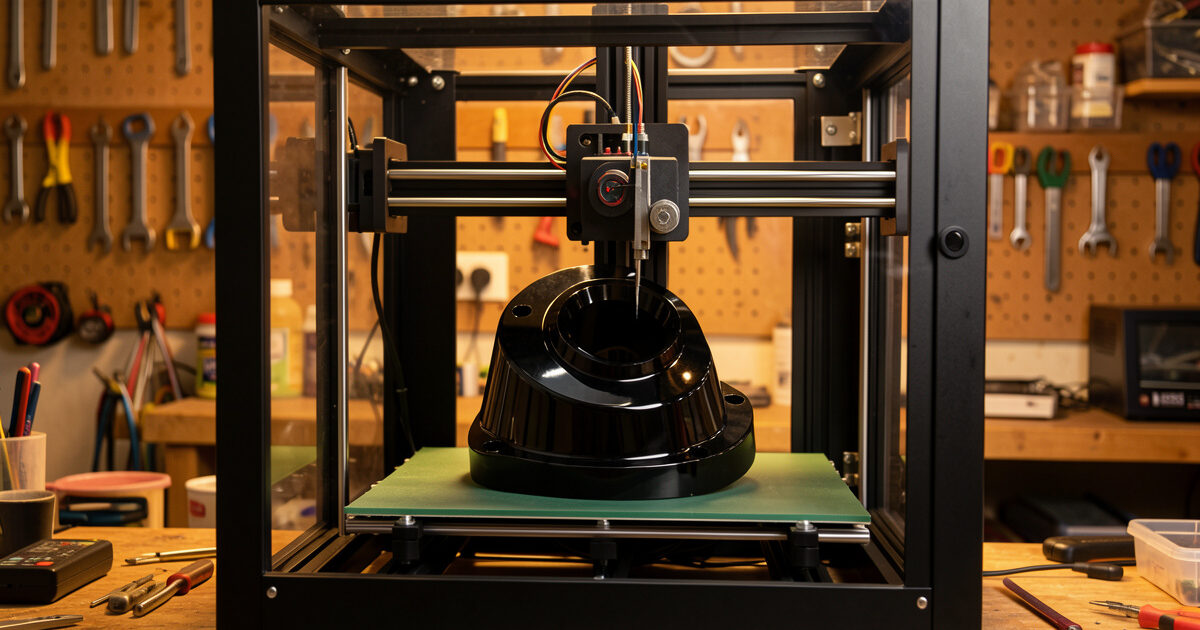
Polycarbonate prints hot — I run mine in the 260 to 290°C range depending on the brand — which immediately rules out any printer with a PTFE-lined hotend, because the liner degrades and releases fumes above roughly 240°C. You need an all-metal hotend, full stop. The bed runs hot too, typically 100 to 120°C, so a printer that tops out at 100°C is right at the edge. Pure PC does not need a hardened nozzle since it is not abrasive, but the popular PC-CF blends absolutely do — a hardened steel nozzle is mandatory for those.
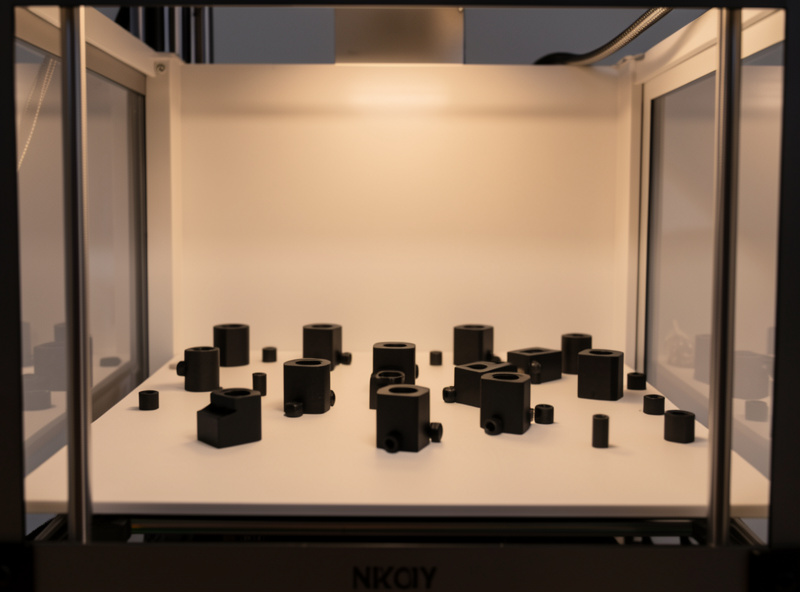
The non-negotiable is the enclosure. Polycarbonate shrinks significantly as it cools, and in open air the corners contract faster than the center and peel off the bed. An enclosure traps heat and keeps the whole part cooling evenly, which is the single biggest factor in whether a large PC part survives. My enclosure guide covers the options; if you only print PC occasionally, even a passive enclosure that holds chamber heat will transform your results. As an Amazon Associate I earn from qualifying purchases.
Beating the Warp
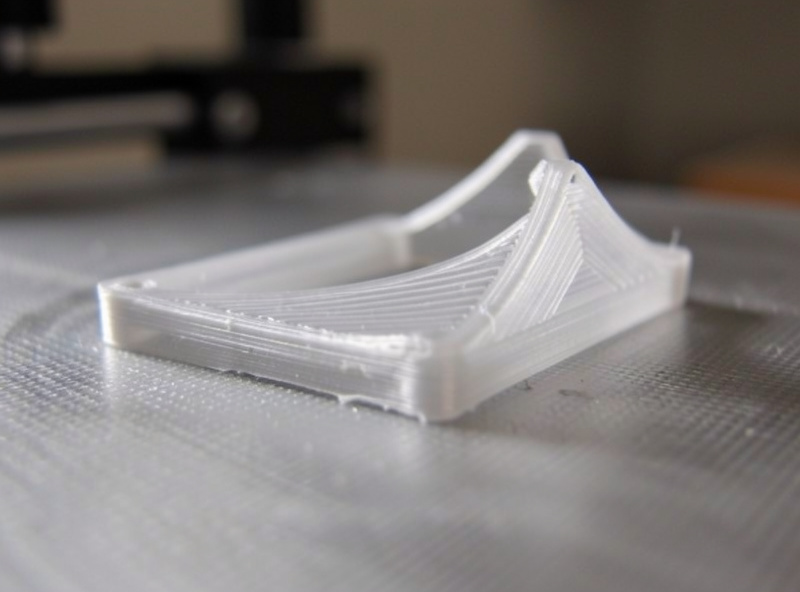
Warping is the polycarbonate problem, and it is beaten with heat and adhesion rather than luck. Start with the chamber: a stable, warm enclosure is doing most of the work. Then the bed surface. Polycarbonate bonds so aggressively to bare smooth PEI that it can tear the coating off, so I print it on a sheet of garolite (Whitman) or a textured plate, often with a thin layer of glue stick acting as a release agent that paradoxically also improves adhesion evenness. A wide brim on anything tall or small-footprint gives the corners more grip to fight the shrinkage.
Cooling is the other half. Where PLA wants full part-cooling fan, polycarbonate wants almost none — aggressive cooling causes the layers to contract unevenly and split. I keep the fan off or very low for PC, accept that bridges and overhangs will look rougher, and design around it. Degrease the plate with isopropyl alcohol before every print, because finger oils that PLA ignores will seed a warped corner in PC. Get the chamber hot, the plate clean, and the fan off, and most of the warping disappears.
Polycarbonate Is Thirsty: Drying Matters
Polycarbonate is strongly hygroscopic — it pulls moisture from the air fast, and wet PC is unmistakable: it prints with loud popping as trapped water flashes to steam, the surface foams and goes hazy, and layer strength collapses. I have ruined a PC part simply by leaving the spool out overnight in a humid workshop. The toughness you bought polycarbonate for evaporates if the filament is wet.
The fix is a dryer and a sealed box. I dry PC before any serious print and keep it in a sealed container with indicating desiccant between uses; a dedicated filament dryer that holds the spool warm during the print is even better for long jobs. My full process is in the filament moisture guide, with safe temperatures in the drying temperature chart. Treat drying as the first step of a PC print, not an optional extra.
Starting Settings and the Easier Blends
Here is where I start a new spool of polycarbonate or one of its blends. Always confirm against the manufacturer’s range and fine-tune with a temperature tower, because brands vary more than the category name suggests.
| Material | Nozzle | Bed | Enclosure | Difficulty | Note |
|---|---|---|---|---|---|
| Pure PC | 270-290°C | 110-120°C | Required | Hard | Maximum heat/impact |
| PC-ABS blend | 250-270°C | 100-110°C | Required | Medium | Easier, less warp |
| PC-CF | 260-290°C | 100-120°C | Required | Medium-Hard | Stiffer, needs hardened nozzle |
If pure polycarbonate is fighting you, the blends are the smart move. PC-ABS keeps most of the heat resistance with markedly less warping, and it is where I send people for their first PC-family print. PC-CF adds carbon fiber for stiffness and dimensional stability, at the cost of needing a hardened nozzle. For many functional parts a blend gives you 90% of the benefit with half the headache, and I run them far more often than pure PC.
Designing Parts to Print Well in PC
A lot of polycarbonate failures are designed in before the slicer ever opens. Because PC shrinks as it cools, large flat bottom surfaces are warp magnets — the bigger the footprint, the more contraction force tries to peel it up. Where I can, I break up big flat bases, add a chamfer around the bottom edge so there is no sharp corner to lift, and lean on a generous brim rather than fighting physics. Tall thin features are also riskier in PC than in PLA because each layer has less time to bond before the next arrives in a hot chamber.
Fillets are your friend. Sharp internal corners concentrate stress, and a tough material like polycarbonate rewards rounded transitions at exactly the points where a part would otherwise crack under impact. For threaded holes I print bosses with extra wall thickness or design for a heat-set insert rather than tapping the plastic directly, because PC’s toughness makes self-tapped threads prone to splitting. Think about the load path, round the corners that take it, and orient the part so the force runs along the layers rather than across them — the same anisotropy rule that governs every functional print applies doubly when the whole reason you chose PC was strength.
What I Actually Print in Polycarbonate
The functional-parts test is simple: would this part see heat or hard impact in service? My polycarbonate jobs are brackets and standoffs that sit near warm electronics, a few tool fixtures in the shop that take repeated knocks, and mounts that live somewhere a PLA version would slowly creep and sag. None of them are display pieces — PC is overkill for anything decorative, and its matte-to-glossy finish is unremarkable next to a well-printed PLA.
If your part stays at room temperature and just needs to be stiff, a carbon-fiber blend or even good PETG will serve you better and print more easily. Save polycarbonate for the parts where heat or impact is the real enemy. Used that way, it is one of the most rewarding materials on the shelf — and once you have the enclosure, the dry box, and the warp routine sorted, it stops being intimidating and becomes just another tool for the right job. The nylon guide covers the other engineering heavyweight, and the specialty filament hub ties the families together.
Frequently Asked Questions
What temperature does polycarbonate print at?
Pure polycarbonate prints in the 260 to 290 degrees Celsius range with a bed at 100 to 120 degrees Celsius. This requires an all-metal hotend, because PTFE-lined hotends degrade above about 240 degrees. PC-ABS blends print a little cooler and are more forgiving.
Can I print polycarbonate without an enclosure?
Not reliably for anything but the smallest parts. Polycarbonate shrinks as it cools and warps badly in open air. An enclosure traps heat and keeps the part cooling evenly, which is the single biggest factor in a successful PC print. Even a passive enclosure helps significantly.
Why is my polycarbonate print warping?
Warping in PC almost always comes from uneven cooling. The fixes are a hot, stable enclosure, a hotter bed, a wide brim, part-cooling fan turned off or very low, and a clean degreased plate. Pure PC also benefits from a garolite surface with a glue-stick release layer.
Does polycarbonate need to be dried before printing?
Yes. Polycarbonate is strongly hygroscopic and absorbs moisture from the air within hours. Wet PC prints with loud popping, a foamy hazy surface, and badly reduced layer strength. Dry it before serious prints and store it sealed with indicating desiccant.
Is PC-ABS easier to print than pure polycarbonate?
Yes. PC-ABS blends keep most of polycarbonate’s heat resistance but shrink and warp much less, making them far more forgiving on the bed. They are the best entry point into the PC family and where I send anyone printing their first polycarbonate part.
Is polycarbonate stronger than nylon?
They are strong in different ways. Polycarbonate wins on heat resistance and rigid impact strength, while nylon wins on fatigue resistance and toughness in thin flexing parts like living hinges. Choose PC for heat and hard impact, nylon for repeated flexing and wear.