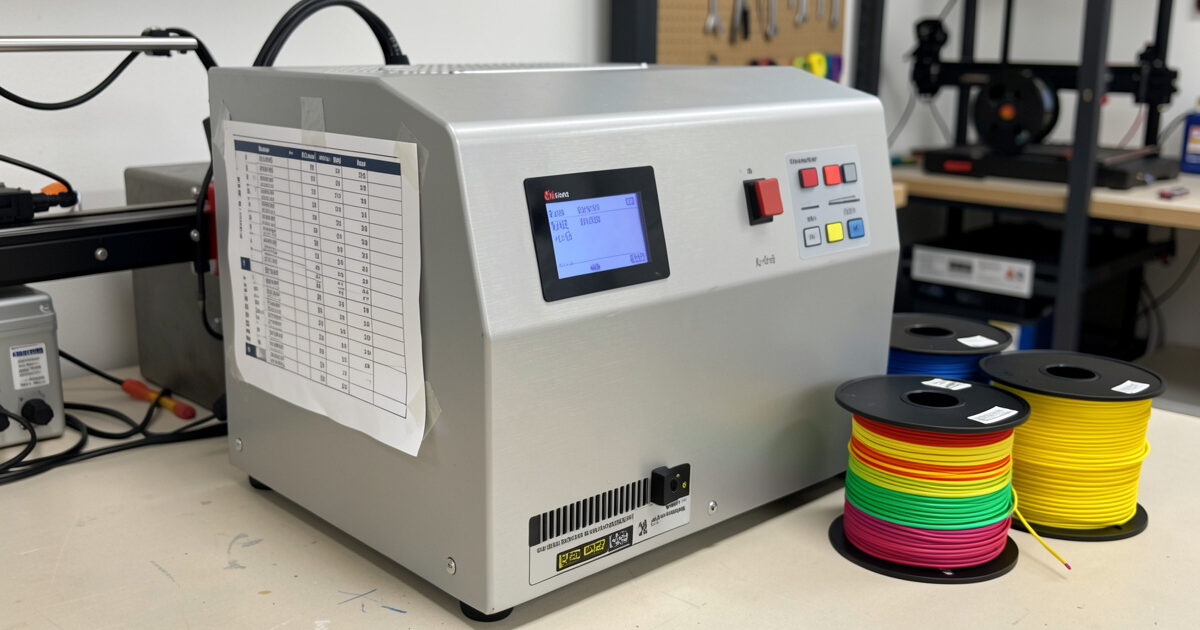
This is the reference I keep taped to the side of my dry box, because the single most dangerous moment in filament drying is picking the temperature. Too low and you don’t dry the spool; too high and you soften it, fuse the wraps, and turn a recoverable damp spool into scrap. Every material has a safe drying window, and the windows are different enough that a number that’s perfect for nylon will ruin PLA. Below is the per-material drying temperature chart I work from, plus the reasoning behind it, so you understand why the numbers are what they are rather than just copying them blind.
The chart
These are widely-accepted starting ranges, consistent with what filament manufacturers publish and what holds up on my own bench. Treat them as starting points and always stay on the conservative side, especially with a dryer whose real temperature you haven’t verified.
| Material | Typical drying temp | Typical time | Notes |
|---|---|---|---|
| PLA | ~40–50°C (104–122°F) | 4–6 hours | Lowest softening point — easiest to fuse. Stay low. |
| PETG | ~60–65°C (140–149°F) | 4–6 hours | Forgiving; common workshop material. |
| ABS / ASA | ~65–70°C (149–158°F) | 4–6 hours | Dry before functional/enclosed prints. |
| TPU (flexible) | ~50–60°C (122–140°F) | 4–6 hours | Very thirsty; dry every time. |
| Nylon (PA) | ~70–80°C (158–176°F) | 8–12+ hours | Drinks fast; long dry; print from heat. |
| PA-CF / PET-CF | ~70–80°C (158–176°F) | 8–12+ hours | Same as nylon; non-negotiable drying. |
| PC (polycarbonate) | ~70–80°C (158–176°F) | 6–12 hours | Very moisture-sensitive; high dry temp. |
| PVA / HIPS (supports) | ~45–55°C (113–131°F) | 4–6 hours | PVA is extremely hygroscopic. |
If you’re not yet sure whether a given spool even needs drying, the filament moisture guide covers which materials punish skipped drying and which tolerate it — fresh PLA usually doesn’t need a dry at all, while nylon and CF blends always do.
Why PLA is the dangerous one
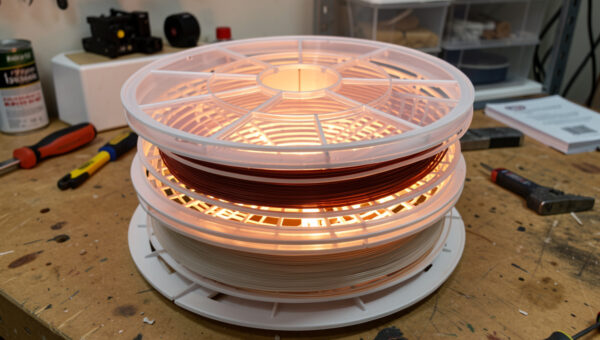
Notice that PLA sits at the bottom of the temperature range, not the top, even though people instinctively crank the heat to “dry it faster.” PLA has the lowest glass transition temperature of the common materials — the point where it starts to soften — and drying works best just below that softening point. Push a PLA spool to nylon temperatures and the wraps soften, sag, and fuse together on the spool, and a fused spool is scrap. This is the single most common way people destroy filament while trying to help it. With PLA specifically, when in doubt, go lower and dry longer. Never guess upward.
Why nylon, PC, and CF blends sit at the top
The engineering materials tolerate — and need — higher drying temperatures because their own glass transition and printing temperatures are much higher, so a 70–80°C dry is comfortably below where they’d soften. They also absorb moisture far faster and deeper than PLA, so they need both the higher temperature and the longer time to drive that deeply-diffused water back out. A two-hour dry that would handle a damp PETG spool won’t touch a nylon spool that’s been open for months — that one needs many hours at temperature. The moisture has to physically diffuse out of the polymer, and that’s slow.
Time matters as much as temperature
The chart gives time ranges for a reason: how long you dry depends on how wet the spool is and how thick the filament is, not just the material. A lightly damp spool dries quickly; a thoroughly soaked one of the same material takes much longer because the moisture has penetrated deeper. The temperature sets the ceiling of safety; the time gets the water out. Two reliable signals tell you when it’s actually done, far better than the clock: a hygrometer in the chamber dropping and staying low, and the audible popping at the nozzle stopping on a test print. For the full method behind running a dry cycle, my how to dry 3D printer filament guide walks through it step by step.
Verify your dryer’s real temperature
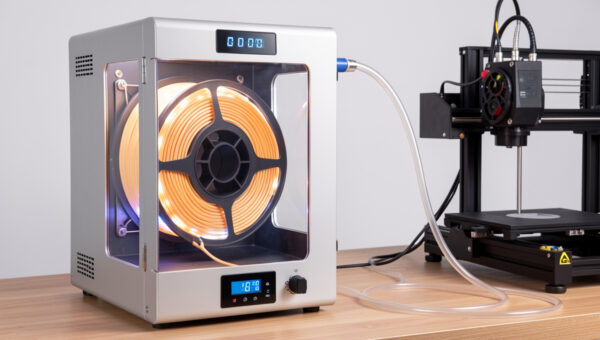
A chart is only as good as the dryer that executes it. Budget dryers and dehydrators routinely run hotter or cooler than their dials claim, and with PLA the margin for error is small. The first time I use any new drying device, I verify its actual chamber temperature with an independent probe before I trust it with a spool — a dryer that runs 15°C hot will fuse PLA at a “safe” dial setting. A dryer or dehydrator with genuine, accurate temperature control is worth the premium precisely because this chart depends on the number being real. A reliable filament dryer with accurate temperature control takes the guesswork out, and pairing it with a digital hygrometer closes the loop on knowing when a spool is truly dry.
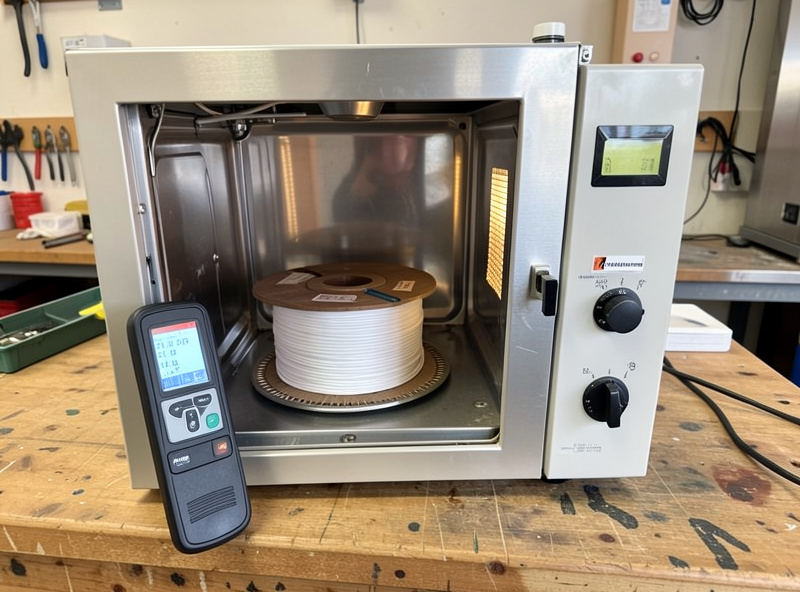
Drying in an oven: the temperatures get riskier
An oven can dry filament, but the temperature chart becomes far more dangerous there, and the reason is simple: home ovens are inaccurate and uneven. Most run hotter than their dial claims, cycle their elements on and off so the real temperature swings well above and below the setpoint, and have hot spots near the heating element. A dial set to “50°C” for PLA can easily spike to 70°C+ in spots — and that’s exactly the overshoot that fuses a spool. If you must use an oven, use a convection setting if you have one (the fan evens things out), put an independent oven thermometer inside to see the real temperature, set well below the chart’s number to leave headroom for the swing, and never walk away. For PLA in particular, I’d avoid the oven entirely — the margin is too thin against an appliance this imprecise. A dedicated dryer or dehydrator with real control is far safer for every material on the chart, and dramatically safer for the low-temperature ones.
Signs you got the temperature wrong
Two failure directions, each with its own tells:
- Too low (under-dried): the spool comes out and still pops at the nozzle, still strings, the hygrometer never really dropped. No harm done — just run another, longer cycle, or raise the temperature toward the top of the material’s safe range.
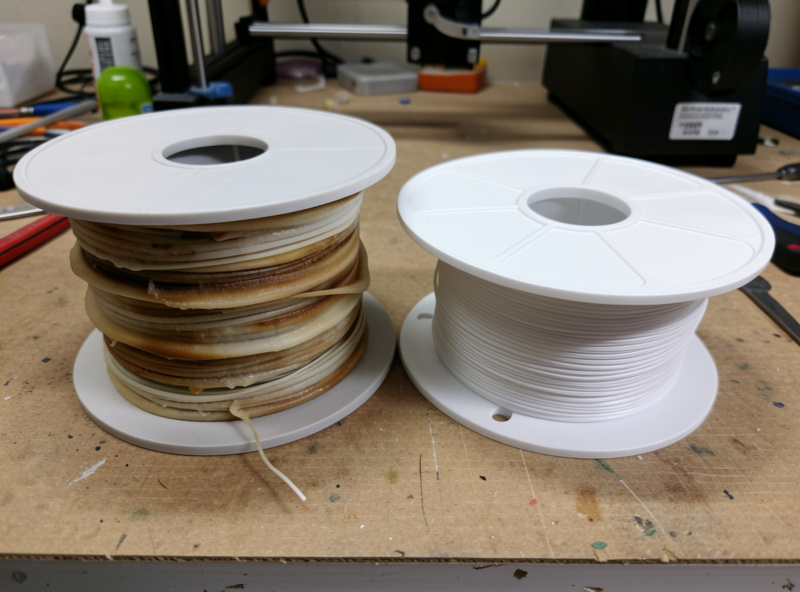
- Too high (over-dried/damaged): the wraps have softened and stuck together, the spool feels tacky or has visibly deformed, or the filament has gone brittle and snaps easily off the spool. This is the expensive failure. Soft, fused wraps mean you exceeded the softening point — the spool may be unusable, or at best the outer layers are scrap. Brittleness can also indicate the filament was annealed by too much heat. There’s no undo here, which is the whole reason the chart errs conservative.
How often do you re-dry?
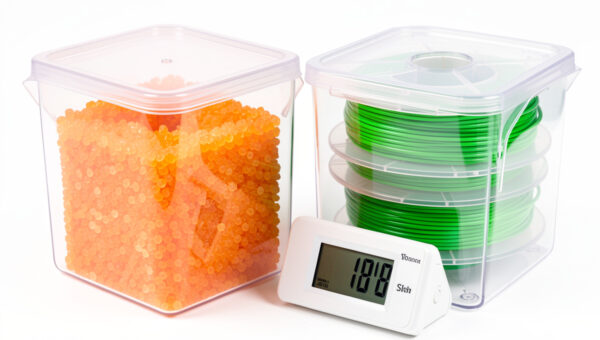
The chart tells you the temperature; it doesn’t tell you the frequency, and that depends entirely on storage. A spool dried and then dropped on an open shelf in a humid room might need re-drying within days if it’s a thirsty material. The same spool dried and sealed in a desiccant container can go months without needing another cycle. This is why I push storage so hard across this whole cluster: the best way to use this temperature chart is rarely. Dry a spool properly once, store it sealed with active desiccant, and you mostly stop needing to dry it. The materials that live in an always-on heated dry box — my nylon and CF blends — effectively never need a separate dry cycle because they never leave the dry environment. Drying is the cure; storage is the prevention, and prevention is cheaper.
A few practical rules that go with the chart
- When unsure, go lower. The cost of under-drying is running another cycle. The cost of over-drying PLA is a ruined spool. The asymmetry says go conservative.
- Dry, then store immediately. A spool starts re-absorbing the moment it leaves the dryer. Move it to sealed desiccant storage or a heated box, or you’ve wasted the cycle.
- Match the dryer to your thirstiest material. If you run nylon or PC, you need a dryer that reaches 70–80°C. A 50°C-max unit can’t dry those, no matter how long you run it.
- Specialty and filled filaments lean sensitive. Silk, matte, wood-fill, and glow PLAs often behave more like PETG for moisture — treat them with more care than plain PLA.
- The chart is a starting point, not gospel. Your specific filament’s manufacturer guidance, if they publish it, beats a generic chart. Use this when they don’t.
- Don’t over-dry on a schedule. Drying that a spool doesn’t need wastes energy and, repeated at the edge of the safe temperature, isn’t risk-free either. Dry on evidence — sound, surface, hygrometer — not on a calendar.
- Label your spools. A small note of when a spool was last dried and how it’s stored saves you re-drying needlessly or printing something you forgot was wet. Low-tech, but it closes the loop on a busy shelf.
None of this is complicated once the chart is in front of you and you’ve internalized the one rule that matters most: the temperature is a ceiling, not a target to chase. Respect the low end for the materials that soften easily, give the thirsty ones the heat and the hours they genuinely need, and let a hygrometer and a test print — not the clock or the dial — tell you when a spool is actually dry. Tape the chart up, verify your dryer once, and you’ll never fuse another spool.
Keep this chart somewhere you can see it at the dryer, respect the low end for PLA, give the engineering materials the time they need, and verify your dryer runs true. Do that and you’ll dry every material safely without ever fusing a spool. For keeping those dried spools dry afterward, see my filament storage humidity guide and the desiccant breakdown that goes with it.