The food dehydrator is the worst-kept secret in filament drying, and for good reason: it’s a heated, fan-circulated, multi-tray box that costs a fraction of a “purpose-built” filament dryer and, with one small modification, dries spools beautifully. I’ve run filament through a dehydrator for years alongside my dedicated dryers, and for anyone who needs to dry several spools at once on a budget, it’s the highest-value tool on the shelf. This is exactly how I do it — what to buy, the one mod that matters, and the limits to respect.
Why a food dehydrator works so well
Drying filament is conceptually simple: hold a spool at a controlled temperature, below the point where the plastic softens, with moving warm air, for long enough that absorbed moisture diffuses back out. A food dehydrator does precisely that. It’s a chamber with a heating element, a fan that circulates warm air evenly across stacked trays, and — on the good models — a real temperature control. That fan is the secret weapon. Even airflow is one of the biggest differences between a dryer that dries a spool thoroughly and one that bakes the outer wraps while the core stays damp, and dehydrators are built around moving air through stacked trays.
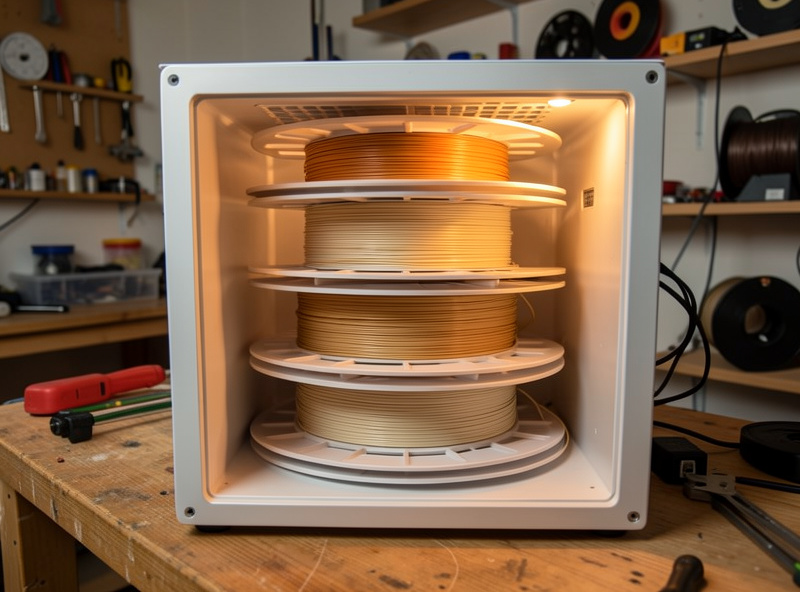
It’s also a capacity story. Most single-spool filament dryers do one spool at a time. A dehydrator with removable trays can take several spools at once — I’ve dried four at a time before a big multi-color job. If you’re drying on a schedule rather than one spool before a print, that throughput matters. If you want the full picture of when drying is even necessary, start with the filament moisture guide; this article is purely the dehydrator method.
Choosing the right dehydrator for filament
Not every dehydrator works. The three things that matter:
1. Adjustable temperature with real numbers
You need a dehydrator that lets you set an actual temperature, ideally up to around 70°C (158°F) or so, which covers PLA, PETG, ABS, ASA, and TPU comfortably. Avoid the cheapest units with a single on/off setting and no temperature control — you can’t safely dry PLA in something that might run too hot. A food dehydrator with adjustable temperature control is the baseline requirement.
2. Stackable, removable trays
This is what makes the mod possible. You want a stacking-tray dehydrator (the round or square ones where trays lift out), not a fixed-shelf cabinet, because you’ll be removing some trays to make vertical room for spools. The round stacking models are the classic choice for exactly this reason.
3. Enough internal height once modded
A standard 1 kg spool is taller than one tray’s gap. The fix is simple, which brings us to the mod.
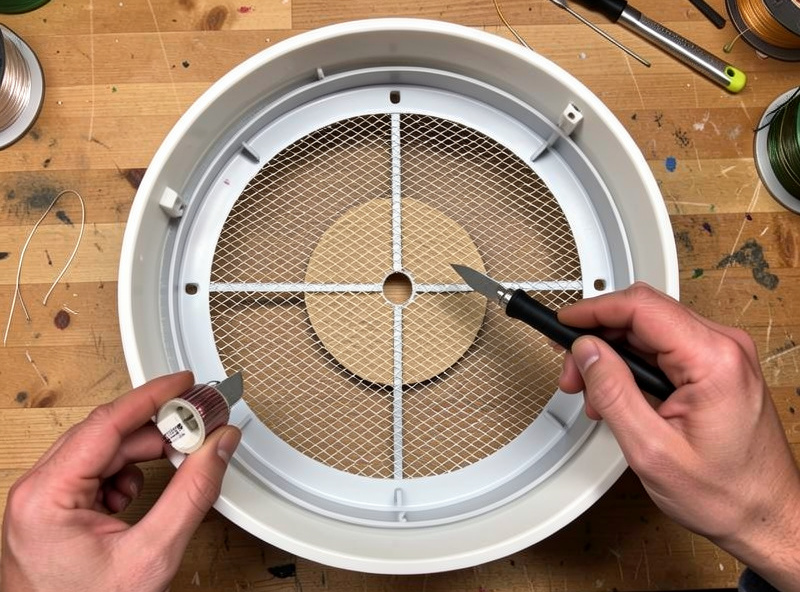
The one modification that matters
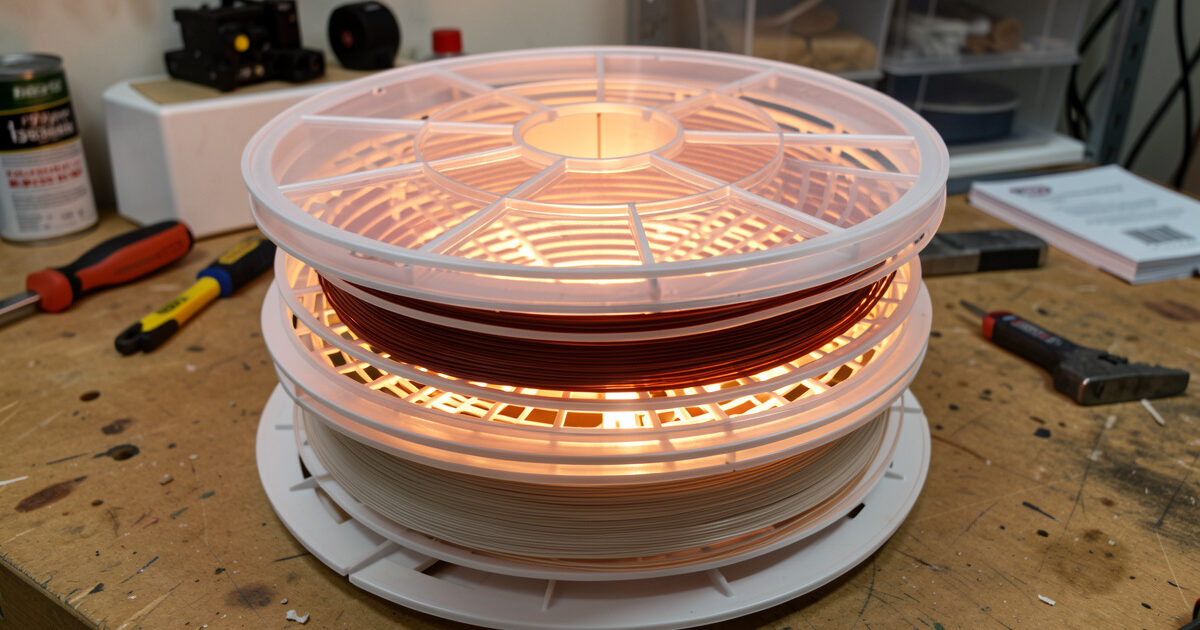
Out of the box, a stacking dehydrator’s trays sit too close together to fit a filament spool standing up. The fix takes thirty seconds: remove the center sections from one or more trays (many trays have a removable center disc, or you cut the mesh out), then stack the now-open trays to create a tall chamber the spool sits inside. The spool drops down through the open trays, the lid goes on top, and warm air circulates around it. That’s the whole mod. No tools beyond maybe a hobby knife, no electronics, no risk.
For drying loose filament or small parts, you can also just lay a spool flat on a solid tray if it fits, but standing it in an opened-out stack is the cleaner approach for full spools. Some people 3D-print spool adapters or tray spacers to optimize the airflow — fitting, since the printer that needs the dry filament can make the parts that dry it.
How I run a dehydrator dry cycle
- Set the temperature for the material. Lower for PLA (it has the lowest softening point of the common materials, so don’t overshoot), a bit higher for PETG and TPU, higher still for ABS/ASA. The exact numbers belong in a per-material reference — never guess upward, because a fused PLA spool is scrap.
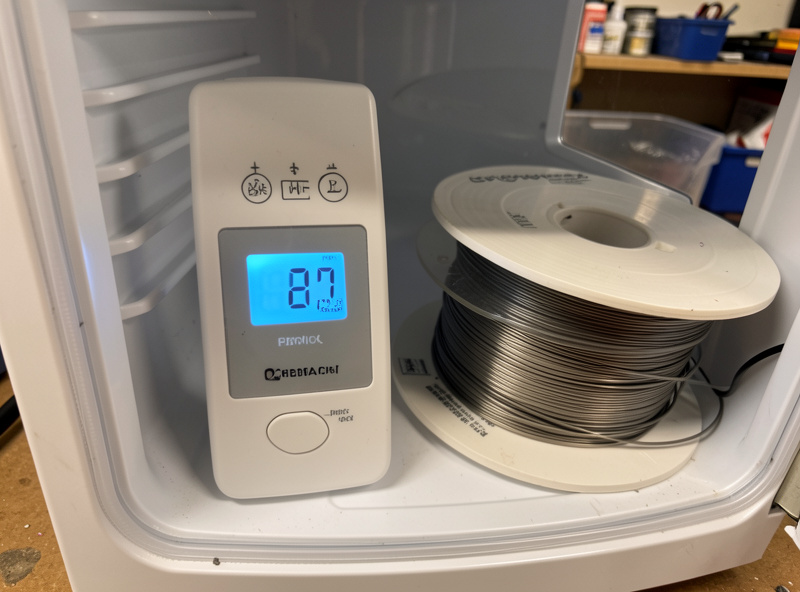
- Verify the real temperature. The first time with any dehydrator, I check the actual chamber temperature with an independent probe, because dehydrator thermostats aren’t lab instruments and some run warm.
- Run it long enough. A few hours for a lightly damp spool; many hours, even overnight, for a badly soaked nylon spool where moisture has diffused deep. Thicker, wetter spools take longer — there’s no shortcut around diffusion physics.
- Confirm it worked. A hygrometer in the chamber dropping and a clean test print are the real signals. Listen for the popping to stop.
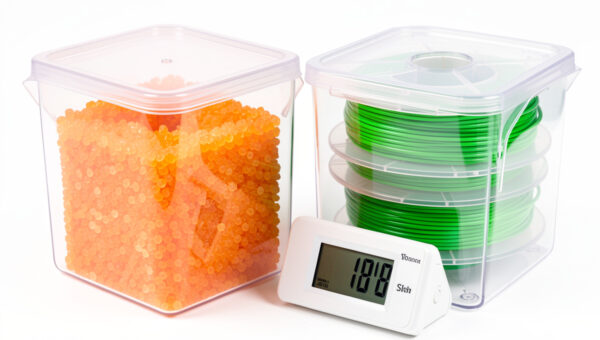
- Store it immediately. The moment a spool comes out dry, it starts re-absorbing. Move it to sealed storage or a heated box — drying and then leaving it on the shelf wastes the whole cycle.
Dehydrator vs dedicated dryer: the honest comparison
| Factor | Food dehydrator | Dedicated filament dryer |
|---|---|---|
| Cost | Lower, especially per spool | Higher |
| Capacity | Several spools at once | Usually one, some two |
| Print-while-dry | No — it’s a batch dryer | Often yes (PTFE feed port) |
| Top temperature | ~70°C typical — fine for PLA–TPU, short of nylon/PC | High-temp models reach nylon/PC/CF |
| Footprint | Larger | Compact |
| Best at | Batch-drying many spools cheaply | Drying then printing one thirsty spool continuously |
The clearest split: a dehydrator is the best batch dryer for the money, but it can’t feed a printer while it works and most won’t reach the temperatures nylon and polycarbonate want. If your thirstiest material is TPU or PETG and you dry in batches, a dehydrator may be all you ever need. If you run a lot of nylon or CF blends, or you want to print straight from a warm box, pair the dehydrator with a proper dryer for those materials. And whichever you use, keep a stash of desiccant packs for the storage step that follows every dry.
Mistakes I see with dehydrator drying
- Buying a no-temperature-control unit. The bargain dehydrators with a single on/off switch are a trap — you can’t safely dry PLA in something whose temperature you can’t set and can’t trust. Spend the small premium for adjustable temperature.
- Running it too hot to “speed things up.” Drying is diffusion-limited, not heat-limited past a point. Cranking the temperature past the material’s safe ceiling doesn’t dry faster — it softens and deforms the spool. Patience at the right temperature beats heat.
- Forgetting the storage step. The most common waste I see: someone dries a spool perfectly, then leaves it on the open shelf, and within days the thirsty materials are wet again. Drying without sealed storage afterward is half a job.
- Drying with the trays still crowded. If the spool is jammed against the heating element or the airflow is blocked, you get uneven drying and hot spots. Open the stack out properly so air moves around the whole spool.
- Trusting the dial blindly. Verify the real temperature once. After that you know your unit’s true behavior and can trust it.
Safety and the food question
Two honest notes. First: once you’ve dried filament in a dehydrator, I’d retire it from food use. You’re heating plastic in it, and while PLA and PETG are benign, there’s no reason to cross-contaminate your food gear — buy a cheap dedicated unit for the shop. Second: like any heated appliance running unattended for hours, give it sense. Run it on a hard, non-flammable surface, don’t bury it in clutter, and treat it with the same caution you’d give any always-on shop heat source. None of this is alarming — it’s the same common sense I apply to every heated tool on the bench.
Frequently asked questions
Can a food dehydrator really dry 3D printer filament?
Yes — a dehydrator is a heated, fan-circulated chamber with adjustable temperature, which is exactly what filament drying needs. With one simple modification to make room for a spool, it dries PLA, PETG, ABS, ASA, and TPU well, and it can do several spools at once. Its main limits are that it can’t feed a printer while drying and most won’t reach the temperatures nylon and polycarbonate require.
What modification does a dehydrator need for filament?
Stacking-tray dehydrators sit too close together to fit an upright spool, so you remove the center sections from one or more trays to create a tall open chamber. The spool drops into the opened-out stack, the lid goes on top, and warm air circulates around it. It takes about thirty seconds and needs no tools beyond maybe a hobby knife.
Can I still use the dehydrator for food afterward?
It’s best not to. Once you’ve heated plastic spools in a dehydrator, dedicate it to the workshop rather than cross-using it with food. Dehydrators are cheap enough that buying a separate unit for filament avoids any contamination concern and lets you keep it in the shop permanently.
What temperature should I set the dehydrator to?
It depends on the material — PLA has the lowest softening point and needs the most caution, while PETG, TPU, ABS, and ASA tolerate progressively higher settings. Set conservatively for the material and never guess upward, because overshooting can soften and fuse a spool into scrap. Verify the real chamber temperature with an independent probe the first time, since dehydrator thermostats run approximate.
How long does it take to dry a spool in a dehydrator?
A lightly damp spool may dry in a few hours, while a badly soaked spool — especially a hygroscopic material that’s been open for months — can take many hours or overnight because the moisture has diffused deep into the plastic and has to diffuse back out. A hygrometer in the chamber and a clean test print are the most reliable signs the cycle is finished.