A filament dry box is one of those purchases where the gap between the good and the useless ones is enormous, and the marketing does everything it can to hide it. I’ve run filament drying every way there is — convection oven, modded food dehydrator, and a shelf of purpose-built dryers — and the dedicated heated dry box is the tool I reach for most, because for the materials I print regularly it does one job perfectly: dry a spool, then let me print straight out of it without ever transferring filament. This guide is the buying framework I’d give a friend, organized around what actually matters, not the spec-sheet bullet points.
What a dry box actually has to do
There are two distinct jobs people lump under “dry box,” and the distinction decides which product you should buy. A heated filament dryer actively drives moisture out of a wet spool using heat — that’s a drying tool. A desiccant storage box passively keeps an already-dry spool dry — that’s a storage tool, and desiccant alone is far too slow to rescue a wet spool. A true “dry box” worth buying does the first job: it gets hot enough, evenly enough, for long enough, to pull absorbed water back out of the polymer. If it can also feed filament to a running printer while staying warm, even better. Anything that just seals a spool with a bag of silica is a storage box, and I cover that route in my filament storage humidity guide — don’t pay dryer money for it.
If you’re still deciding whether you even need to dry a given spool, start with the filament moisture guide — fresh PLA usually doesn’t, but nylon and CF blends always do.
The five things that actually separate good dryers from bad
1. Real, verifiable temperature
This is the whole game. Different materials need different drying temperatures, and the gap between “dried my nylon” and “fused my PLA into a brick” is a matter of degrees. A good dryer holds a set temperature accurately and evenly across the chamber. A bad one has a dial that says one thing while the chamber does another. The first thing I do with any new dryer is verify its real temperature with an independent probe before I trust it with a spool of PLA, because budget units routinely overshoot. If a dryer doesn’t let you set a specific temperature — only “low/med/high” — that’s a red flag for the sensitive materials.
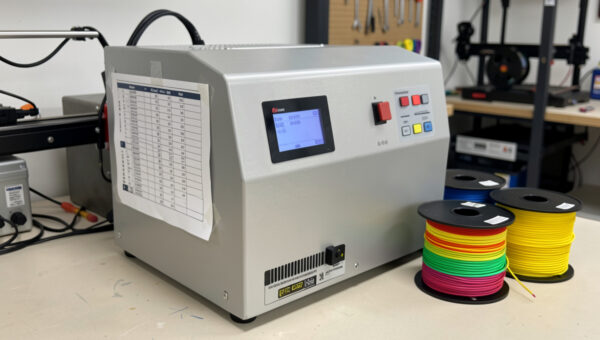
2. Enough top-end heat for engineering materials
Plenty of cheap dryers top out around 50–60°C, which is fine for PLA and PETG but genuinely inadequate for nylon, polycarbonate, and carbon-fiber blends, which want to be dried hotter. If you only print PLA and PETG, a modest unit is fine. If you run nylon or PA-CF — the materials that most need drying — you need a dryer that reaches the higher temperatures those materials require. Buying a low-temp dryer and then trying to dry nylon in it is a common, expensive mistake.
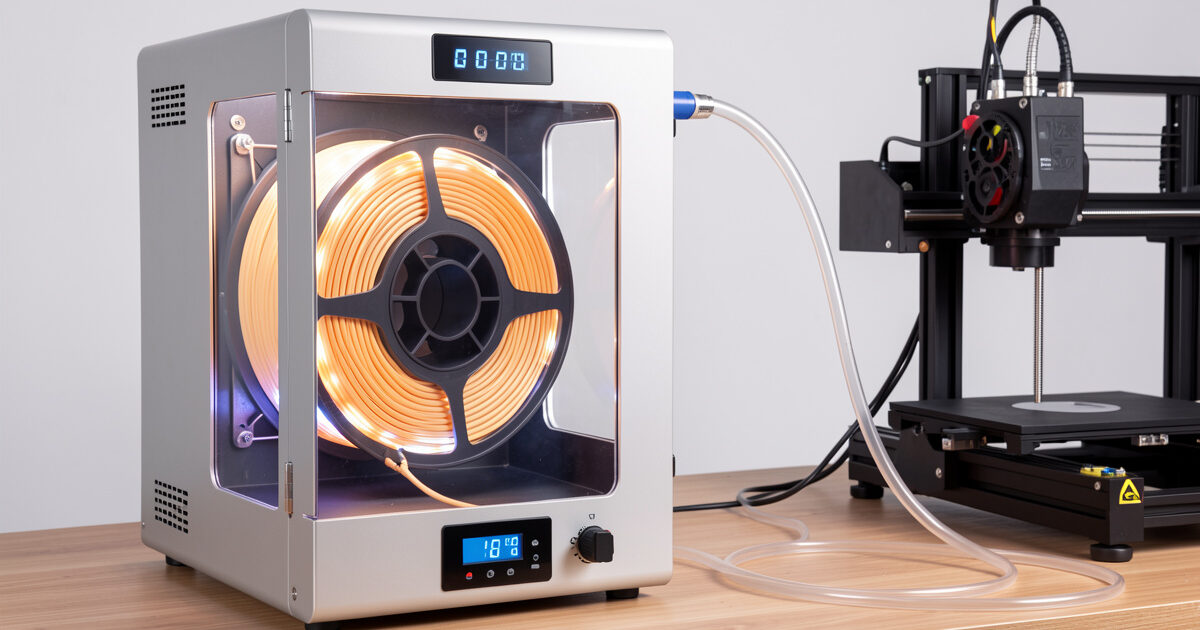
3. Print-while-drying capability
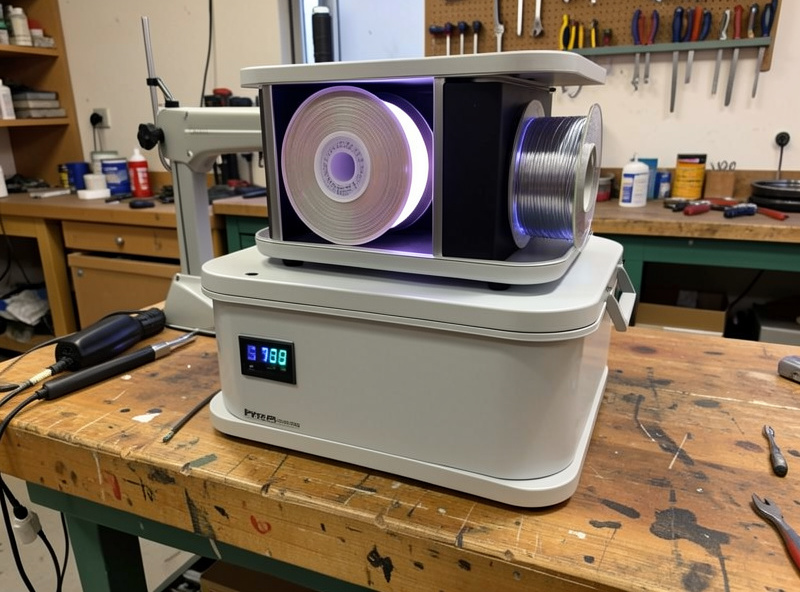
The best heated dry boxes let filament feed out through a PTFE-lined port to the printer while the box stays warm. For the thirsty materials I print regularly — TPU, nylon, CF blends — this is transformative: the spool never leaves a controlled-humidity environment, so it can’t re-absorb between drying and printing. A dryer that you have to open, remove the spool, and load onto the printer leaves a window where sensitive filament starts drinking again.
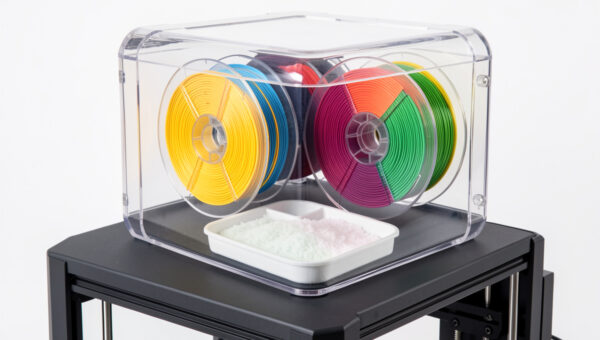
4. Capacity that matches your shelf
Single-spool dryers are compact and cheap but slow when you have a backlog. Two-spool and stackable units dry more at once. Be honest about your throughput — if you print daily across several materials, a single-spool unit becomes a bottleneck fast. If you print occasionally, it’s plenty.
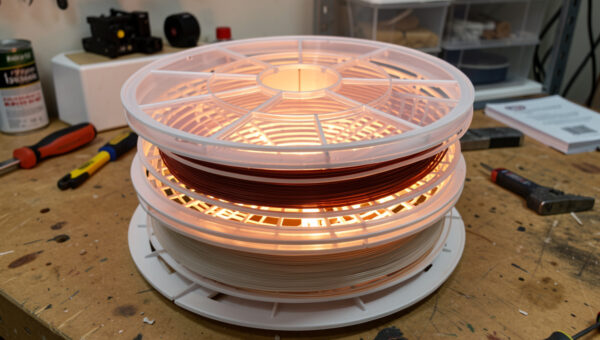
5. Even airflow and a fan
A heating element with no air circulation creates hot spots and cold spots — the spool dries unevenly and the outer wraps dry while the core stays wet. A unit with a fan that circulates warm air through the chamber dries more evenly and more thoroughly. This is one of the quieter differences between a dryer that “kind of works” and one that actually does the job.
The categories of dry box, and who each suits
| Type | Strength | Weakness | Best for |
|---|---|---|---|
| Single-spool heated dryer | Cheap, compact, often print-while-dry | One spool at a time; some cap at low temps | PLA/PETG printers, small shelves |
| Dual/stackable heated dryer | Dries 2+ spools, better throughput | Bigger footprint, more cost | Multi-material, busy benches |
| High-temp engineering dryer | Reaches nylon/PC/CF temps, even airflow | Pricier | Anyone running nylon, PA-CF, PC |
| DIY heated dry box | Cheapest, fully customizable | Build effort, you own the safety | Tinkerers, large-spool users |
| Desiccant storage box (not a dryer) | Keeps dry filament dry, very cheap | Won’t dry a wet spool | Storage, not drying |
My buying recommendation, by what you print
If you print mostly PLA and PETG: a single-spool or dual heated dryer that reaches at least ~60°C with a real temperature setting is plenty. You’ll rarely need more, and the print-while-dry feature is a nice-to-have rather than essential since these materials tolerate the transfer window. A solid dedicated filament dryer box in this class is one of the best value upgrades on a filament shelf.
If you run nylon, polycarbonate, or carbon-fiber blends: don’t compromise — get a high-temperature filament dryer that reaches the temperatures those engineering materials need and has even airflow. These are the materials that punish skipped or inadequate drying the hardest, and a low-temp dryer simply can’t get them where they need to be. This is the one place I tell people to spend up.
If you want set-and-forget for a multi-material shelf: a stackable or dual-spool unit with print-while-dry ports earns its keep, letting you keep your most-used thirsty spools always warm and printable. Pair it with sealed storage and a stash of rechargeable desiccant for the spools that live outside the dryer between uses.
The DIY route, honestly assessed
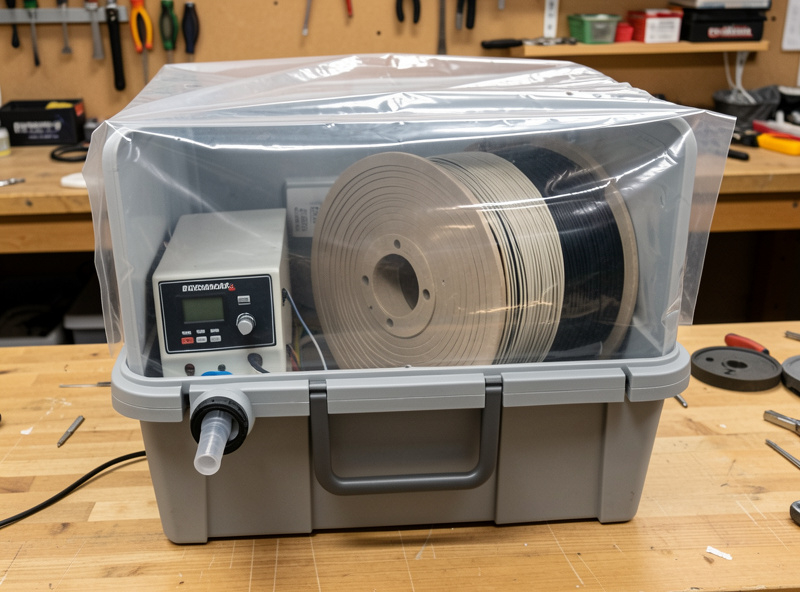
You can build a heated dry box from a sealed tote, a low-wattage heating element or a reptile heat mat, and a controller — and for large 2 kg+ spools that don’t fit commercial dryers, it’s sometimes the only option. I’ve built them. But be clear-eyed: with a DIY heated box, you own the temperature accuracy and the fire safety. An uncontrolled heating element in a sealed plastic box is a real hazard if you get it wrong. If you go this route, use a proper thermostat controller, never an uncontrolled element, and don’t leave it unattended until you trust it. For most people, a commercial dryer with built-in temperature control and safety cutoffs is the better buy — the DIY route is for specific large-spool needs or genuine tinkerers.
Mistakes I see people make buying dry boxes
- Buying a low-temp dryer for high-temp materials. A 50°C dryer will never properly dry nylon. Match the dryer to your thirstiest material.
- Trusting the dial. Verify real chamber temperature before drying PLA — overshoot fuses the spool.
- Confusing storage and drying. A desiccant box won’t rescue a wet spool; you need heat for that.
- Skipping the hygrometer. You still want to know what’s happening — a cheap meter in the chamber or your storage closes the loop.
- Drying filament that didn’t need it. Fresh PLA off the spool usually prints fine. Don’t run the dryer out of superstition.
Frequently asked questions
Do I really need a heated dry box, or is a sealed box enough?
It depends what you print. A sealed desiccant box keeps already-dry filament dry but cannot remove moisture from a spool that’s already wet — only heat does that. If you run PLA from fresh sealed bags you may get away with storage alone, but if you print nylon, TPU, PC, or carbon-fiber blends, you need a heated dryer to actively drive moisture out before printing.
What temperature does a filament dryer need to reach?
For PLA and PETG, roughly 45 to 65 degrees Celsius is enough, so most budget dryers handle them. Engineering materials like nylon, polycarbonate, and carbon-fiber blends want higher temperatures, so if you print those, buy a dryer rated for them rather than a low-temp unit that physically can’t reach the range those materials need.
Can I print directly from a dry box?
Many heated dryers have a PTFE-lined feed port that lets filament run to the printer while the box stays warm, which is ideal for thirsty materials because the spool never leaves a controlled environment. Cheaper or DIY units may not offer this, meaning you dry, then transfer the spool to the printer and accept a short re-absorption window.
Is a DIY dry box worth building?
A DIY heated box can be cheaper and can fit oversized spools that commercial dryers won’t, but you take on responsibility for temperature accuracy and fire safety. Use a proper thermostat controller, never an uncontrolled heating element, and don’t leave it unattended early on. For most people a commercial dryer with built-in controls and safety cutoffs is the safer, simpler buy.
How long should I dry a spool in a dry box?
It varies with how wet the spool is and the material — a lightly damp PETG spool may need only a couple of hours, while a nylon spool that’s been open for months can take many hours at temperature because the moisture has diffused deep into the plastic. A hygrometer in the chamber and a test print are the most reliable signals that it’s done.