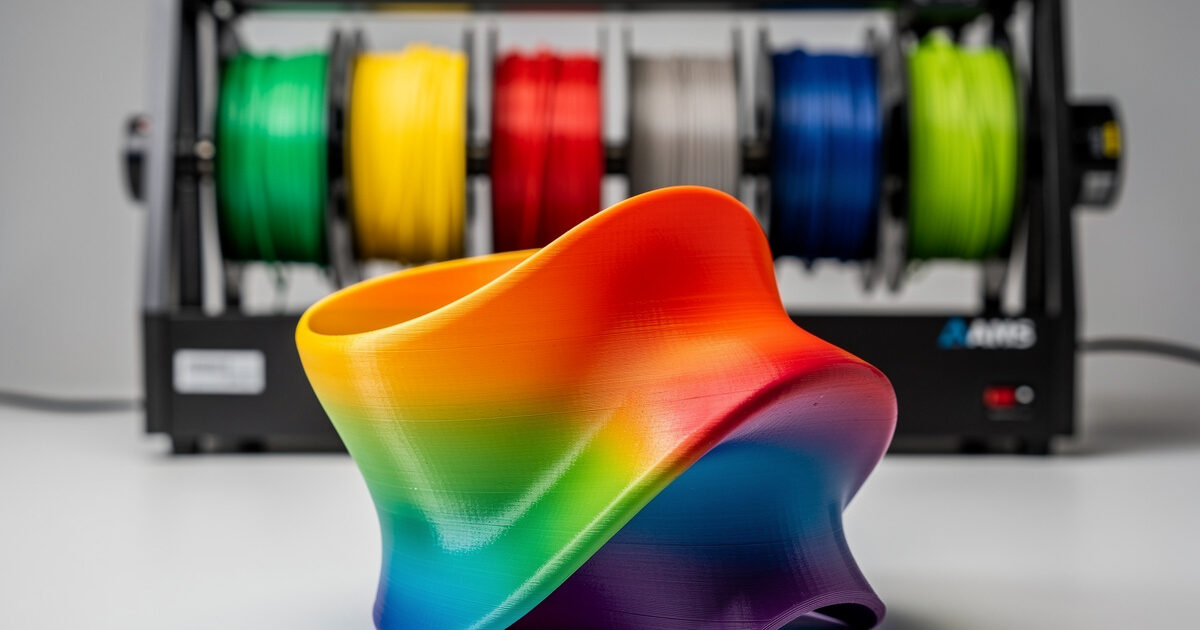
Multi-color slicing is easier than ever in 2026 — Bambu’s AMS, Prusa’s MMU3, and OrcaSlicer’s manual workflows all produce clean color transitions when set up correctly. In ~40 words: AMS-style integrated systems are the smoothest workflow, MMU3 is the strongest non-Bambu option, and manual M600 filament swaps work on any printer for two-color prints. Color matters less than transition quality and waste minimization.
This guide covers all three approaches: Bambu Studio with AMS / AMS 2 Pro, PrusaSlicer with MMU3, and OrcaSlicer / PrusaSlicer with manual filament-change workflow. Each has tested setup steps and waste-reduction tactics that come up again and again on multi-color prints. By the end you’ll know which approach fits your printer and how to slice your first multi-color model successfully.
The Three Multi-Color Approaches
Multi-color desktop FDM in 2026 splits into three categories: integrated multi-material systems (Bambu AMS, Prusa MMU3, Anycubic ACE Pro), palette-based external systems (Mosaic Palette 3, Co Print), and manual filament swaps (M600 pause-and-swap on any single-extruder printer).
Integrated systems are the smoothest user experience. The slicer handles all the routing, prime tower placement, and color assignment automatically. Palette systems splice multiple filaments into a single feed line — more universal but more setup. Manual swaps work on any printer but require user attention at each color change.
For background on which slicer pairs with which approach, see our slicer comparison guide. Bambu Studio handles AMS natively, PrusaSlicer handles MMU3 natively, and any slicer handles manual swaps.
Bambu Studio + AMS Workflow
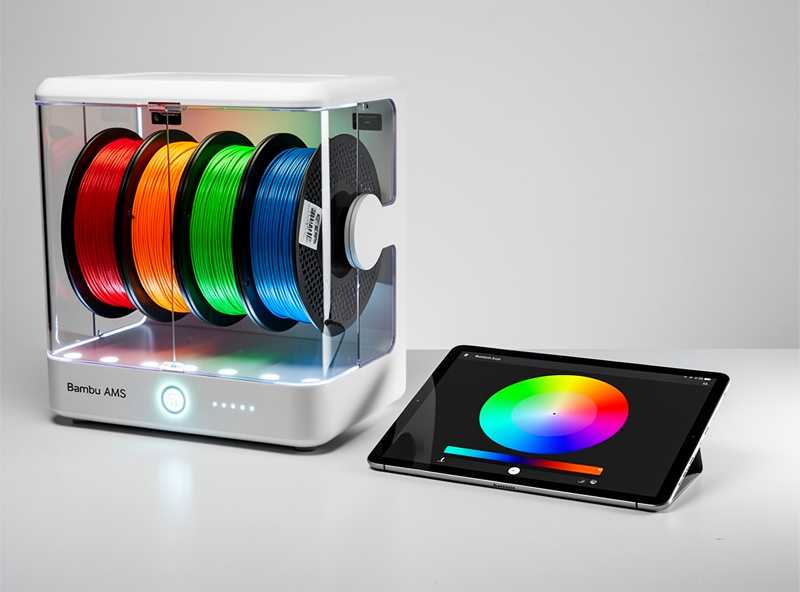
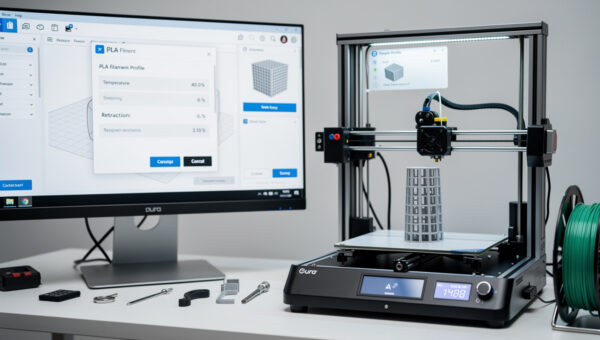
The AMS workflow in Bambu Studio is the smoothest multi-color experience available. Load 4 filaments into the AMS slots (or 16 if you’re chaining 4 AMS units). Open Bambu Studio, drag a multi-color model onto the build plate, and the slicer auto-detects color regions in the .3mf file.
For models that aren’t already multi-color (a single-color .stl), Bambu Studio offers paint-on color tools: select a color from your AMS slots, click on regions of the model, paint to assign. The slicer handles all the layer-by-layer routing, including the prime tower placement that purges old filament before each color change.
Wipe waste per color change averages 1.5g on the AMS Lite and 0.8g on the AMS 2 Pro. Across a 100g model with 30 color changes, that’s 24-45g of wasted filament — significant. Strategies to reduce waste: minimize color count when possible, group colors so similar shades are adjacent (e.g., dark blue → light blue, not dark blue → yellow), and use the “filament mapping” panel to route matching colors to the same slot.
The filament mapping panel is Bambu Studio’s killer multi-color feature. After slicing, you can re-route which AMS slot serves which color in the design — useful when you realize halfway through a print that you loaded teal instead of cyan. Click the slot, click the new mapping, regenerate G-code without re-slicing the geometry.
PrusaSlicer + MMU3 Workflow

PrusaSlicer’s MMU3 support is the second-smoothest multi-color workflow. The MMU3 holds 5 filaments and uses a “splice and unsplice” mechanism — filament is cut and re-fed at each color change. The Prusa slicer pre-calculates filament splice points and inserts the correct G-code for the MMU3 to handle.
Setup: Configure MMU3 in PrusaSlicer’s printer settings. Load 5 filaments physically into the MMU3 (or fewer; just leave unused slots empty). Drag a multi-color .3mf onto the build plate. PrusaSlicer auto-assigns colors based on the file’s metadata; for single-color .stl files, use paint-on tools to assign colors to model regions.
Splice waste with MMU3 is comparable to AMS: ~1.2g per color change with the smart wipe tower enabled. PrusaSlicer’s smart wipe tower nests the prime infrastructure inside otherwise-empty bed real estate, reducing total filament waste compared to a fixed-position wipe tower.
The MMU3 workflow is more sensitive to filament quality than AMS. Brittle filaments (cheap PLA, old PETG) can break during the splice cycle. Stick with established brands (Polymaker, Prusament, Esun) for MMU3 prints. See our filament guide for which brands hold up to repeated splicing.
Manual Filament Swap (M600 Workflow)
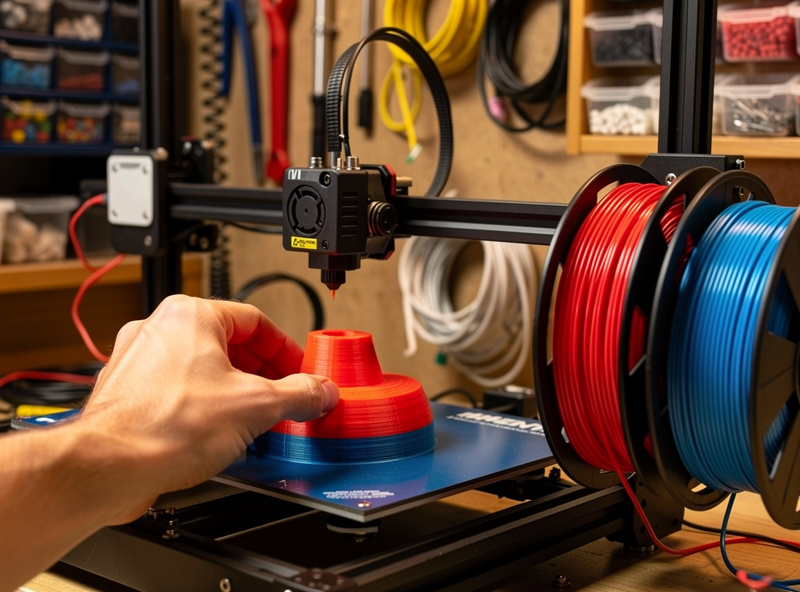
Manual filament swaps work on any single-extruder printer. The slicer inserts an M600 G-code command at a chosen layer height. The printer pauses, retracts filament, and waits for you to swap to a new color. Press the resume button and printing continues with the new filament.
Setup in PrusaSlicer or OrcaSlicer: Right-click the model → “Add color change at layer.” Pick the layer where you want to switch. Slice. The G-code includes M600 commands at your chosen layers. Print as usual; the printer beeps and pauses when the swap is needed.
Manual swaps are the right choice for: two-color prints (an AMS or MMU3 is overkill), occasional multi-color projects (the hardware investment isn’t justified), and signs / nameplates / similar prints with simple horizontal color bands. Filament waste is essentially zero per swap — you just change spools.
The downsides: manual attention required at each color change, prints can’t be left unsupervised, and complex multi-color geometry (mixed colors on the same layer) is impossible without integrated multi-material hardware.
Designing Models for Multi-Color Printing
The .3mf file format supports multi-color information natively; the .stl format does not. For designed multi-color prints, .3mf is the right export format. Most modern CAD tools (Fusion 360, Onshape, Tinkercad, Blender) export .3mf with color preservation.
For prints downloaded from Printables, MakerWorld, or Thangs, look for .3mf files specifically labeled as multi-color or AMS-ready. Many designers now publish both .stl (single color) and .3mf (multi-color) versions of the same model.
If you only have an .stl file but want to add color, the slicer’s paint-on tools work — but the result is binary per face. The slicer can’t add color information that isn’t already in the geometry. For complex color schemes, the original .3mf source is necessary.
For text and logos, designing color into the geometry directly produces cleaner results than relying on slicer paint-on. Recess the text 0.4mm into the surface, then assign different filaments to the recessed and raised regions in the slicer.
Reducing Multi-Color Filament Waste
Multi-color prints can waste 30-50% of total filament on prime towers and color transitions. Several techniques reduce waste significantly without compromising print quality.
Minimize color count. Each additional color compounds the waste. A 2-color print wastes ~10g; a 4-color print wastes ~30g; an 8-color print wastes 80g+. Design with 2-4 colors when possible.
Group similar colors. Schedule color changes by similarity — going dark blue → light blue purges less than dark blue → yellow because the residual blue tints less. The slicer can’t do this automatically; you arrange it manually in the model design.
Use filament mapping. If multiple regions of a model use the same color, ensure they map to the same AMS / MMU3 slot. Bambu Studio’s mapping panel handles this; PrusaSlicer requires manual slot assignment.
Print stripes vertically when possible. Color changes between layers (vertical stripes) waste less than color changes within a layer (horizontal patterns) because each layer change is a “free” color transition that would happen anyway.
Use prime tower volumes carefully. Reduce prime tower size to the minimum that purges your specific filament. PLA-to-PLA color changes need less purge volume than PLA-to-PETG. Bambu Studio auto-calculates this; on PrusaSlicer it’s manual.
Frequently Asked Questions
How much filament does a multi-color print waste?
With AMS or MMU3, expect 0.8-1.5g per color change. A 100g model with 30 color changes wastes 24-45g — typical multi-color overhead. Manual M600 swaps waste essentially nothing per swap. Total waste depends on color count, transitions, and prime tower size — minimize colors and group similar shades to reduce.
Can I do multi-color without buying AMS or MMU3?
Yes, with manual M600 filament swaps. The slicer pauses the print at chosen layers; you change filament spools manually and resume. Works on any single-extruder printer for two-color or vertically-banded multi-color prints. Limitation: cannot do mixed colors on the same layer without integrated multi-material hardware.
Why does my AMS print waste so much filament?
Three common causes: too many colors (each transition wastes 0.8-1.5g), color-similarity not optimized (going dark to light wastes less than dark to yellow), and prime tower set too large. Reduce colors to 2-4, group similar shades, and shrink prime tower to minimum purge volume. Total waste typically drops 30-50%.
Is the AMS or the MMU3 better?
AMS is smoother for Bambu hardware (Lidar first-layer scan, integrated cloud workflow, automatic flow calibration). MMU3 is more capable for non-Bambu hardware and supports 5 colors versus AMS’s 4-per-unit. Both produce comparable color transition quality. Pick by which printer ecosystem you’re already in.
Can I print with AMS PLA and AMS PETG simultaneously?
Yes — the AMS auto-detects filament type and the slicer adjusts temperature per filament. PLA and PETG print at different temperatures (210°C vs 240°C), so the slicer increases prime tower volume to fully purge between materials. Mixed-material prints work but waste more filament than single-material multi-color.
What slicer is best for multi-color prints?
Bambu Studio for Bambu hardware (AMS), PrusaSlicer for Prusa hardware (MMU3), OrcaSlicer for non-Bambu manual workflows or third-party AMS-compatible printers. The slicer matches the hardware ecosystem; choosing wrong loses access to ecosystem-specific features like filament mapping or smart wipe tower.
How long do multi-color prints take versus single-color?
Roughly 1.5-2x longer than single-color due to color change pauses, prime tower printing, and travel moves. A 4-hour single-color benchy might take 7-8 hours in 4-color AMS mode. Plan for the time investment when scheduling overnight prints.