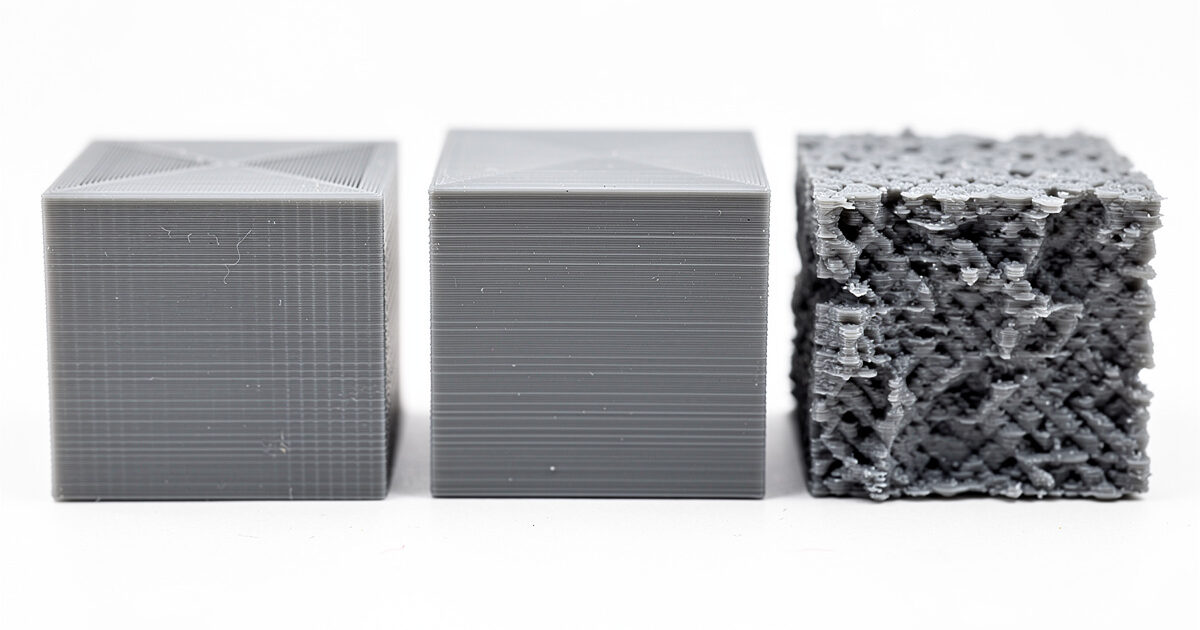
Layer height is the single biggest dial you can turn in any slicer, and almost every beginner sets it wrong. In ~40 words: 0.2mm is correct for 90% of prints. Drop to 0.12mm only for miniatures or curved surfaces where layer lines are visible at arm’s length; raise to 0.28mm only for bulk prints where speed matters more than visual quality. Going below 0.08mm rarely improves results.
This guide breaks down what layer height actually controls — print time, layer adhesion, top-surface quality, and overhang behavior — and shows the measured trade-offs across three common heights (0.1mm, 0.2mm, 0.28mm) using the same model on the same printer. The conclusions hold across most desktop FDM printers running PLA, PETG, or PLA+. ABS and TPU follow the same rules with minor adjustments.
What Layer Height Actually Controls
Layer height is the vertical thickness of each printed layer. A 50mm-tall model at 0.2mm layers requires 250 layers; the same model at 0.1mm requires 500 layers. Print time scales roughly linearly with layer count — half the layer height means roughly twice the print time, with some overhead for travel moves and acceleration.
What changes between layer heights: visible layer-line thickness, top-surface flatness on shallow angles, overhang quality on steep undersides, and to a lesser degree, layer-to-layer bond strength. What does NOT change meaningfully: dimensional accuracy on Z-axis features (those are limited by your printer’s Z resolution, not slicer layer height) and infill strength.
For background on how G-code drives this, see our complete beginner guide to 3D printing — the section on slicing math explains why layer height affects every other setting downstream.
0.1mm (and Finer): When It’s Worth the Time
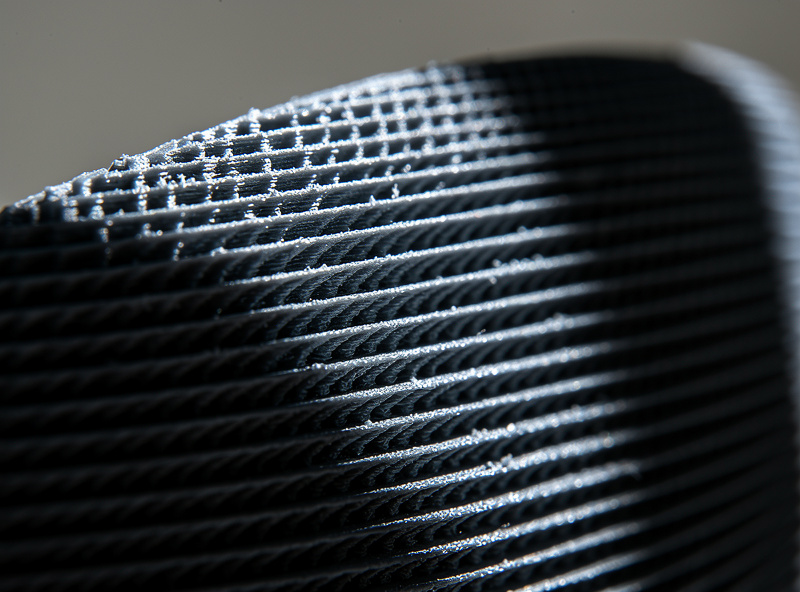
0.1mm layer heights produce visibly finer prints than 0.2mm — the layer lines almost disappear at arm’s length on PLA. Curved surfaces (figurines, organic shapes, vases) benefit most because the layer-to-layer staircase effect on shallow curves is what beginners interpret as “ugly print quality.”
The cost is print time. A standard benchy at 0.2mm prints in 25-30 minutes on a stock Ender 3; at 0.1mm it takes 50-60 minutes. For batch printing or production work, this is a significant cost. For one-off display pieces or miniatures, the time investment is usually worth it.
Going below 0.1mm (0.08mm, 0.06mm) rarely improves visual quality. The eye can’t distinguish layer lines below ~0.12mm at typical viewing distance, and printer Z-axis resolution starts to matter — many beginner printers have Z-axis backlash that becomes visible at 0.06mm where it’s hidden at 0.1mm. For serious detail work below 0.1mm, resin printing wins decisively over FDM.
0.2mm: The Default for Almost Everything
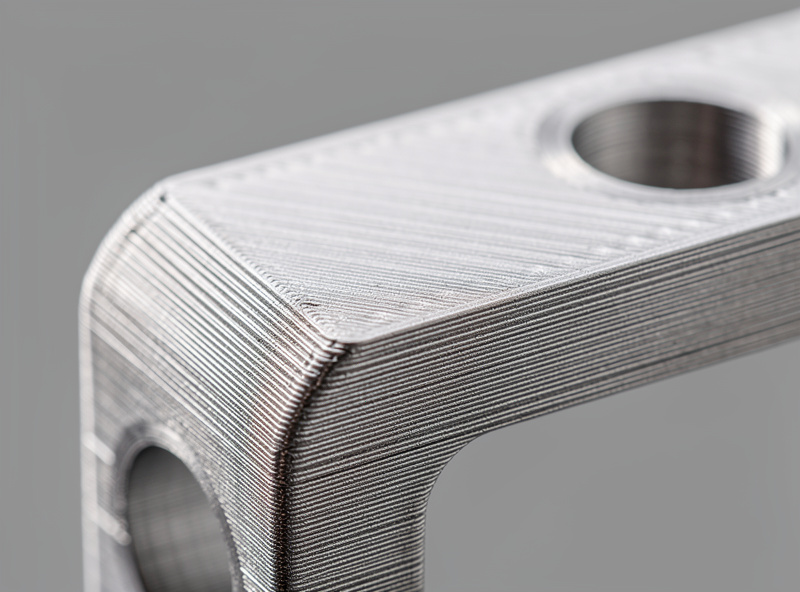
0.2mm is the right answer for the overwhelming majority of prints. Functional parts (brackets, jigs, replacement parts) print fine at 0.2mm with no visible quality penalty under normal handling conditions. Multi-purpose models that mix flat and curved surfaces look balanced.
The reason 0.2mm became the default: it’s exactly half the standard 0.4mm nozzle diameter, which is the optimal ratio for layer adhesion. Layers thicker than half the nozzle width have weaker bonds; layers thinner than 1/4 the nozzle width waste print time without corresponding quality gains. 0.2mm sits at the sweet spot.
For functional PLA prints, 0.2mm produces parts that hold up to typical mechanical loads. Layer adhesion is excellent; the part-strength testing community shows that 0.2mm parts have within 5% of the strength of 0.1mm parts in tension and shear tests. The tiny strength gain at 0.1mm rarely justifies the doubled print time.
0.28mm: When Speed Matters More Than Quality
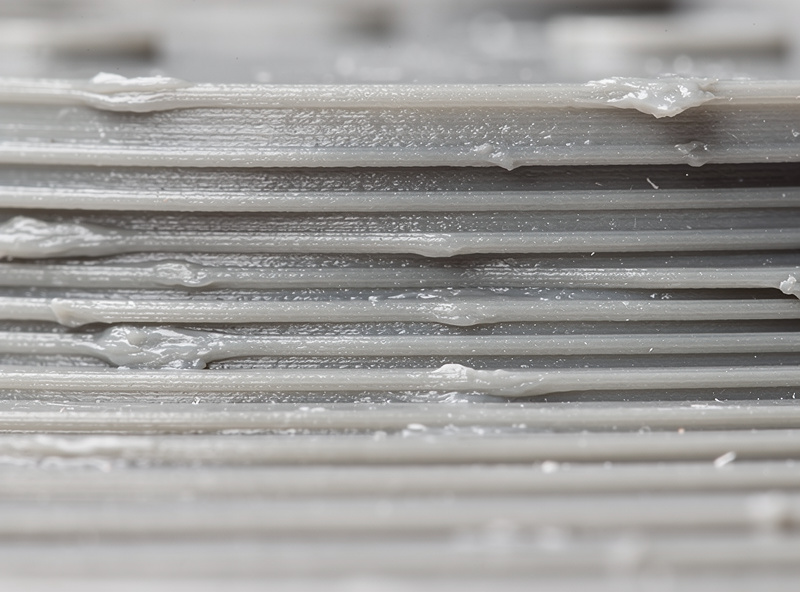
0.28mm layers print 30-40% faster than 0.2mm and produce visibly chunkier layer lines. The layer-to-layer staircase is obvious on curved surfaces; flat horizontal surfaces still look fine, but anything organic or sculptural looks rough.
0.28mm is the right choice for: large brackets and structural parts where strength matters more than appearance; print farms where throughput is the goal; rough prototypes that will be sanded smooth or remade in higher quality; bulk parts under 5cm where the staircase effect is invisible at arm’s length.
0.32mm is the maximum useful layer height for a 0.4mm nozzle (80% of nozzle width). Above that, layer adhesion suffers measurably and overhangs start failing. For prints needing layers thicker than 0.32mm, switch to a 0.6mm or 0.8mm nozzle — those handle layer heights up to 0.5mm cleanly.
Print Time vs Quality: The Math
The time-versus-quality trade-off is roughly linear once you’re above the printer’s mechanical limit. Specific numbers (rough estimates for a Ender 3 V2 / Bambu A1 class machine, PLA, simple model):
0.08mm: 100% of normal speed × 2.5x = ~2.5x print time. Quality gain: marginal over 0.12mm.
0.12mm: ~1.7x print time. Quality gain: noticeable over 0.2mm on curved surfaces.
0.16mm: ~1.25x print time. Quality gain: small but visible.
0.2mm: Baseline (1.0x print time).
0.24mm: ~0.85x print time. Quality loss: small.
0.28mm: ~0.75x print time. Quality loss: visible on curved surfaces.
0.32mm: ~0.7x print time. Quality loss: significant.
The crucial implication: 0.16mm is almost always a worse choice than either 0.12mm or 0.2mm. The middle ground gives small quality gains for noticeable time cost. Pick a target — speed or visual quality — and commit fully.
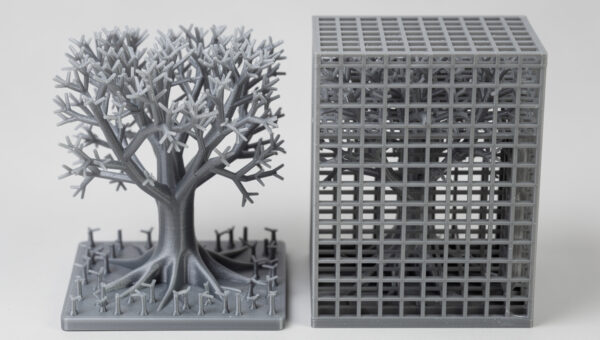
Adaptive Layer Height (When the Slicer Picks for You)
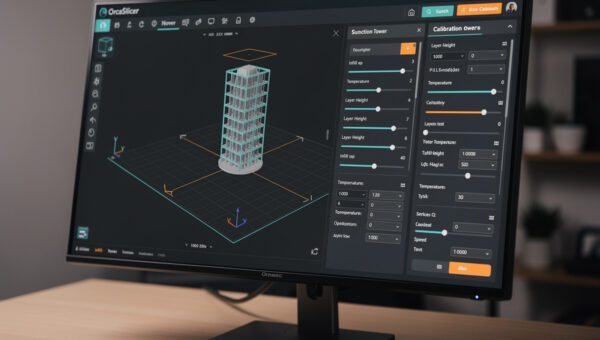
Modern slicers (Cura 5+, PrusaSlicer 2.7+, OrcaSlicer 2+) support adaptive layer height — the slicer varies layer height across the model based on geometry. Steep curves get fine layers; flat sections get thick layers. Total print time often falls 20-30% with no visible quality loss versus uniform 0.12mm.
Enable adaptive layers via Print Settings → Adaptive Layer Height. Set minimum to 0.08mm, maximum to 0.24mm, and threshold to 0.5 (most aggressive) or 0.2 (conservative). Preview the slice before committing — adaptive layers can produce visible color banding on multi-color prints if a layer change crosses a filament boundary.
Adaptive layers work best on organic models with mixed geometry. They work poorly on parts with consistent curvature (vases, perfectly cylindrical models) where the slicer doesn’t have flat sections to skip with thicker layers. For those, uniform layer height is fine.
Layer Height Per Material
Different materials have different sweet spots, though the 0.2mm-default rule holds widely.
PLA / PLA+: 0.2mm is the default. Drop to 0.12mm for miniatures; raise to 0.28mm for bulk prints. PLA tolerates the full range cleanly.
PETG: 0.2mm is the default. PETG benefits less from going below 0.16mm because its semi-glossy surface hides layer lines well. Above 0.24mm, layer adhesion can suffer; PETG bonds best at moderate layer heights.
ABS / ASA: 0.2mm is the default. ABS shrinks during cooling, and thicker layers compound this effect. Stick with 0.2mm or below for ABS; avoid 0.28mm where the warping risk increases.
TPU (flexible filament): 0.2mm is generally the maximum. TPU’s flexibility makes thick layers visibly weak — the part feels less “solid” at higher layer heights. 0.16mm is a better default for functional TPU parts.
Carbon-fiber and glass-fiber filled: 0.2mm is the default. The fiber content can clog small nozzles at fine layer heights — stick to 0.2mm minimum and use a hardened nozzle.
For more detail on material selection, see our 3D printing materials guide.
Frequently Asked Questions
Does layer height affect part strength?
Marginally. Tension and shear strength differ less than 5% between 0.1mm and 0.2mm layers in measured testing. Beyond about 0.28mm, layer adhesion does become a measurable weak point — but for any layer height below 0.28mm with stock PLA, strength is essentially the same. Wall count and infill density matter more.
Why is 0.2mm called the default layer height?
It’s exactly half the diameter of a standard 0.4mm nozzle, which is the mechanical sweet spot for layer adhesion. Layers thicker than half the nozzle width have weaker bonds; thinner layers waste print time without corresponding gains. The 0.4mm nozzle is the most common, so 0.2mm became the default by extension.
Should I use 0.16mm layer height?
Rarely. 0.16mm sits in an awkward middle ground — slower than 0.2mm without enough quality gain to be worth the cost, and not as fine as 0.12mm where the quality difference becomes obvious. Pick 0.12mm for fine quality or 0.2mm for everyday use; 0.16mm is usually a worse choice than either.
Can I use 0.4mm layer height with a 0.4mm nozzle?
Technically yes, but quality is poor. At 100% of nozzle diameter, layer adhesion is weak, overhangs fail above 30°, and visible layer lines are extreme. Use a 0.6mm or 0.8mm nozzle for layers above 0.32mm. The slicer typically blocks layer heights above 80% of nozzle width by default.
Why does my 0.1mm print look worse than my 0.2mm print?
Usually pressure advance / linear advance is wrong, causing extra over-extrusion at corners that becomes more visible at fine layer heights. Or print speed is too high — drop to 50mm/s for outer walls at 0.1mm. Or your printer’s Z-axis has backlash that’s hidden at 0.2mm but visible at 0.1mm; check Z-axis screw lubrication and motor coupler tightness.
Does adaptive layer height work for all models?
Best for organic models with mixed flat and curved surfaces. Works poorly on parts with consistent curvature (vases, perfectly cylindrical models) where the slicer can’t optimize. Always preview before printing — adaptive layers can produce color-banding artifacts on multi-color prints. Useful as a 20-30% time savings on the right model type.
What layer height is best for miniatures?
0.12mm is the standard for tabletop miniatures (28-32mm). Display miniatures over 60mm benefit from 0.08mm if your printer’s Z-axis is dialed in. Resin printing at 0.05mm beats any FDM layer height for miniatures; serious miniature painters print figures on resin and functional bases on FDM.