Tree supports and normal grid supports solve the same problem — holding up overhangs — but they fail differently when used on the wrong model. In ~40 words: use tree supports for tall complex models with multiple separate overhangs, and normal supports for short simple overhangs and bridges. Picking wrong wastes filament and damages support-touching surfaces. The tested decision rules below cover 95% of cases.
This guide compares both support types across the metrics that actually matter: filament consumption, print time, removal difficulty, and surface finish. The differences are surprisingly large — tree supports can use 40% less filament on the right model and 20% more on the wrong one. Knowing which to use is a meaningful skill that takes about a dozen test prints to internalize.
How Tree and Normal Supports Differ
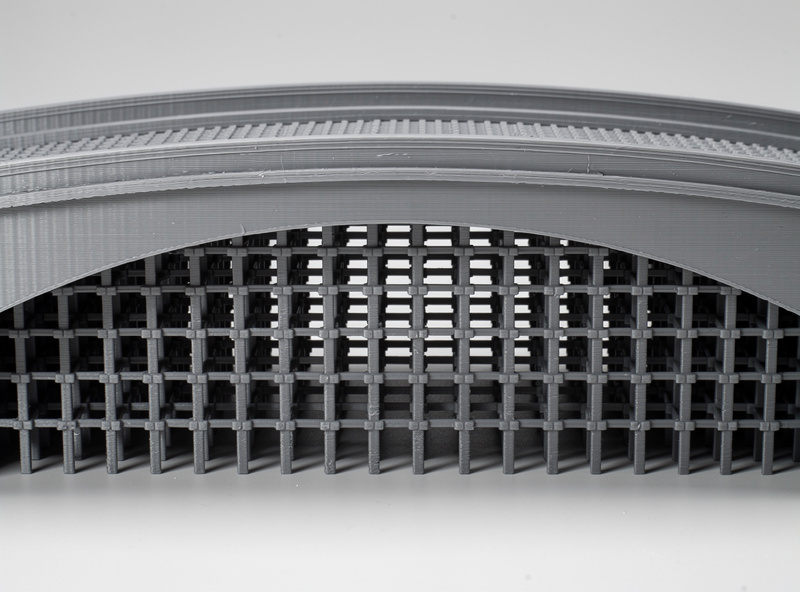
Normal supports (also called “grid” or “linear” supports) are dense rectangular columns of material that rise from the bed (or from the model surface) directly under each overhang. They’re predictable and reliable: every overhang gets a perfectly vertical scaffold supporting it.
Tree supports — sometimes called organic supports or branching supports — start as thin trunks at the bed and branch outward into multiple support tips that touch overhangs. The branching algorithm tries to find the most efficient path between bed and overhangs, often consolidating support for several nearby overhangs into a single trunk.
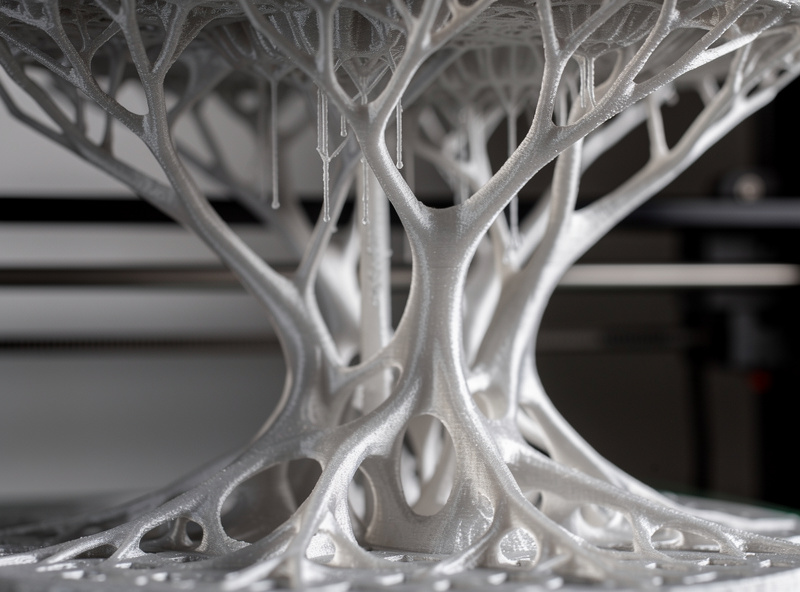
The visual difference is obvious at a glance. Normal supports look like a square grid of vertical columns; tree supports look like a sparse forest. The structural difference matters more: normal supports apply force along their full vertical length, while tree supports concentrate force at branch tips.
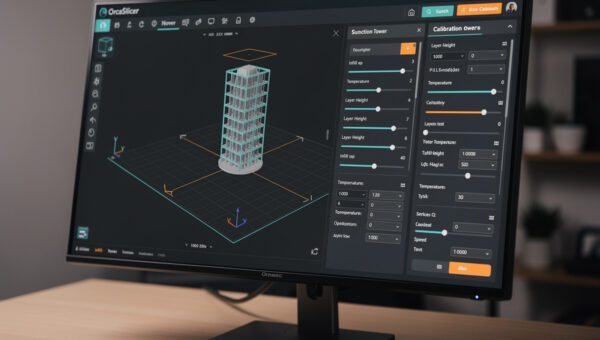
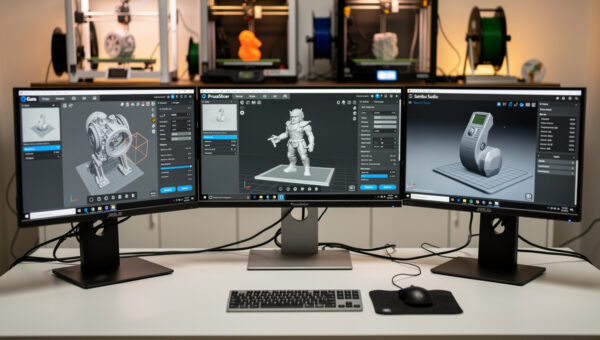
Both methods are configured in your slicer’s support settings. PrusaSlicer calls tree supports “Organic” supports (since 2.6); Cura calls them “Tree” supports; Bambu Studio and OrcaSlicer use “Tree” or “Organic” depending on version. The underlying math differs slightly between slicers — see the slicer comparison guide for which slicer’s tree supports perform best.
Filament Consumption and Print Time
For tall models (over 60mm) with multiple overhangs spaced apart, tree supports use roughly 30-40% less filament than normal supports. The branching algorithm shares trunks between nearby overhangs rather than building separate columns for each. This is the killer feature for figurines, statues, and anything with arms or capes.
For short models (under 30mm) or models with a single large overhang, tree supports use 5-15% MORE filament than normal supports. The branching overhead — the algorithm has to start with a trunk before branching — adds material that simple grid supports don’t need. For these prints, normal supports win.
Print time follows similar logic. Tree supports print 20-30% faster on tall complex models because there’s less total material; they print 10-15% slower on simple short overhangs because the branch path has more travel moves than a straight grid.
The break-even point is roughly 50mm tall with 2 or more separate overhangs. Below that, normal wins. Above that, tree usually wins. Always preview both and check the slicer’s filament estimate before committing.
Removal Difficulty
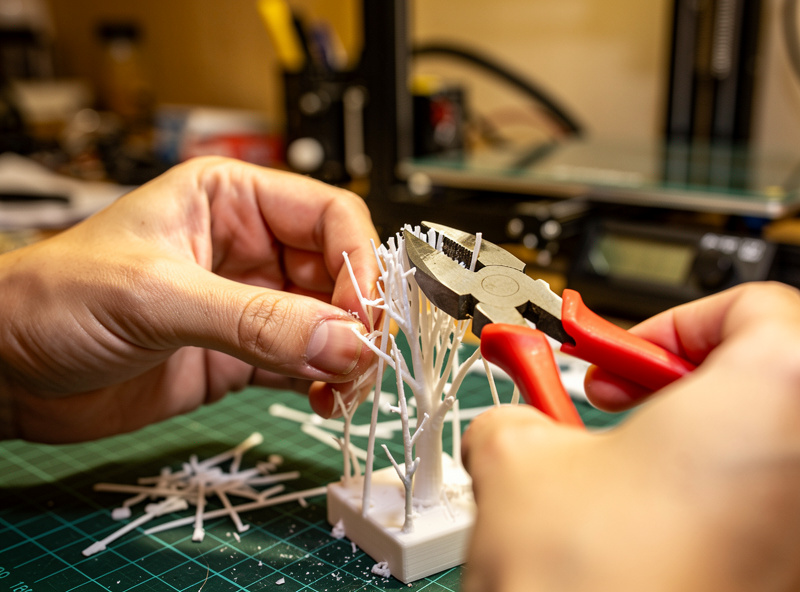
Tree supports detach more easily than normal supports in almost every case. The branch tips touch the model at small contact points; they peel off with hand pressure or a pair of side-cutters in 30-60 seconds. Cleanup time per print is minutes faster than with normal supports.
Normal supports detach by either snapping (if the support pattern is dense and the Z-distance is correct) or by being cut away with side-cutters in a labor-intensive process. For a print with 100 small overhangs, removing normal supports can take 10+ minutes. Tree supports for the same print: 2-3 minutes.
The exception: tree supports can fail catastrophically during the print, falling over before completing if the trunk is too thin or the branches reach too far. When this happens, you lose the entire print. Normal supports almost never fall over — they’re inherently more stable. For mission-critical prints (parts that must succeed first try), normal supports are the conservative choice.
Support-Touching Surface Finish
Tree supports leave a smaller witness mark on the support-touching surface — typically just a small dot where each branch tip contacted the model. Light sanding (220-grit) removes these marks in 10-15 seconds per dot.
Normal supports leave a flat raster pattern witness mark — basically a fingerprint of the support pattern impressed into the model’s underside. This mark is large, requires more sanding to fully remove, and on parts where the underside is visible (figurines, terrain pieces), tree supports produce visibly cleaner results.
For internal cavities or hidden faces where the support-touching surface won’t be visible, the witness mark difference doesn’t matter. Use whichever support method uses less filament. Our post-processing guide covers techniques for removing both types of witness marks.
When to Use Tree (Organic) Supports
Use tree supports for: Figurines and miniatures over 60mm tall. Statues and busts with arms, capes, or extended features. Cosplay armor pieces. Tall organic models with cavities. Models with multiple separate overhangs more than 20mm apart.
The classic example is a wizard miniature with a staff and outstretched arm. Normal supports would build separate scaffolding columns under each — under the staff tip, under the elbow, under the cape edge. Tree supports build a single trunk that branches to all three, using one-third the filament and detaching in seconds.
Tree supports also win on cosplay-scale prints (200-400mm tall) because their efficiency advantage compounds with height. A 300mm-tall pauldron with normal supports might use 80g of support material; the same model with tree supports might use 35g.
When to Use Normal (Grid) Supports
Use normal supports for: Short bridges (under 30mm spans). Functional parts where reliability matters more than filament efficiency. Prints with overhangs concentrated in one area. Single large overhangs (e.g., a printed shelf with one downward face). Tall thin geometry where tree trunks would tip over.
Mechanical parts — brackets, jigs, tool holders — usually print better with normal supports because the overhangs are typically large flat surfaces, not the irregular shapes tree supports excel at. Normal supports under a flat overhang also produce a more consistent surface than tree supports’ contact-tip pattern.
For functional prints where you need to know in advance how the support-touching surface will look, normal supports are more predictable. Tree supports’ branching algorithm produces slightly different results on each slice, even with the same model and settings — fine for art prints, less ideal for parts going onto a fixture you need to mate with.
Hybrid Approach: Painted Tree Supports
The best support workflow on most modern slicers is a hybrid: use tree-style supports as the base type, but paint Enforcers and Blockers manually to override automatic placement. This combines tree supports’ efficiency with manual control over surface quality.
In PrusaSlicer this means setting “Style” to “Organic” and “Generate Supports” to “For support enforcers only.” Then paint Enforcers on overhangs you want supported and Blockers on faces you want untouched. This typically reduces support filament another 20-30% beyond automatic tree supports while improving the surface finish on important faces.
For users new to support customization, see our PrusaSlicer custom supports guide — it walks through the paint-on workflow step by step. The same techniques work in OrcaSlicer with slightly different UI.
Frequently Asked Questions
Can tree supports fail mid-print?
Yes — if the trunk is too thin or the branches reach too far, supports can topple before completing. This usually happens on prints over 200mm tall with thin trunks. Increase trunk diameter to 4mm and reduce branch reach distance to prevent it. Normal supports almost never fail this way.
Why do tree supports use less filament than normal supports?
Tree supports share trunks between multiple nearby overhangs, while normal supports build separate columns for each. On a model with 5 overhangs spread across its height, tree supports might use 1 trunk feeding 5 branches; normal supports would use 5 separate columns. Filament savings of 30-40% are typical on tall complex prints.
Are tree supports better for miniatures?
Yes for miniatures over 60mm tall (most cosplay and display pieces), no for tabletop miniatures (28-32mm) where the branching overhead exceeds the efficiency gain. Tabletop miniatures usually print better with paint-on normal supports than with automatic tree supports.
Do tree supports work for ABS and PETG?
Yes, but with adjustments. ABS shrinks during cooling, which can pull tree branches inward and cause them to fail. Increase trunk diameter to 5mm and reduce branch angle for ABS. PETG works fine with stock tree support settings — its strong layer adhesion keeps branches stable.
Why do my tree supports leave bigger marks than expected?
The contact tip diameter is set too large in support settings. Drop branch contact diameter to 0.4mm (matching nozzle width) for minimum witness marks. Larger contact tips (0.8mm+) hold overhangs more reliably but leave visible dots that need sanding.
Can I use tree supports for bridges?
Tree supports work poorly on bridges — they want to support a span from below, but bridges typically don’t need that kind of support. For bridges under 30mm, no support is needed. For longer bridges, normal supports with bridging interface layers handle the load better than tree supports trying to bridge between branches.
What’s the trunk diameter setting and what should it be?
Trunk diameter controls the thickness of the main support stem from the bed. Default is usually 3mm. Increase to 4-5mm for tall prints (over 150mm) to prevent toppling. Decrease to 2mm for short prints to save filament. Trunks under 2mm are unstable and prone to falling.