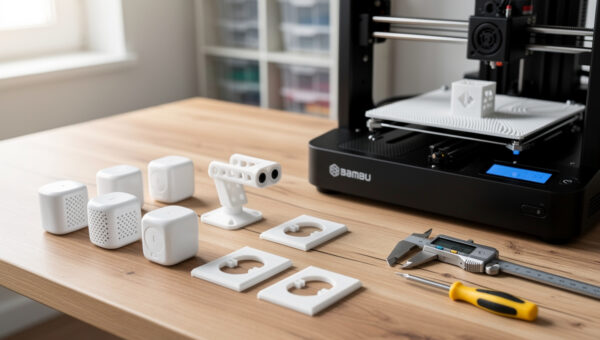
You can replace 80% of a $150 commercial drip-irrigation kit with $4 of PETG filament and a desktop 3D printer. The 10 most-printed garden parts — pressure-compensating emitters, four-way splitters, hose-end timer adapters, drip stakes, soaker manifolds, micro-sprinkler heads, end caps, garden bed corner risers, plant pot self-watering inserts, and adjustable flow regulators — cover most of a typical drip system on a small-to-medium garden. PETG is the only material that holds up to UV, water pressure, and seasonal cold without cracking.
This guide walks through which parts are worth printing (where you save money or get a custom fit) versus which to buy off-the-shelf, the print settings that actually matter for water-tight parts, and the open-source STL files that give you a working irrigation system over a single weekend.
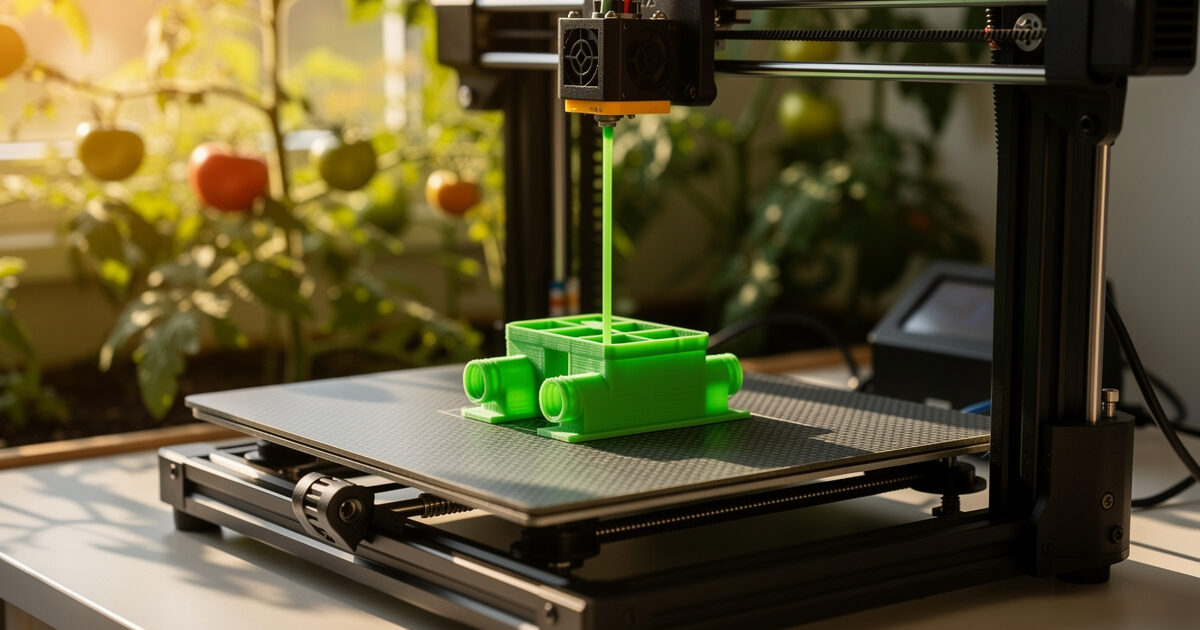
Why PETG and Not PLA
PLA fails outdoors within 4-12 weeks. UV breaks it down, summer heat softens it (glass transition at 60-65°C), and any expansion cycle on a press-fit irrigation joint causes leaks. PETG handles UV reasonably (with a UV stabilizer additive most filament brands include), tolerates 75-85°C, has 5-7x the impact resistance of PLA, and stays elastic at temperatures cold enough to crack PLA.
ASA and ABS are even better for outdoor durability but require enclosed printers and ventilation, which puts them outside the typical hobbyist setup. PETG hits the sweet spot for accessible-printer outdoor projects. The full chemistry comparison and brand recommendations live in our 3D printing materials guide — for irrigation specifically, look for “UV-stable” or “outdoor-rated” PETG.
Print Settings That Matter for Water-Tight Parts
Garden irrigation parts have one job: don’t leak. The slicer settings that determine whether a printed manifold or emitter is water-tight at 25-40 PSI:
- Wall thickness 1.6-2.0 mm. Four perimeters at 0.4 mm nozzle, or three perimeters at 0.6 mm. Below 1.2 mm, microleaks form along layer lines under pressure.
- Infill 100% for any pressurized region. Walls and bosses at the threaded interface need full infill — the rest of the part can be 30-40%.
- Layer height 0.2 mm or finer. Coarser layers create stair-step grooves on threaded surfaces that leak around hose adapters.
- Print orientation: pressure axis perpendicular to layer lines. Layer adhesion is weakest along the print Z-axis. Orient threaded ports horizontally so internal pressure pushes against the thicker wall direction, not splitting layers apart.
- Cooling 30-50% after layer 5. Too much cooling weakens layer adhesion (PETG’s main failure mode). Too little causes droopy overhangs on the manifold internals.
- Bed temperature 80°C, nozzle 240°C. Standard PETG, but go 5-10°C hotter than the filament spool says — better layer fusion, fewer print failures along the pressure-bearing walls.
The slicer-specific tuning details for these settings are covered in the best slicer software guide. PETG-specific stringing and quality issues — the most common print quality problem with this material — are covered in the PETG stringing fix walkthrough.
The 10 Most Useful Garden Parts to Print
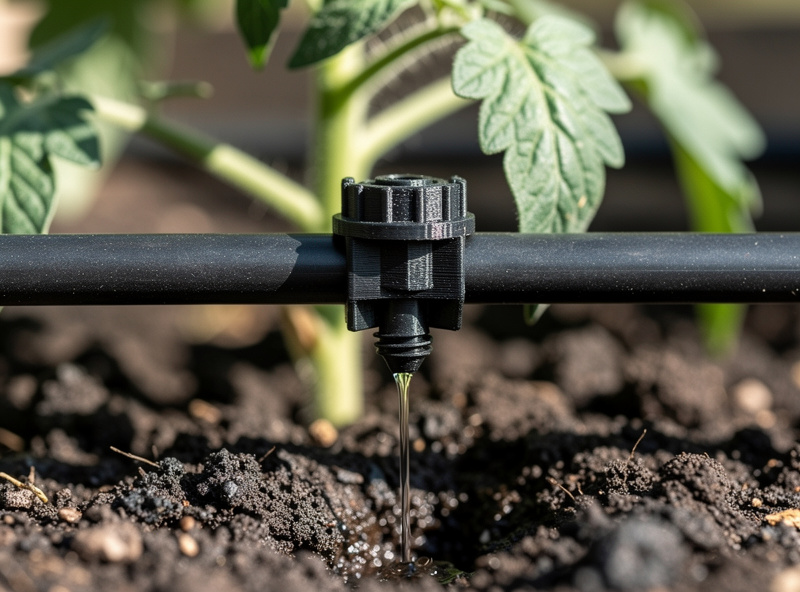
1. Pressure-Compensating Drip Emitters (1-4 GPH)
The single highest-value print. Commercial emitters cost $0.40-1.50 each; printed PETG emitters cost about $0.04 in filament. A 4-tomato bed needs 12-16 emitters. Multiple open-source designs deliver 1, 2, and 4 GPH flow rates by adjusting an internal labyrinth path length. Print time: 8-15 minutes each.
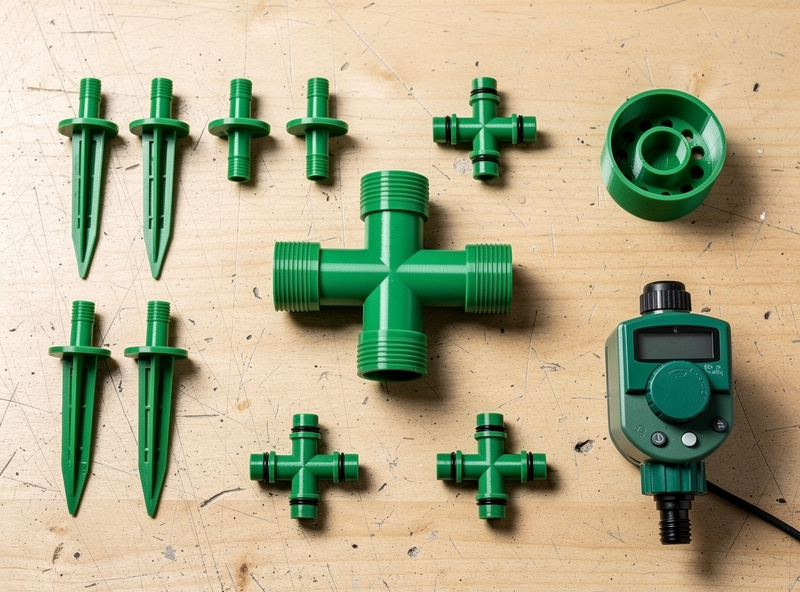
2. Four-Way Quarter-Inch Splitters
Splits one drip line into four branches. Commercial cost: $1-3 each. Printed: $0.10. Useful at every plant cluster on a multi-bed system. Print time: 20-30 minutes.
3. Adjustable Hose-End Timer Adapter
Adapts standard 3/4″ garden hose threads to a 1/2″ or 5/8″ drip line input, often with an integrated filter screen. Commercial: $4-8. Printed: $0.30. Print time: 1-1.5 hours.
4. Drip Stakes / Tubing Anchors
Holds 1/4″ tubing and emitters in place at the soil surface. Commercial: $0.30 each in bulk. Printed: $0.03. Useful in quantity (10-20 per bed). Print time: 4-6 minutes each.
5. Soaker Manifolds for Raised Beds
A custom-length manifold with pre-positioned emitter ports designed for the exact spacing of your raised bed. Commercial alternative: cobble together a soaker hose at $15-25 per bed. Printed custom: $0.50-1.50. Print time: 1.5-3 hours per manifold.
6. Micro-Sprinkler Heads
Small misting heads for dense planting (lettuce, herbs). Print time: 30-45 minutes. Commercial: $1-3 each. Quality is comparable when printed at 0.15 mm layer height.
7. End Caps and Line Plugs
Closes off the end of a drip run. Commercial: $0.40. Printed: $0.02. Trivial print, 5-8 minutes.
8. Garden Bed Corner Risers
Routes the drip line over a raised bed wall without crimping the tubing. Custom-printed for your specific bed wall thickness. Commercial alternative: doesn’t exist — this is a print-only solution. Print time: 30-45 minutes.
9. Self-Watering Pot Inserts
A printed insert that converts a standard pot into a self-watering planter with a built-in reservoir. Commercial: $8-15 per pot. Printed: $0.80. Print time: 2-4 hours per insert. The single biggest filament use case in the kit.
10. Inline Flow Regulators
Adjusts pressure in a section of drip line — useful when one bed is downhill from the source. Commercial: $5-12. Printed: $0.40. Print time: 45-60 minutes.
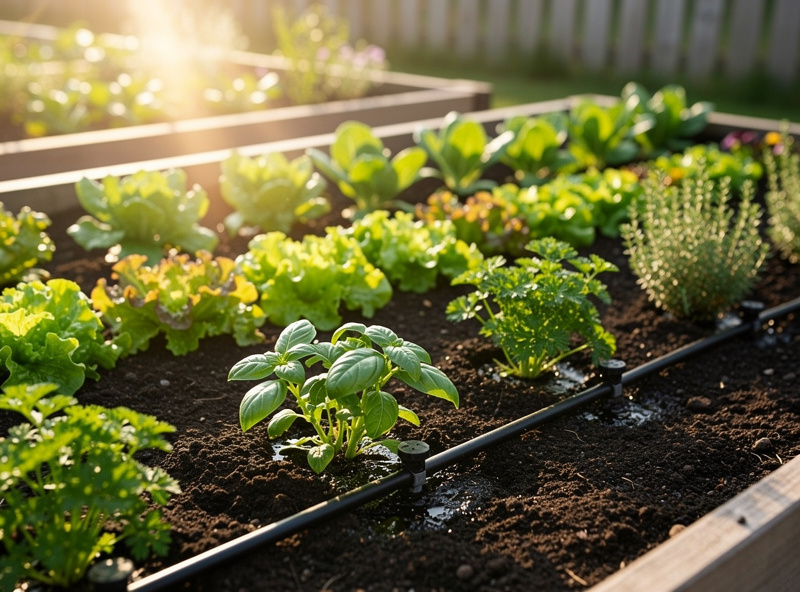
The Garden-Side Application Layer
The other half of this project is the gardening side — knowing which beds need which water schedule, which plants benefit from drip vs micro-sprinkler, and how to lay out the manifold for a multi-crop bed. Our partner site covers the application logic in the complete container gardening guide, which walks through bed layout, plant spacing, and the watering needs that determine drip emitter placement.
Cost Comparison: Print vs Buy
| Part | Commercial cost (each) | Printed cost (each) | Print time | Save per 4-bed garden |
|---|---|---|---|---|
| 1 GPH drip emitter (×16) | $0.65 | $0.04 | 10 min | $9.76 |
| 4-way quarter-inch splitter (×4) | $1.80 | $0.10 | 25 min | $6.80 |
| Hose-end timer adapter (×1) | $5.50 | $0.30 | 75 min | $5.20 |
| Drip stakes (×40) | $0.30 | $0.03 | 5 min | $10.80 |
| Soaker manifold custom (×4) | $18 (cobble) | $1.20 | 2.5 hr | $67.20 |
| End caps (×8) | $0.40 | $0.02 | 6 min | $3.04 |
| Self-watering pot inserts (×4) | $11 | $0.80 | 3 hr | $40.80 |
| Total per garden setup | $170 commercial | $11 printed | ~22 hr print time | $159 saved |
Where to Find Open-Source STL Files
Three repositories cover most of what is described above:
- Thingiverse — search “drip irrigation,” “PETG emitter,” “garden manifold.” 200+ files, mixed quality. Filter by recent uploads and high download counts.
- Printables.com — Prusa’s design library. Higher average quality, smaller selection. Search the same terms.
- MakerWorld — Bambu’s library, growing fast. Pre-tested print profiles for X1C / P1S.
Read the comments on any STL before printing — irrigation parts especially benefit from community-tested PSI ratings and durability reports. A “great for low-pressure drip” emitter that fails at 35 PSI is a common gotcha.
What to Print First
The lowest-effort starter weekend:
- Saturday morning: Print 16 drip emitters and 40 drip stakes (roughly 4-5 hours of print time).
- Saturday afternoon: Print 4 four-way splitters and 8 end caps (about 2.5 hours).
- Sunday morning: Print 1 hose-end timer adapter and 1 custom soaker manifold (4 hours).
- Sunday afternoon: Install the system. Pressure-test at 25-30 PSI before connecting to the timer.
Total filament: 80-110 g (about $2.50 of PETG). Total print time: 10-12 hours unattended. Total active build time: about 2 hours of installation work.
For broader inspiration on garden-adjacent 3D-printing projects, the practical 3D printing projects guide covers other backyard, garage, and outdoor uses where PETG outperforms PLA.
For background on the irrigation engineering side — pressure compensation, GPH math, and emitter placement spacing — the Utah State University extension drip irrigation primer and the Rain Bird landscape learning center are the two best free references.
Frequently Asked Questions
Will 3D-printed drip emitters actually hold water pressure?
Yes, when printed at 100 percent infill with 4 perimeters in PETG. Standard residential drip irrigation runs at 25-30 PSI; well-tuned printed emitters hold that pressure for full seasons without leaks. The settings that matter most are wall thickness (1.6-2 mm minimum), layer height (0.2 mm or finer), and print orientation with the pressure axis perpendicular to layer lines.
How long do PETG irrigation parts last outdoors?
UV-stabilized PETG holds up for 2-4 full seasons in direct sunlight before noticeable embrittlement. Parts buried under mulch or soil last 5+ years. PLA in the same conditions fails in 4-12 weeks. ASA or polycarbonate would last longer but requires an enclosed printer most hobbyists do not have.
What slicer settings prevent leaks on printed manifolds?
Four perimeters at 0.4 mm nozzle, 100 percent infill in pressurized regions, 0.2 mm layer height or finer, bed temp 80 C, nozzle 240 C, and 30-50 percent cooling after layer 5. Most importantly, orient the part so internal pressure pushes against thick walls rather than splitting layer lines apart.
How much do I save vs buying commercial drip irrigation parts?
For a 4-bed garden setup, printing roughly 70-80 parts costs about $11 in PETG filament versus $170 in commercial drip irrigation parts. Total savings around $159, with the print time amortized across an unattended weekend. The custom-fit soaker manifolds account for the largest single savings.
Can I use PLA instead of PETG to save money?
No — PLA fails outdoors within 4-12 weeks from UV exposure and summer heat softening. The cost difference between PLA and PETG is roughly $4 per kilogram, and the durability difference is dramatic. Use PETG for any outdoor irrigation part.
Where do I find STL files for irrigation parts?
Thingiverse has the largest selection (search ‘drip irrigation’ and ‘PETG emitter’), Printables.com has higher-quality curated designs from the Prusa community, and MakerWorld has the fastest-growing library with pre-tuned print profiles for Bambu printers. Read the comments before printing to confirm community-tested PSI ratings.
Do I need a special 3D printer for irrigation parts?
No — any modern FDM printer (Bambu A1, Prusa MK4, Ender 3 V3) handles PETG well at the size and complexity of irrigation parts. The biggest factor is bed adhesion (PETG sometimes sticks too well to PEI sheets — use a glue-stick release layer) and good cooling after the first few layers.