3D-printed smart-home mounts cost roughly 0.50 USD in filament each, fit your wall geometry exactly, and replace 6-12 USD off-the-shelf brackets that almost-but-not-quite work. The three patterns that pay back the printer fastest are sensor enclosures (motion, door contact, leak), camera and outdoor brackets, and outlet covers that hide the cable run for a smart plug or in-wall switch. PETG is the right filament for indoor mounts; ASA wins outdoors.
This guide walks the design files, filament selection, and print settings for each mount type. Models target a Bambu A1, Prusa MK4, or any 220x220mm bed printer; nothing here needs an exotic material or a 0.2mm nozzle. Total time from “design picked” to “mount on wall” runs 90-180 minutes per part.
Why Print Smart-Home Mounts Instead of Buying
Off-the-shelf mounts are designed for one wall material, one cable orientation, and one device generation. The Aqara TVOC sensor your home already runs may not match the bracket sold for the newer Aqara Air Quality Pro; an Eve Energy outlet plate may not align with a 1980s receptacle box; a Reolink camera bracket sized for stucco does not seat well on hardiplank siding. Custom prints solve these mismatches in hours.
The economics are direct. A 12g PETG sensor enclosure costs about 0.30 USD in filament, prints in 75 minutes, and replaces a 9 USD store-bought bracket that needs an angle-grinder mod to fit your specific door frame. After eight prints, the printer has paid back its plate slot for that month — and that is before counting the brackets that simply do not exist in any store. The general project economics math is on the practical 3D printing projects guide.
The third advantage is iteration. A first print is rarely the right print. Tighten a tab, add a cable channel, recess a magnet, redrill the screw spacing — three iterations is normal, and the entire iteration loop costs under 2 USD in filament and 4 hours of print time. Off-the-shelf brackets cannot iterate; they fit or they go in the drawer.
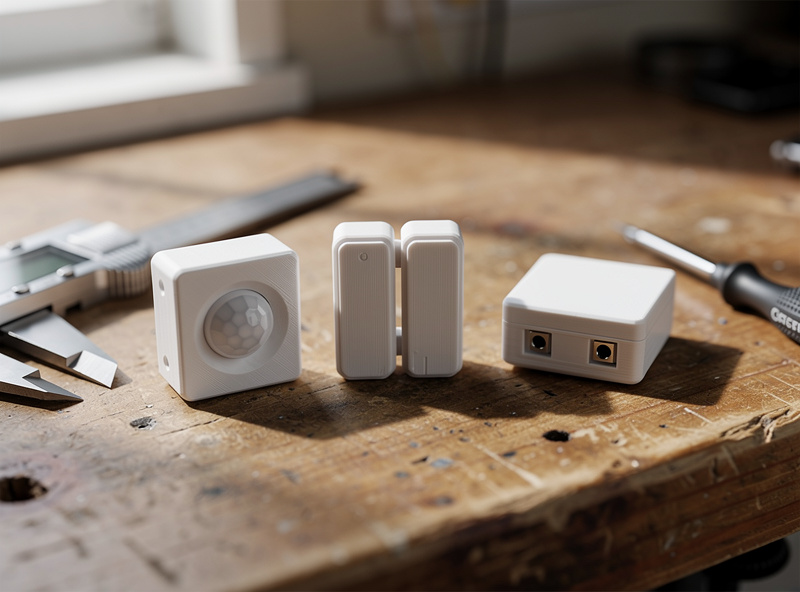
The Three Mount Patterns That Pay Back Fastest
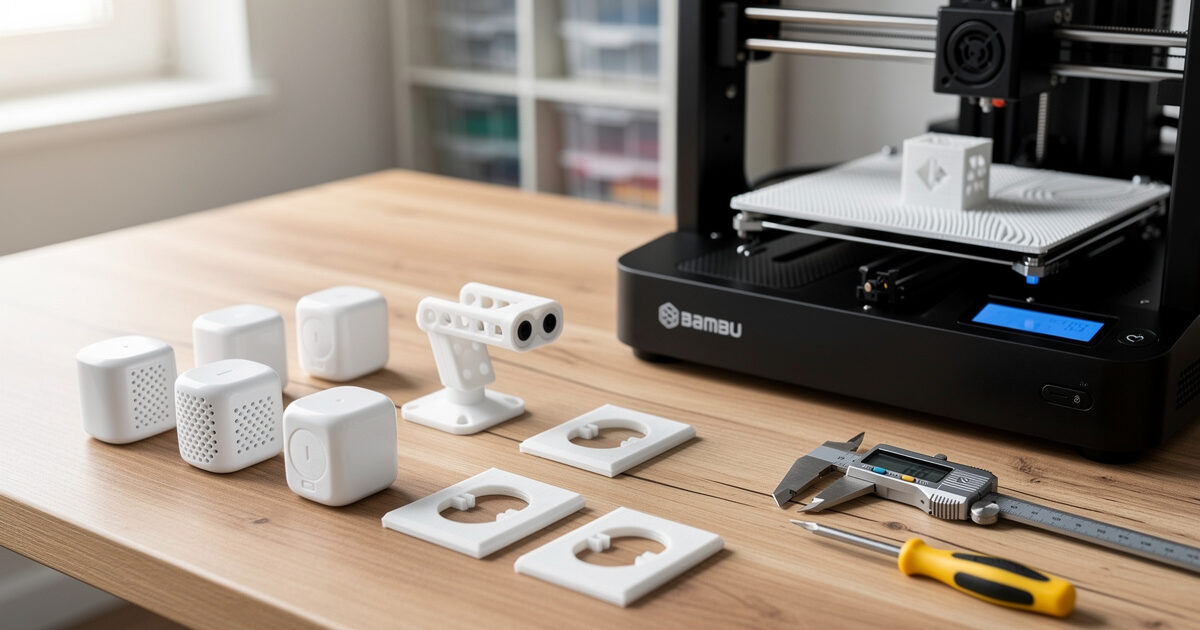
The first pattern is the sensor enclosure. Most Wi-Fi and Zigbee sensors ship as a small disc or cube that needs a wall- or door-mounted holder. Print a low-profile shell with screw mounts, a cable channel for any wired sensors, and a magnet recess for tool-free removal during battery swaps. PETG handles indoor humidity and UV from a south-facing window without yellowing.
The second pattern is the camera bracket. Outdoor IP cameras and indoor pan-tilt cameras both ship with weak generic mounts that fight wall geometry. Print a bracket sized to your camera’s mounting holes with the exact angle your sight-line needs, then add a cable channel that runs to a discrete entry point. ASA outdoors, PETG indoors. The bracket pattern from the chicken keeper printable items guide ports directly to security cameras.
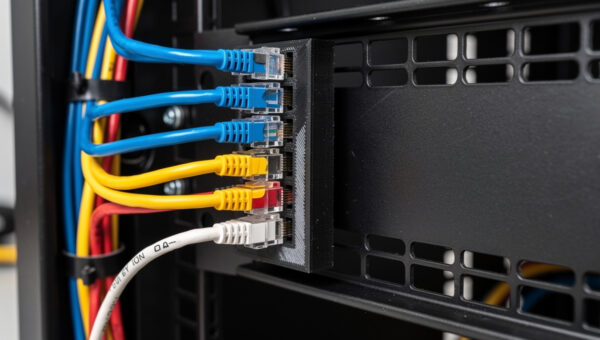
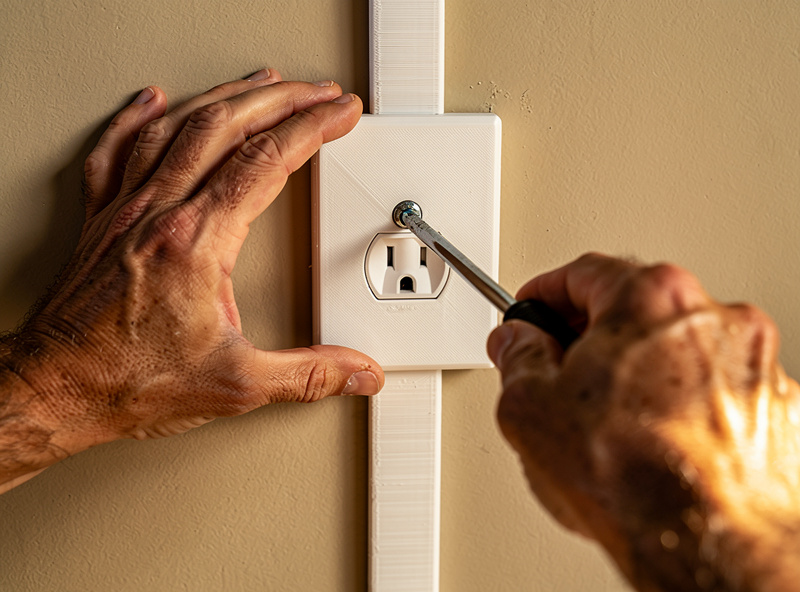
The third pattern is the outlet cover and switch plate. In-wall smart plugs, smart switches, and smart dimmers usually sit slightly proud of a 1980s receptacle box. A 3D-printed cover plate sized to your specific switch eliminates the ugly gap and lets you route a small Cat6 cable for hardwired devices through a printed channel. Prints in 22-30 minutes per cover.
Filament Selection: PETG, ASA, or PLA
PETG is the indoor default. It tolerates 70°C without warping (matters for sensors near a vent), shrugs off humidity, and is dimensionally stable on functional parts. ASA is the outdoor pick because UV does not yellow it like PLA and PETG; ASA also handles freeze-thaw cycling without microcracking. Skip PLA for any mount that holds a sensor — the long-term creep at room temperature loosens screw tabs over months.
| Filament | Best For | Indoor / Outdoor | Print Difficulty | Cost / kg |
|---|---|---|---|---|
| PETG | Sensor enclosures, indoor brackets | Indoor | Easy | 20 USD |
| ASA | Outdoor cameras, garden sensors | Outdoor | Medium | 32 USD |
| PLA+ | Cable channels, low-stress covers | Indoor only | Easy | 22 USD |
| PA-CF | Heavy outdoor brackets, structural | Outdoor | Hard | 60 USD |
| TPU 95A | Cable strain reliefs, gaskets | Either | Medium | 30 USD |
Drying matters for PETG and especially ASA. Wet filament prints stringy and cracks under load — both deal-breakers for a wall-mounted bracket. Dry PETG at 65°C for 4 hours; ASA at 80°C for 6 hours. The detailed drying protocol lives on the how to dry 3D printer filament guide, which covers methods, times, and temperatures by polymer.
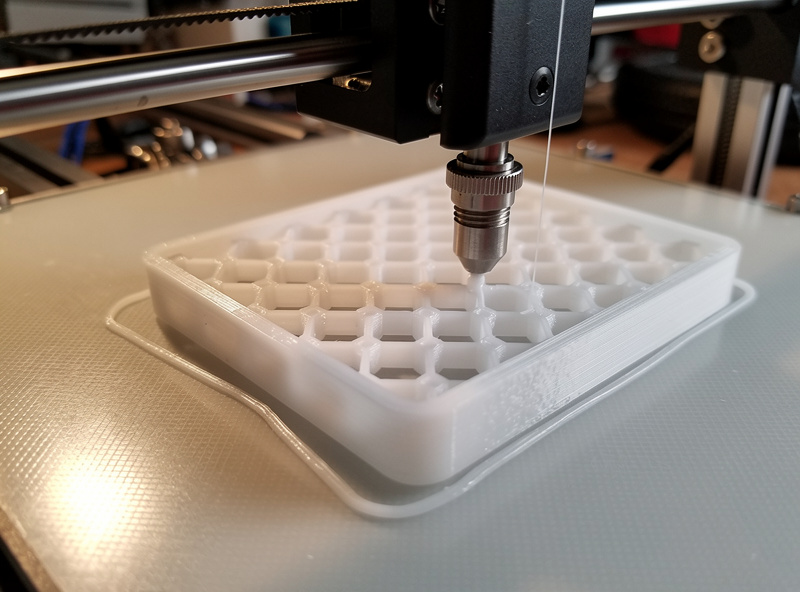
Print Settings That Matter for Mounts
The four print settings that decide whether a mount lasts five years are wall count, infill, bottom layer count, and orientation. Three perimeter walls are the minimum for parts that take screws. 25-40% infill (gyroid for impact, grid for stiffness) covers most use cases. Five bottom layers prevent screw-tabs from delaminating under torque. Print orientation should align the strongest direction with the load — usually that means screw tabs flat on the bed.
Layer height is less important than people think. 0.2mm prints faster and looks fine for hidden mounts; 0.16mm reads cleaner if the mount sits at eye level near a window. Speed: 80-120mm/s for PETG on a Bambu A1 or Prusa MK4 produces dimensionally accurate parts; below 60mm/s wastes time, above 150mm/s introduces visible artifacts on outer walls.
Slicer choice does not matter much for these prints. PrusaSlicer, Bambu Studio, and OrcaSlicer all produce equivalent quality for low-feature mounts. The setting that does matter is bridging — sensor enclosures often have a small ceiling over the cable channel that benefits from the slicer’s bridge-detection setting turned on with cooling at 100%.
Designing Your Own Mounts in 30 Minutes
Most mount designs take 30-45 minutes in Fusion 360, OpenSCAD, or Onshape. Start with the device’s exact mounting hole spacing (calipers, do not trust the manufacturer datasheet), then offset by 2-3mm for the wall, add tab geometry for the screws, and finish with a cable channel sized to your specific cable diameter plus 1mm clearance. Save as STL and slice.
Use parametric design where possible. A single OpenSCAD file with screw_spacing, cable_diameter, and wall_thickness as variables generates eight different sensor enclosures from one base. This pays off when the same Aqara sensor moves from a door to a window to a shed wall over two years — you re-export with new dimensions instead of redesigning.
For inspiration and ready-to-print files, the smart home VLAN setup guide on Home Auto Central covers the device-placement logic that drives these mount designs (which sensors go where dictates which mounts you need to print first). Match the print queue to the network topology and you will not print a mount you do not actually need.
Frequently Asked Questions
What is the best filament for 3D-printed smart home mounts?
PETG is the indoor default for smart home mounts. It tolerates 70 degrees Celsius without warping, resists humidity, and stays dimensionally stable. Use ASA for outdoor cameras and garden sensors because UV does not yellow it like PLA or PETG.
How much does it cost to 3D print a sensor enclosure?
A typical 12-gram PETG sensor enclosure costs about 0.30 USD in filament. Print time is 60-80 minutes on a 0.4mm nozzle at 0.2mm layer height. After eight prints the printer pays back its plate slot for the month versus store-bought brackets.
Can you 3D print outdoor smart home mounts?
Yes, with the right filament. ASA is the outdoor pick because UV does not yellow it and freeze-thaw cycling does not microcrack the part. PA-CF works for heavier loads. Avoid PLA outdoors because long-term creep at warm temperatures loosens screw tabs.
Will 3D-printed smart home mounts last?
Indoor PETG mounts last 5+ years with no measurable degradation. ASA outdoor mounts last 5-10 years depending on UV exposure. The failure mode is almost always print-quality, not material — three perimeter walls and 30 percent infill is the minimum for any screw-bearing part.
What size printer do I need for smart home mounts?
Any 220x220mm bed printer (Bambu A1, Prusa MK4, Ender 3) handles every common smart home mount. Larger 256mm or 300mm beds let you print multi-room sensor sets in a single batch but are not required for individual mounts.
Where can I find STL files for smart home mounts?
Printables, Thingiverse, and MakerWorld host thousands of free STL files for popular sensors (Aqara, Eve, Sonoff). Search by device model name. For obscure or new devices, designing a custom mount in Fusion 360 or OpenSCAD takes 30-45 minutes from calipers to STL.