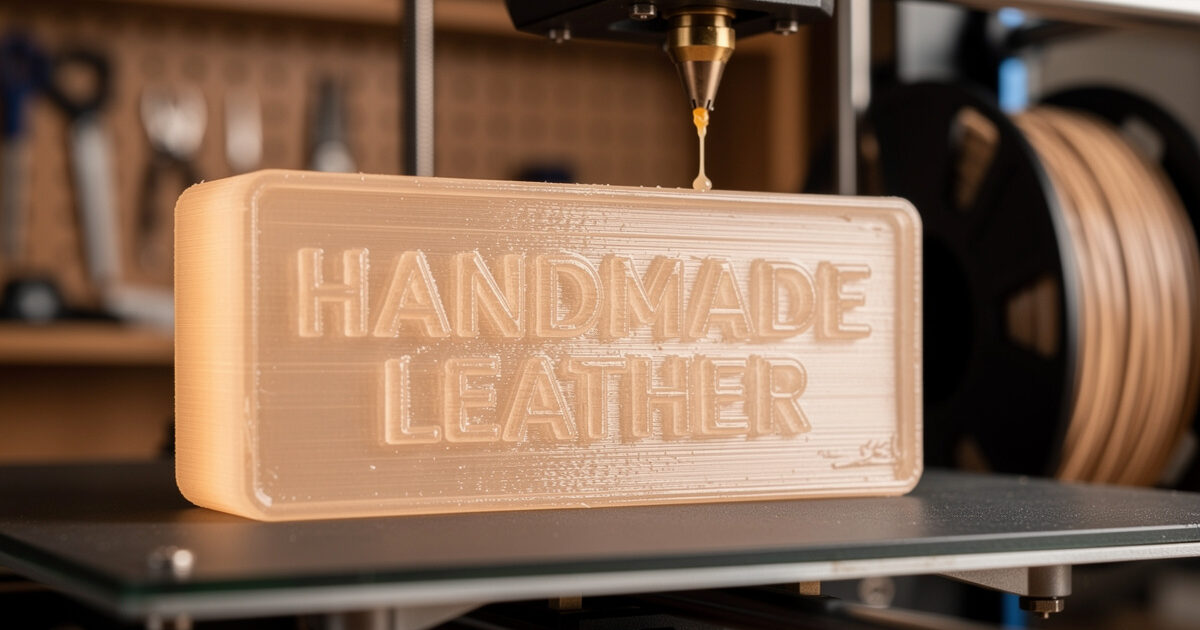
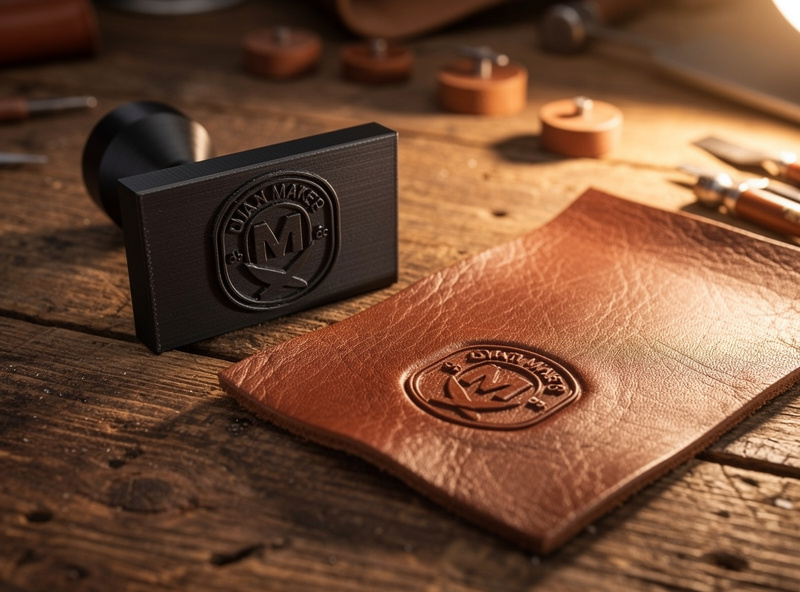
A 3D-printed leather stamp presses the same crisp maker’s mark as a $40 brass stamp, using 80 cents of PETG filament. PLA softens after 20–30 impressions, but PETG at 100% infill holds detail past 100.
The reason is the glass transition temperature. Per Prusa Research material specifications, PLA softens above roughly 55–60°C, PETG holds shape to about 80°C, and ABS pushes to roughly 105°C — and stamp faces see both compression and (optionally) heat-setting on dry leather. That is why the material choice and the 100% infill matter more than the printer brand. A stamp face that flexes is a stamp face that gradually goes shallow on the leather.
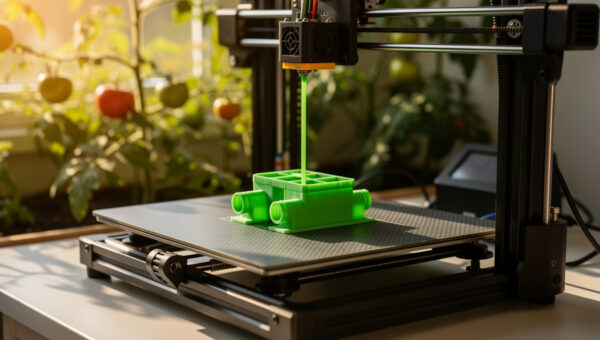
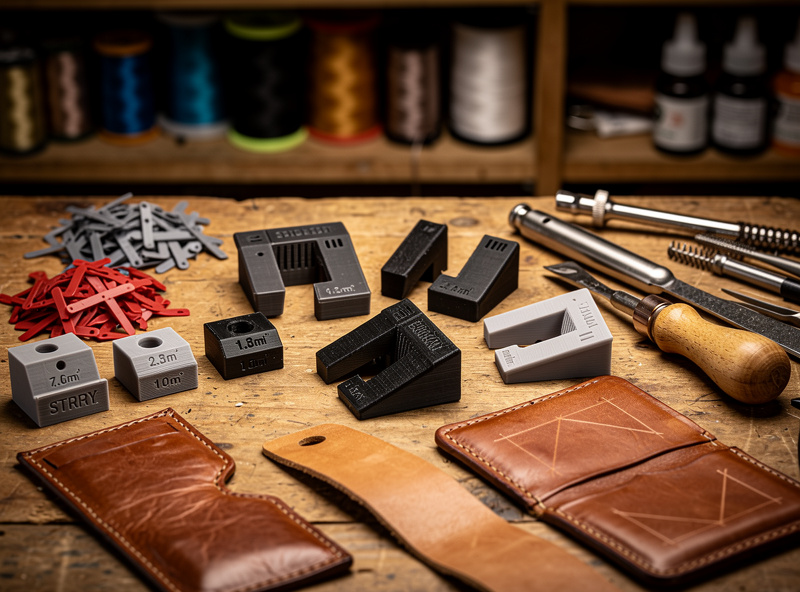
In my workshop the 3D printer has printed more leatherworking jigs than actual 3D-printed things — stamp handles that fit standard arbor presses, edge slickers with burnishing grooves, form blocks for wet-molding leather, and alignment jigs that hold stitching chisels at exactly 90 degrees. The leather-specific design knowledge — how deep to emboss, which leather weights take a stamp, and how to finish the impression so it reads — lives on leathercrafthaven.com’s leatherworking tools guide, where the stamp selection, casing technique, and mallet weight recommendations are covered in detail. What this article covers is the printer side: the material, the settings, and the design workflow that turns a logo into a working stamp in under two hours.
Why PETG Beats PLA for Leather Stamps
PLA prints fast and looks clean, but it has two problems as a leather stamp: it creeps under sustained pressure (the stamp face slowly deforms over multiple impressions), and it softens above 60°C (140°F), which makes it useless if you ever want to heat-set the stamp for a deeper impression on dry leather. PETG has a glass transition temperature of 80–85°C (176–185°F) and does not creep under the 5–15 kg of force that a hand press or arbor press applies to a stamp face. ABS is even better — 105°C glass transition — but the warping and fume issues make it a worse choice for small tooling unless you have an enclosure already dialed in. Tensile and compression behavior of FDM-printed parts is characterized using ASTM D638 (tensile) and ASTM D695 (compression); PETG’s higher Tg and lower creep show up clearly in those tests against PLA at the same infill.
The print settings that matter for a working leather stamp are:
- Infill: 100%. Any void inside the stamp body compresses under press force and the impression gets shallower with each use.
- Walls: 4–5 perimeters. The stamp face takes compression across its entire surface, and perimeters carry load better than infill because they are continuous extrusions.
- Layer height: 0.12 mm on the stamp face. The embossed detail in leather is only 0.3–0.8 mm deep, and a 0.2 mm layer height leaves visible stair-stepping on curved lettering.
- Top solid layers: 6–8. The stamp face is a compression surface and needs enough solid material to transfer force without the infill pattern telegraphing through to the leather.
Designing the Stamp Face for Leather
The stamp face needs a raised design 1–2 mm above a flat base. If the raised portion is too shallow (under 0.5 mm), the leather relaxes back and the impression fades within hours of stamping. If it is too deep (over 2.5 mm), the stamp cuts through the leather surface instead of compressing it, especially on thin leather under 3 oz (1.2 mm). The sweet spot is 1.0–1.5 mm of raised detail, which compresses the leather fibers without severing them.
Text on the stamp face must be mirrored — this is the mistake that ruins the first stamp for almost everyone. The way I handle it in the slicer is to design the text as normal (readable) in CAD, then mirror the entire stamp body along the X-axis before exporting the STL. If you design the text already mirrored in CAD and forget that you did, you will mirror it again in the slicer and end up with a readable stamp that produces a mirrored impression. I have done this twice.
| Leather Thickness | Stamp Depth | Force Required | Result |
|---|---|---|---|
| 2–3 oz (0.8–1.2 mm) | 0.8–1.0 mm | 3–5 kg | Sharp detail, no cut-through |
| 4–5 oz (1.6–2.0 mm) | 1.0–1.5 mm | 5–10 kg | Deep emboss, wallet-weight leather |
| 6–7 oz (2.4–2.8 mm) | 1.5–2.0 mm | 10–15 kg | Belt and strap impression |
| 8–10 oz (3.2–4.0 mm) | 2.0–2.5 mm | 15–20 kg | Heavy stamp, arbor press recommended |
The leather must be cased — dampened with water until the surface just begins to dry but the fibers are still swollen — before stamping. Dry leather does not take an impression from a plastic stamp. The casing water swells the leather fibers, they compress under the stamp, and the impression sets permanently as the leather dries. A plastic stamp on dry leather bounces back with zero visible impression, which is the second lesson most people learn the hard way after the mirroring mistake.
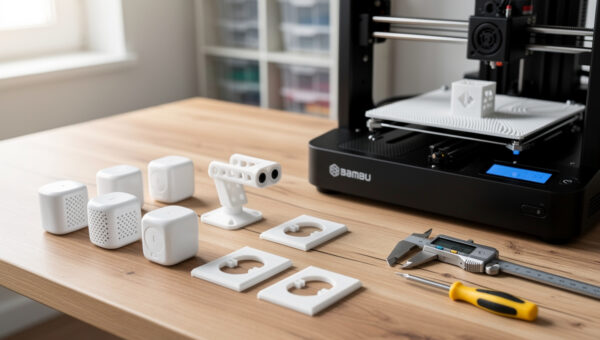
Beyond Stamps: Jigs, Form Blocks, and Edge Tools
The stamp is the entry-level 3D-printed leather tool. Once the stamp workflow works, several other printed tools produce results better than their commercial equivalents:
Stitching chisel alignment jigs are the single most useful printed leather tool I have made. A block with a slot that holds a stitching chisel at exactly 90 degrees to the leather surface, with a fence that runs along the leather edge, produces straighter stitch lines than freehand chisel work and costs about 40 cents of filament. The commercial equivalent — a stitching guide or a chisel alignment tool — runs $15–25.
Form blocks for wet-molding are the second category. Printing a positive mold of the shape you want the leather to take — a phone case, a watch strap curve, a card holder pocket — and wet-molding the leather over it produces consistent shapes without the woodworking step of carving a form block. PETG at 20% gyroid infill holds shape against wet leather for the 24-hour drying period without deforming. I print form blocks with a 0.6 mm nozzle and 0.3 mm layer height because surface finish on the mold does not transfer to the leather — the leather grain hides layer lines.
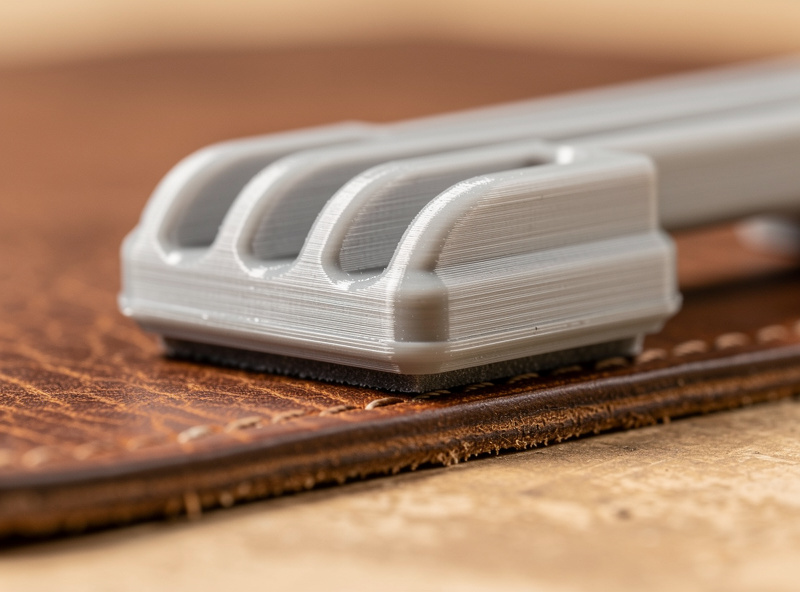
Edge slickers and burnishers are the third category, and the one where the 3D-printed version actually outperforms the wood version. A printed burnisher with 3–4 concentric grooves of different radii replaces a set of wood edge slickers. The PETG surface burnishes leather edges nearly as well as a wood slicker when rubbed with Tokonole or gum tragacanth, and the printed version costs 30 cents to replace when the grooves wear smooth after a few hundred edges.
What I’d Start With If I Were Building Stamps Today
If I were starting from zero this week, I’d buy a single $20 spool of Prusament or Polymaker PETG in a dark color (so the stamp face is easy to inspect for layer defects under workshop light) and print three test stamps at 100% infill, 5 perimeters, 0.12 mm layers — same maker’s mark, three different raised depths (0.8, 1.2, and 1.6 mm) — then stamp all three into a scrap of 5 oz veg-tan and pick the depth that read best after the leather dried. The one mistake to dodge is the double-mirror trap from the design section — mirror in the slicer only, never in CAD. For the leather side of the work (casing water, mallet weight, finishing the impression with neatsfoot), leathercrafthaven.com’s tools guide picks up where the printer leaves off. One concrete takeaway: a working stamp costs 80 cents and an afternoon, not $40 and a custom-order wait.
Frequently Asked Questions
How long does a 3D-printed leather stamp last?
PETG stamps printed at 100% infill with 5 perimeters last 100–200 impressions on properly cased veg-tan leather before the fine detail begins to soften. PLA stamps last 20–30 impressions before the stamp face deforms. A well-printed PETG stamp costs about 80 cents to replace, so the economics favor reprinting rather than trying to make one stamp last forever.
Can I heat-set a 3D-printed stamp for deeper leather impressions?
PETG stamps can be heated to 50–60°C (120–140°F) with a heat gun before pressing for a deeper set on dry leather, but do not exceed 70°C or the stamp face will soften and lose detail. ABS stamps can handle 80–90°C for heat-setting. PLA stamps should never be heated — they soften at 55–60°C and deform on contact.
What 3D printer do I need to make leather tooling?
Any printer that can print PETG reliably will work. Even a basic Ender 3 or Prusa Mini produces leather stamps with enough detail for maker’s marks and simple tooling patterns. The limiting factor is not the printer but the filament: PETG is the minimum, and a hardened steel nozzle is recommended because PETG is more abrasive than PLA over hundreds of hours.
Can I print a leather stamp in resin instead of filament?
Standard photopolymer resin is too brittle for stamping — the raised detail will crack or chip within 5–10 impressions. Tough or engineering resins (Siraya Tech Blu, Anycubic Tough) can work but cost 3–5× more than PETG filament per stamp and offer no meaningful improvement in impression quality. Filament printing is the practical choice for leather tooling.
How do I get the 3D-printed stamp impression to stay permanent in leather?
Three steps: case the leather properly (dampen until the surface just begins to return to its natural color), press the stamp with 5–15 kg of sustained force for 5–10 seconds, and let the leather dry completely before handling. Optionally, apply a light coat of neatsfoot oil after drying to set the compressed fibers and darken the impression for contrast.
What is the best 3D modeling workflow for leather stamps?
Fusion 360 or Tinkercad for the stamp body, export as STL, mirror in the slicer (not in CAD — mirror the final STL to avoid double-mirroring errors). Design the raised detail 1.0–1.5 mm above the stamp face. Add a 2 mm chamfer around the base of the raised detail to prevent the stamp from cutting the leather fibers.