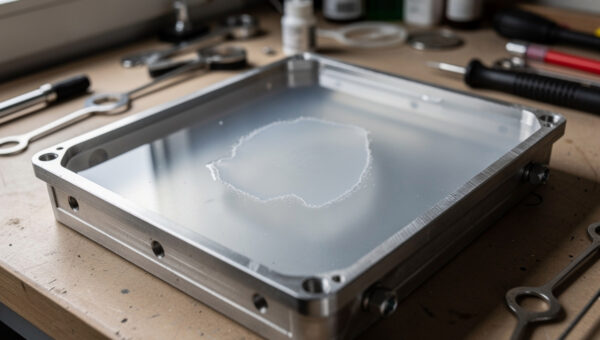
A resin print isn’t finished when it leaves the build plate — it’s a sticky, only partially cured part covered in a film of uncured resin that has to be washed off and then UV-cured before the model reaches full strength. A wash-and-cure station automates both steps, but you can do the same job with two jars and sunlight if you understand what each step is actually for. Getting this routine right is the difference between durable, clean prints and tacky, weak ones.
I came to resin from an FDM-first bench, where post-processing is optional, so the mandatory wash-and-cure routine was the biggest adjustment. What follows is how I think about the two steps, whether a dedicated station earns its money, and a budget setup that works just as well — cross-checked against what experienced resin operators report. It pairs with the wider process in the complete resin printing guide.
Why Washing and Curing Are Both Mandatory
Washing strips the uncured resin off the print; curing finishes the polymerisation the printer started. Skip the wash and you UV-cure that sticky surface residue into a permanent tacky, frosted layer that ruins detail and feel. Skip the cure and the part stays soft, weak, and chemically active — still a sensitiser you shouldn’t handle bare-handed.
The two steps happen in order for a reason: wash first to remove residue, dry the part, then cure. Curing a part that’s still wet with uncured resin defeats the point. Once a print is washed and fully cured it’s inert and safe to sand and paint, which is the whole reward — but only if you don’t shortcut either step. This routine is also why resin printing asks for more of your time per print than FDM, even when the printer runs unattended.
Washing: IPA, Water, and Technique
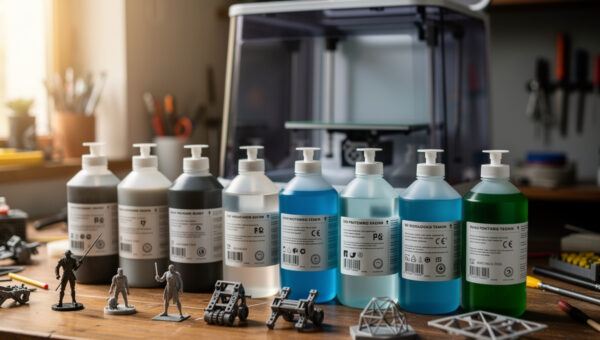
Washing means agitating the part in a solvent that dissolves uncured resin. For standard resin that’s isopropyl alcohol, ideally 90%-plus; for water-washable resin it’s plain water. Agitation matters more than soak time — moving the part or the liquid strips residue far faster than letting it sit. A common two-stage approach uses a “dirty” first bath to remove the bulk and a “clean” second bath for the final rinse, which makes your IPA last much longer.
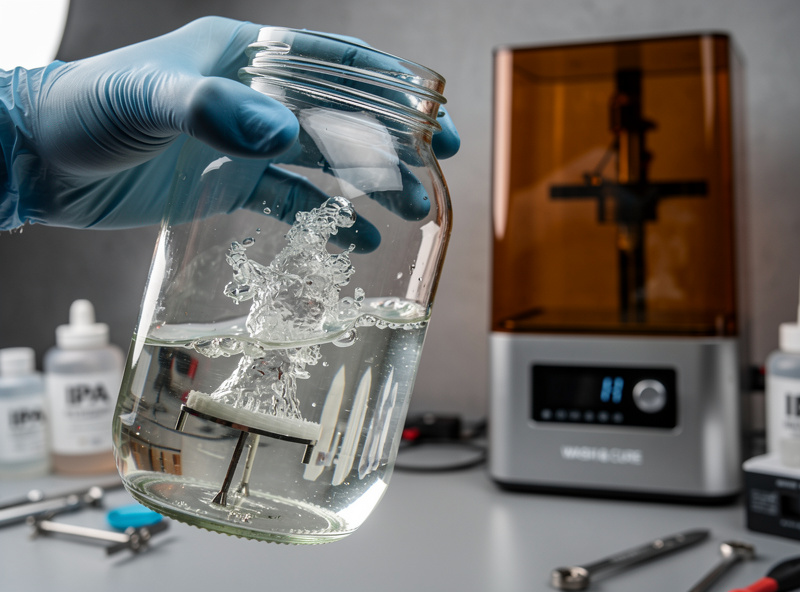
Don’t over-wash. Leaving a print soaking in IPA for many minutes can soften fine details and cause surface defects, so a couple of minutes of active agitation usually beats a long soak. After washing, dry the part fully — compressed air or a few minutes of air-drying — because any trapped solvent or water under-cures the surface when you move to the UV step. The IPA, once cloudy with dissolved resin, can be regenerated: leave it in the sun to cure the resin out as sludge you can filter, then reuse the clearer alcohol.
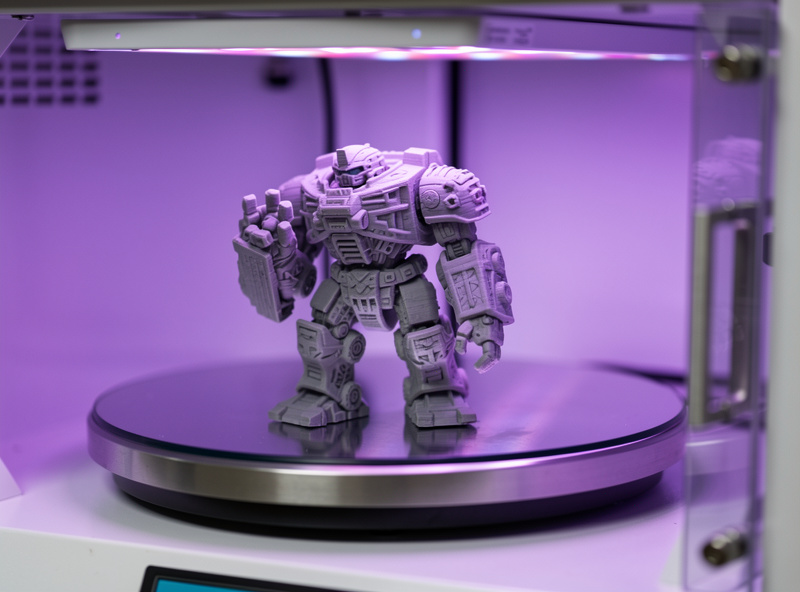
Curing: Getting It Right Without Over-Doing It
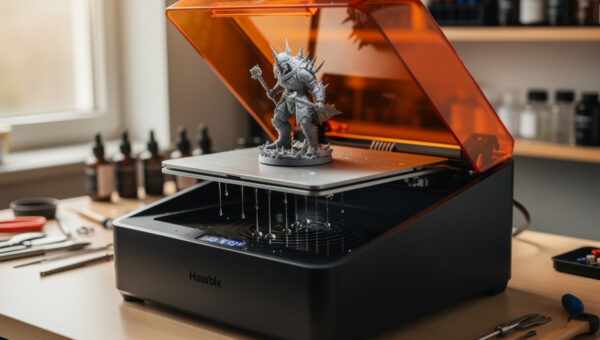
Curing exposes the washed, dried part to UV light to complete polymerisation, and the key skill is stopping at the right point. Under-cure and the part stays weak and slightly flexible; over-cure and it turns brittle, can discolour or yellow, and may develop surface cracks. More cure time is not better — there’s a sweet spot, and it’s shorter than most beginners assume.
Rotating the part during curing matters because UV travels in straight lines; a turntable or a station with a reflective interior ensures every face gets even exposure, avoiding soft shadowed spots. Cure times depend on the resin, the part size, and the UV source’s power, so a small test part is the cheapest way to find your number. Sunlight cures resin too — it’s free and effective — but it’s slow, weather-dependent, and easy to overdo if you forget the part on a windowsill all afternoon.
Dedicated Station vs. DIY Setup
A combined wash-and-cure station automates the agitation and gives you a controlled, repeatable, timed cure with even UV — that consistency is what you’re paying for, plus a tidy enclosed workflow that contains mess and light. For someone printing regularly, the time saved and the repeatability are worth it. For someone printing occasionally, a DIY setup does the same job for a fraction of the cost.
| Approach | Wash | Cure | Cost | Best For |
|---|---|---|---|---|
| All-in-one station | Motorised agitation, basket | Timed, rotating, even UV | Higher | Frequent printing, repeatability |
| Wash-only station | Motorised agitation | Sun or separate UV lamp | Medium | Washing convenience on a budget |
| DIY jars + turntable | Manual shake in jars | UV nail lamp or sunlight | Low | Occasional printing, learning |
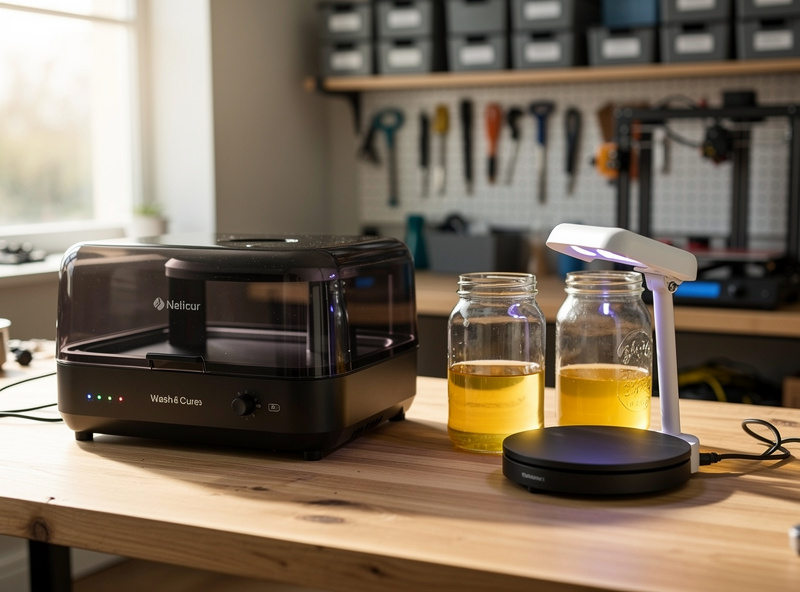
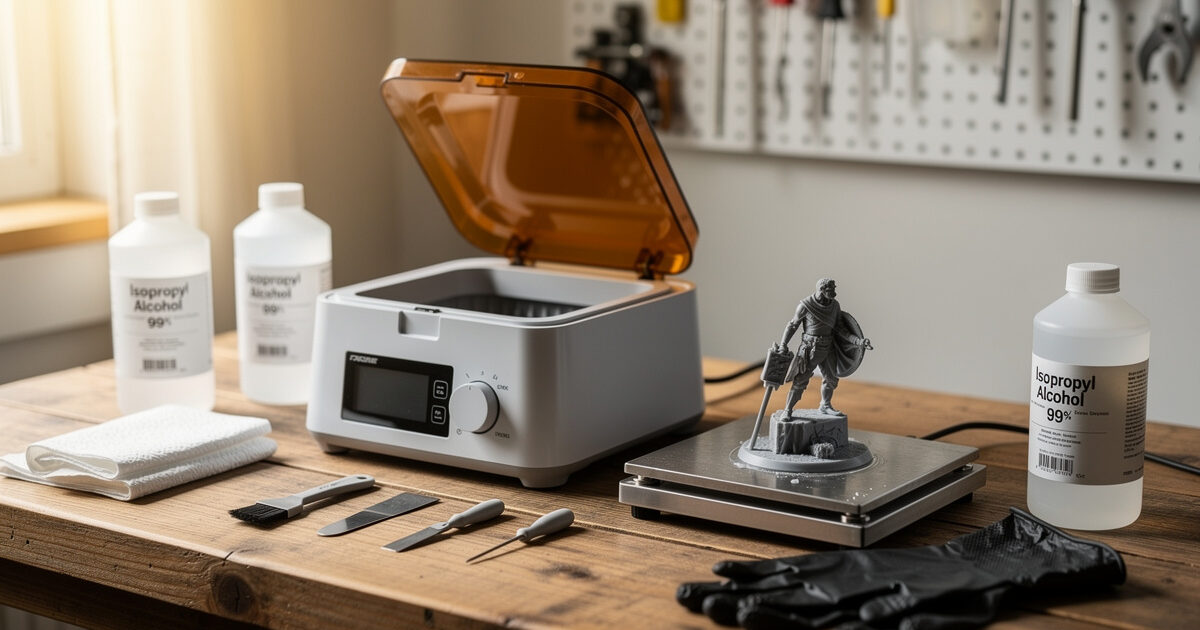
If you print enough to value the consistency, a combined wash and cure station is the obvious upgrade. On a budget, a couple of sealable jars, a tub of isopropyl alcohol, and a UV curing lamp with a turntable replicate the process for far less. Either way, size the station’s basket to your printer’s build plate — a station too small for your largest prints is a frustrating purchase.
A Repeatable Post-Print Workflow
The routine I follow turns post-processing into muscle memory: glove up, lift the plate, scrape or pop the part free, wash with agitation in the dirty bath then the clean bath, dry fully, cure in timed rotation, and only then remove supports and handle bare-handed. Removing supports after a light cure (rather than fully cured) makes them snap cleaner on brittle resins, though some operators prefer to de-support before curing entirely — it’s worth testing both on your resin. How you orient the model and set support density is its own discipline; the resin print supports guide covers orientation, contact-point sizing, and clean removal without surface craters.
Whatever station you choose, the principles don’t change: wash to remove residue, dry to avoid trapping solvent, cure evenly to the sweet spot and no further. Master that sequence and your prints come out strong, clean, and ready to finish every single time.
Note: some links above are affiliate links — buy through them and I may earn a small commission at no extra cost to you. I only point to gear I’d run on my own bench. See my disclaimer page.
Frequently Asked Questions
Do I need a wash and cure station for resin printing?
No, but it helps. A station automates agitation and gives an even, timed cure, which saves time and improves consistency for frequent printing. Occasional printers can replicate the process with sealable jars of isopropyl alcohol and a UV lamp with a turntable for far less.
What do you wash resin prints with?
Isopropyl alcohol, ideally 90 percent or higher, for standard resin, or plain water for water-washable resin. Active agitation strips uncured resin faster than soaking. A two-bath method, dirty then clean, makes your alcohol last much longer between changes.
Can you over-cure a resin print?
Yes. Over-curing makes resin brittle, can cause yellowing or discolouration, and may lead to surface cracks. More UV time is not better. Cure to the sweet spot for your resin and part size, found with a small test print, and stop there.
How long should I cure a resin print?
It depends on the resin, the part size, and the UV source’s power, so there is no universal time. Use a small test part to find the point where the surface is firm and non-tacky without becoming brittle, then apply that time with the part rotating for even exposure.
Can I cure resin prints in sunlight?
Yes, sunlight contains enough UV to cure resin and costs nothing. It is slower and weather-dependent than a UV lamp, and it is easy to over-cure a part left out for hours. Rotate the part for even exposure and check it rather than leaving it all day.