The FEP film at the bottom of a resin printer’s vat is a consumable, and a tired one is behind a huge share of “sudden” print failures — prints that stop sticking to the plate, layers that tear, or a permanent foggy patch that wrecks detail in one spot. Replacing it is a quiet skill: get the tension even, torque the frame screws in the right pattern, and don’t crease the film, and you’ve saved every print that a worn sheet would have ruined. Most operators replace FEP every few hundred print hours.
I run an FDM-first bench and treat resin as my second discipline, so I learned the FEP swap deliberately and cross-checked the technique against what experienced resin operators report. What follows is when to replace the film, how to do it cleanly, and the tension test that tells you you’ve done it right. It pairs with the wider process in the complete resin printing guide.
What FEP Film Does and Why It Wears
FEP — fluorinated ethylene propylene — is the transparent, non-stick film stretched across the bottom of the resin vat. Every layer cures against it and then peels off it as the build plate lifts, and that repeated peel is what wears it out. Over time the film clouds from UV exposure and micro-scratches, loses tension, and develops permanent marks where large flat layers created strong suction. nFEP is a newer variant with lower peel force that many operators prefer for big flat prints, though it handles slightly differently during installation.
Because the film sits directly in the UV path, a clouded or scratched patch scatters light and under-cures the resin above it, which is why detail can mysteriously fail in just one region of the plate while the rest prints fine. Understanding that the film is both a release surface and an optical surface explains every failure mode it causes — and why you replace it rather than trying to polish it.
When to Replace FEP Film
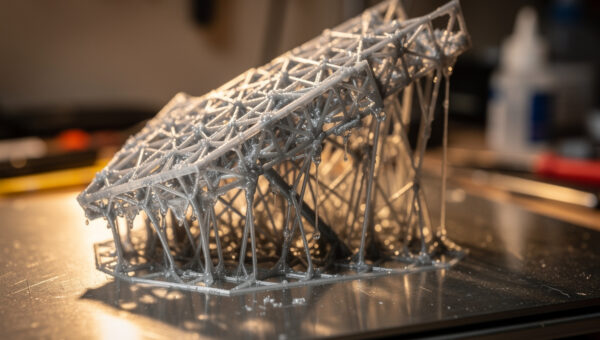
Replace the film when you see the warning signs, not on a rigid schedule. The clearest signals are visible clouding or a frosted patch, scratches or a pinhole, a loss of tension so the film sags, and white stress marks where prints have repeatedly suctioned off. Failed prints that suddenly won’t stick to the plate, or that tear mid-print, are often a worn FEP rather than a settings problem — which is why I check the film before I start changing exposure numbers.
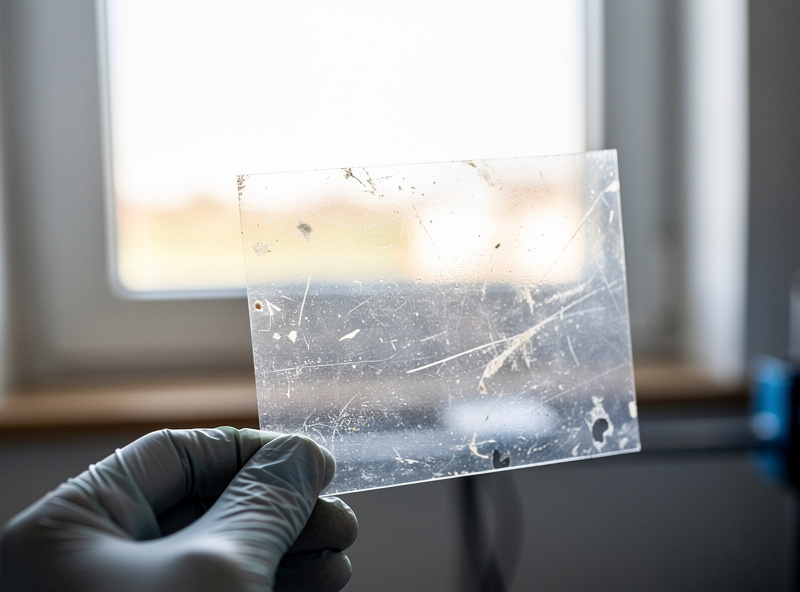
A useful habit is to inspect the film whenever you clean the vat: hold it to the light and look for cloudiness, and gently press the centre to feel the tension. The infamous failure mode is a cured layer of resin stuck to the FEP — a “cured film” left behind after a failed print — which both ruins the film over time and must be removed before the next print. If a print fails, strain the vat and check the film before reprinting, every time.
How to Replace FEP Film, Step by Step
The job itself is straightforward once you know the sequence, and the only real skill is getting the tension even. Start by draining and cleaning the resin from the vat, then remove the screws holding the FEP frame or retaining ring. Most vats use a two-piece frame that sandwiches the film; some use an adhesive-and-ring system. Peel off the old film, clean the frame surfaces, and lay the new pre-cut sheet (or cut one slightly oversized) in place.
The tensioning method depends on your vat design. For sandwich-frame vats, snug the screws finger-tight in a star pattern (like torquing a wheel), then tighten gradually in the same crossing pattern so the film tensions evenly without pulling to one side. Some makers use the “guitar string” or warm-water method to tension the film before final tightening. Trim the excess film, reassemble the vat, and check there are no creases or trapped debris — a single crease becomes a permanent defect line in every print.

The Tension Test
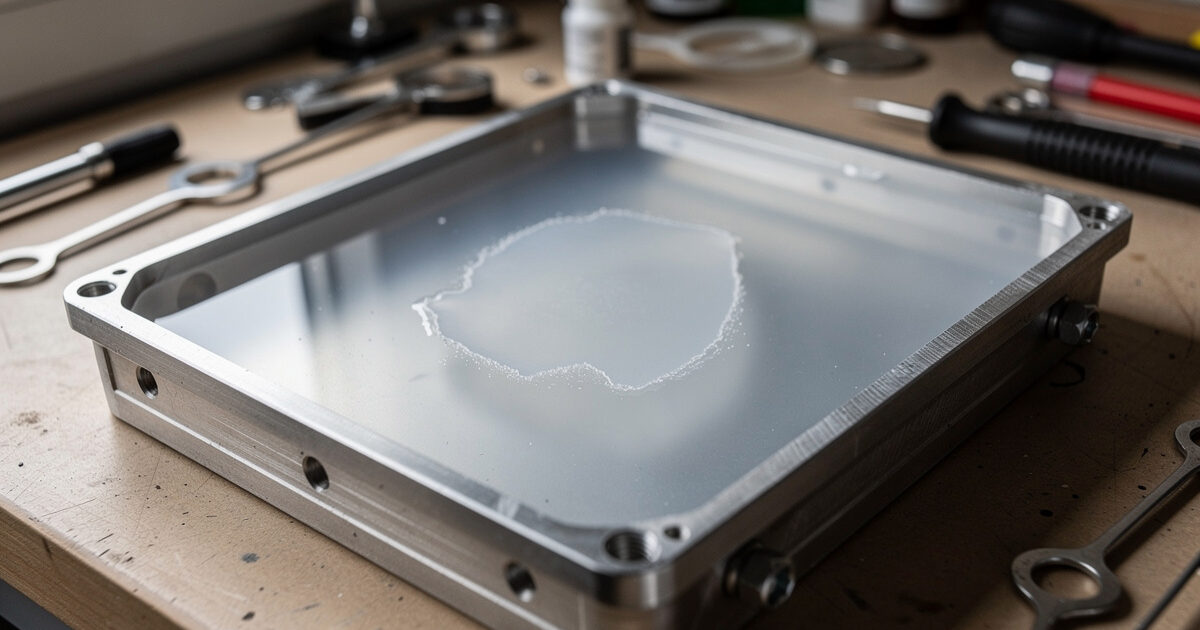
Even tension is what separates a good FEP swap from a frustrating one, and there’s a simple test for it. After tightening, lightly tap or flick the centre of the film — a properly tensioned sheet gives a clear, drum-like response, while a loose or unevenly tensioned one sounds dull or varies across its surface. Some operators check by dropping a small amount of water on top and confirming it sits flat without pooling to one corner, which reveals a film pulled tighter on one side.
If the tension is uneven, loosen and re-tension rather than living with it — a slack film increases peel force, raises the risk of prints sticking to the bottom, and shortens the new film’s life. Over-tensioning is also possible and can distort the vat or tear the film, so aim for taut and even, not bar-tight. Getting this right is the whole point of the job, and it takes a couple of swaps to develop the feel.
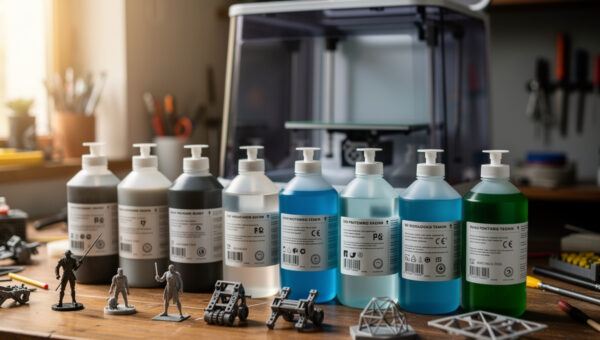
Buying FEP Film and Spares
Buy FEP (or nFEP) pre-cut for your specific vat if it’s available — it saves cutting and the corner holes are pre-punched — or buy a sheet and cut to size. Keep a spare on the shelf at all times: a torn film mid-project with no replacement on hand kills your week, and the film is cheap relative to the prints it saves. Match the film type to your printing: standard FEP is fine for most work, while nFEP earns its place if you print large flat layers and fight suction.
A multipack of FEP film sized to your vat is the cheapest insurance in resin printing, and many operators keep nFEP film on hand for their large-format prints. Pair the swap with a fresh look at your exposure settings if you’d been compensating for a worn film — once the optical path is clear again, an exposure you’d crept upward may now be too high.
Note: a couple of links above are affiliate links — buy through them and I may earn a small commission at no extra cost to you. I only recommend gear I’d use myself. See my disclaimer page.
Frequently Asked Questions
How often should I replace FEP film?
Most operators replace FEP film every few hundred print hours, but go by condition rather than a fixed schedule. Replace it when you see clouding, scratches, loss of tension, or stress marks, since a worn film causes failed adhesion, torn layers, and lost detail.
What are the signs of worn FEP film?
Visible clouding or a frosted patch, scratches or pinholes, a sagging loss of tension, and white stress marks where prints have suctioned off. Sudden prints that will not stick to the plate or that tear mid-print are often a worn film rather than a settings issue.
What is the difference between FEP and nFEP film?
nFEP is a newer film with lower peel force, which reduces suction on large flat prints and can improve reliability. Standard FEP is fine for most printing. nFEP handles slightly differently during installation, so follow the tensioning method for your vat.
How do I tension FEP film correctly?
Tighten the frame screws finger-tight in a star pattern, then tighten gradually in the same crossing pattern so tension is even. Test by tapping the centre, which should sound clear and drum-like. Loosen and redo it if the tension is uneven across the film.
Why does resin stick to the FEP instead of the build plate?
Usually under-exposed base layers, an unlevelled plate, or a cured layer left stuck to the film from a previous failure. Strain the vat to remove cured debris, increase bottom exposure, and re-level the plate. A worn or clouded film also raises this risk.
Keep Building
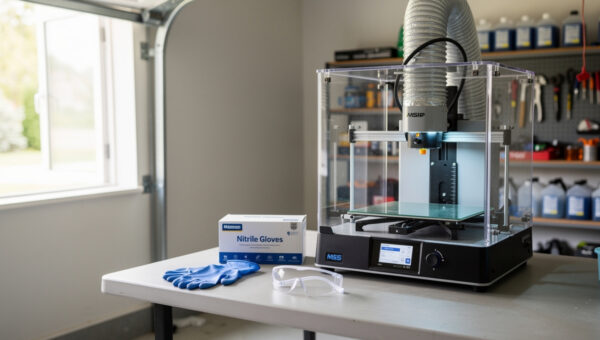
Once the film is fresh and tensioned, the rest of the resin workflow follows: revisit your exposure settings, keep up the safety routine while handling the vat, and run your prints through a proper wash and cure. The main resin guide ties the whole process together, and if you’re still choosing a machine, start with the best resin printer for beginners.