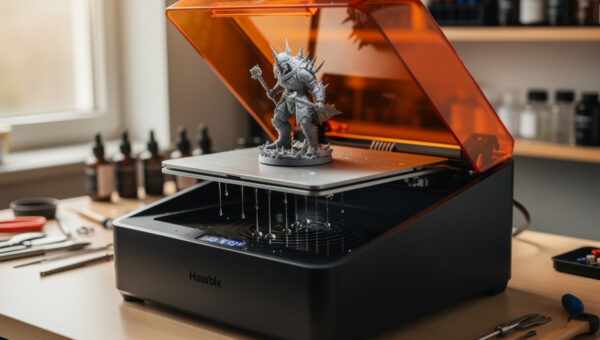
Exposure time is the master setting in resin printing, and there is no universal number for it. The right value is specific to the exact resin, your printer’s LCD, the layer height, and even the resin’s temperature. Too little exposure and layers under-cure, delaminate, and fail to stick; too much and fine details bloat, small holes close up, and the part turns brittle. The number printed on a resin bottle is a starting point for one specific machine — not a setting to copy.
I came to resin from an FDM-first bench, where temperature towers and flow calibration are the equivalent ritual, so the idea of dialling settings per material was familiar even though the process differs. What follows is how to find your exposure the reliable way — with a calibration test rather than guesswork — cross-checked against what experienced resin operators report. It pairs with the wider workflow in the complete resin printing guide.
The Exposure Settings That Actually Matter
Resin slicers expose a handful of settings, but a few do the heavy lifting. Normal layer exposure is the per-layer cure time and the single most important value. Bottom (base) layer exposure is much longer and runs for the first several layers to firmly anchor the print to the build plate. Bottom layer count sets how many of those over-exposed layers you lay down. Lift distance and lift speed control how the plate peels each layer off the film, which matters for suction and for not tearing delicate parts.
Everything else — light-off delay, rest times — is secondary tuning you reach for only when chasing a specific problem. Get normal exposure, bottom exposure, and bottom layer count right and the vast majority of prints succeed. The mistake beginners make is fiddling with five settings at once; change one variable at a time so you can read what each one did.
Finding Your Number With a Calibration Print
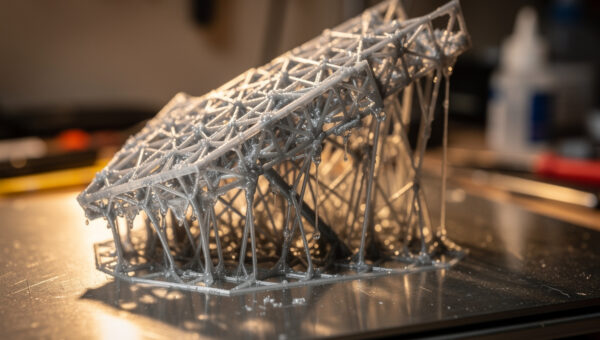
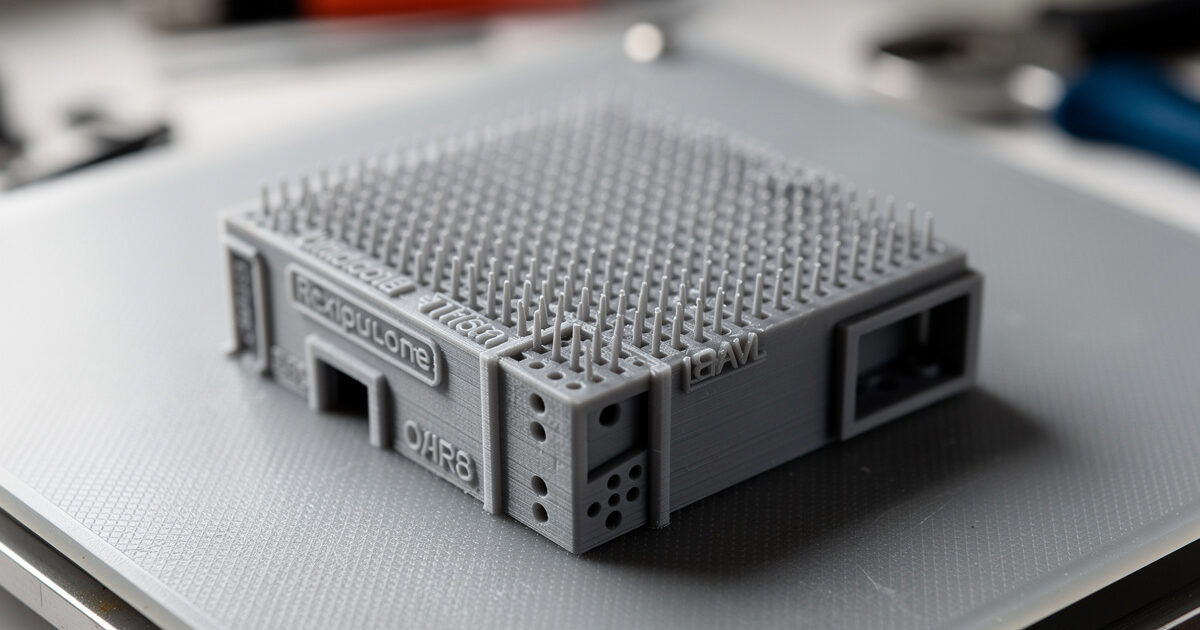
The reliable way to find normal exposure is a purpose-built calibration print that exposes one model at stepped settings so you can read the sweet spot directly off the part. The widely used tests — validation matrix prints and the “cones of calibration” style models — pack fine features, holes, text, and overhangs into a small print, then you inspect which exposure resolved them cleanly without bloating. It removes the guesswork entirely.
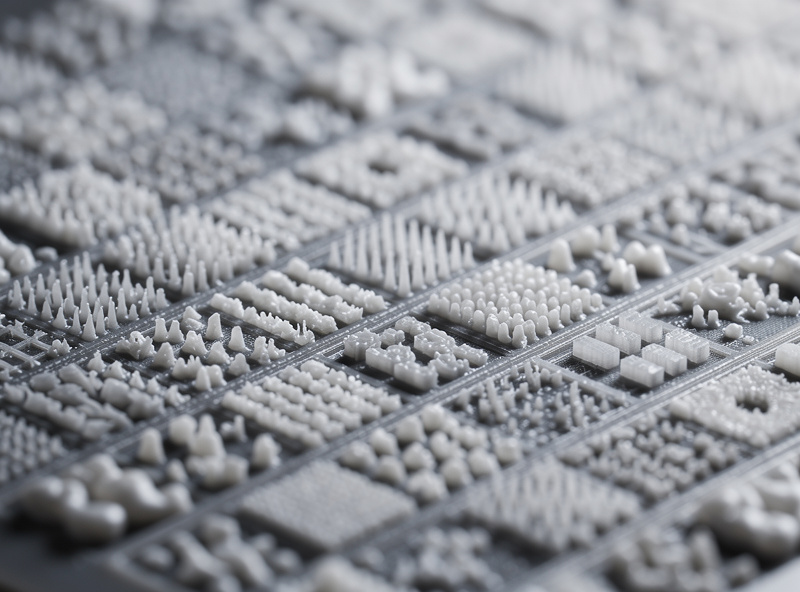
Read the print for two failure directions. Under-exposure shows as soft or missing fine details, holes that didn’t form, text that’s mushy, and parts that feel weak or didn’t fully cure. Over-exposure shows as closed-up holes, bloated fine features, lost gaps between close elements, and a generally “fat” look where crisp edges should be. The right exposure is the one where small holes are open, text is legible, and fine pins are present but not thickened. Once you find it for a resin, write it down — that’s your baseline for every print in that material.
Why Temperature Changes Everything
Resin temperature quietly wrecks settings that worked last week. Cold resin is more viscous and cures more slowly, so it needs longer exposure; warm resin cures faster and needs less. A chilly workshop in winter can make a print that was dialled-in during summer suddenly fail to stick or delaminate, with no setting change on your part — the resin just got colder.
The fix is to keep resin in a consistent temperature range, ideally a comfortable room temperature, and to recalibrate (or at least nudge exposure up) when printing cold. Some operators warm the resin or heat the print area for consistency. If a previously reliable profile suddenly starts failing as the seasons change, suspect temperature before you suspect anything else — it’s the most common cause of “my settings stopped working.”
Sensible Starting Points by Resin Type
While exact numbers are machine-specific, the relative relationships between resin families are predictable, which gives you a smart place to begin a calibration. Standard resin cures fast and tolerates a wide window. Tough and ABS-like resins are fussier and often need careful exposure to reach full strength. Water-washable resins behave differently again. The point of the table below is the direction to adjust, not exact seconds — always confirm with a calibration print on your own machine.
| Resin Type | Relative Exposure | Sensitivity | Notes |
|---|---|---|---|
| Standard / Rapid | Baseline, wide window | Forgiving | Best first calibration; easy to read |
| Tough / ABS-like | Often needs careful tuning | Sensitive | Under-cure leaves it weak; over-cure kills toughness |
| Water-washable | Varies by brand | Sensitive to humidity | Keep sealed; recalibrate per bottle |
| Any resin, cold room | Increase exposure | — | Cold resin cures slower; recalibrate seasonally |
Whenever you change resin brand, switch to a new bottle of a fussy material, or move the printer to a colder space, run a fresh calibration. It costs one small print and saves a stack of failed large ones. A standard grey calibration resin is ideal for this because grey shows detail clearly while you dial things in.
A Repeatable Exposure Workflow
The routine that keeps prints reliable is simple: start from the bottle’s recommended exposure or a known profile for your printer, run a calibration matrix, read the sweet spot, then lock that profile per resin and keep notes. Re-run the calibration when you change material or the room temperature shifts noticeably. If a previously good profile starts failing, check resin temperature and FEP film condition before touching exposure — a worn, clouded film scatters light and mimics under-exposure, so inspect the vat as part of your handling routine before changing settings. If a print still fails after exposure is confirmed correct, the resin printing troubleshooting guide covers the full symptom-to-cause map.
Treating exposure as a per-resin calibration rather than a number to copy is the single habit that separates frustrated beginners from people whose prints just work. The first calibration print of a new bottle feels like a delay; it’s actually the fastest path to a successful large print.
Note: a link above is an affiliate link — buy through it and I may earn a small commission at no extra cost to you. I only point to gear I’d run on my own bench. See my disclaimer page.
Frequently Asked Questions
How do I find the right resin exposure time?
Run a calibration print such as a validation matrix or cones-of-calibration model that exposes one part at stepped settings. Inspect which exposure resolves small holes, text, and fine features cleanly without bloating, and use that as your baseline for that specific resin and machine.
What happens if resin exposure is too high?
Over-exposure bloats fine details, closes up small holes, merges close features, and makes the part brittle. Crisp edges look fat and gaps disappear. If your calibration print shows filled holes and thickened pins, reduce the normal layer exposure time.
What happens if resin exposure is too low?
Under-exposure leaves layers soft or delaminated, fine details mushy or missing, holes that did not form, and prints that fail to stick to the plate. If features are weak or absent on a calibration print, increase the normal and bottom layer exposure.
Why did my resin settings suddenly stop working?
The most common cause is temperature. Cold resin is more viscous and cures slower, so a profile dialled in during warm weather can fail in a cold room. Check resin temperature and FEP film condition before changing exposure, then recalibrate if needed.
What is bottom layer exposure?
Bottom or base layer exposure is a much longer cure time applied to the first several layers to firmly anchor the print to the build plate. Too short and prints fail to stick; the bottom layer count sets how many of these over-exposed layers are printed.
Do I need new settings for every resin?
Yes. Each resin family, and often each brand, cures at a different rate, so exposure should be calibrated per material rather than copied. Run a quick calibration print whenever you switch resin or move to a colder printing space.