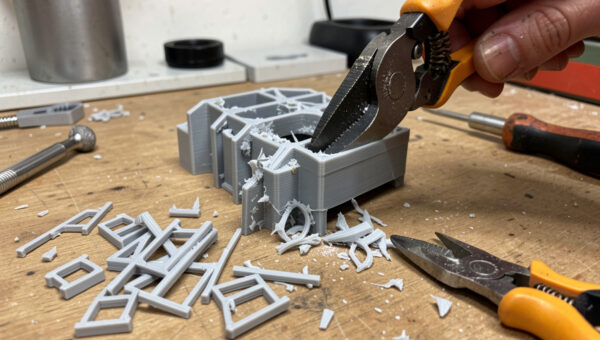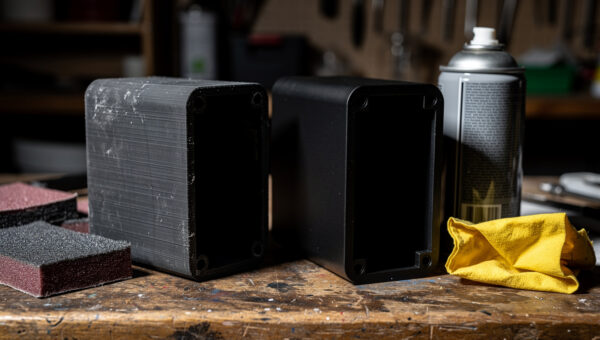
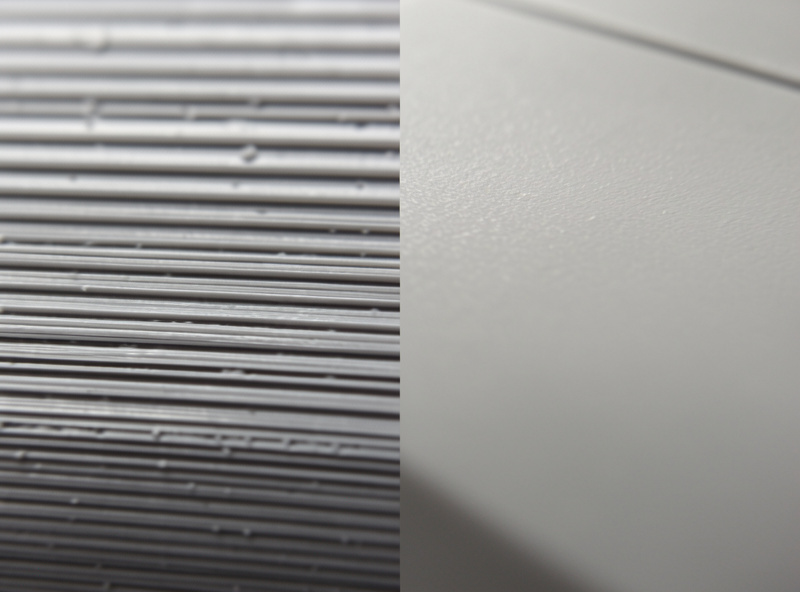
Sanding is the step that decides whether everything you do after it looks good or looks rushed. Jumping from 120 grit straight to paint leaves layer lines you’ll see under the gloss. After a few hundred prints, my takeaway is simple: the result comes down to how disciplined the grit ladder was, not how expensive the paint is.
The good news is that sanding an FDM print is not complicated. It’s a ladder of grits, climbed in order, with a couple of material-specific tricks. This is exactly how I run it on my bench. For where sanding fits in the larger finishing sequence, the post-processing guide lays out the full workflow; this is the deep dive on the sanding stage itself.
Why grit progression matters
The single rule that governs all of this: you climb grits in steps, never skipping more than one. Sandpaper grit is just the size of the abrasive particles — low numbers are coarse and cut fast, high numbers are fine and polish. Each grit’s job is to remove the scratches left by the grit before it and replace them with finer ones. Skip from 120 straight to 400 and the 400 paper can’t reach the bottom of the deep 120 scratches; it just polishes the peaks and leaves the valleys, which show up the instant primer hits them under a raking light.
So the ladder isn’t a suggestion. It’s the mechanism. Each rung erases the rung below it. Skip a rung and you’ve left a layer of damage that the rest of the climb can’t fix — you’ll see it after primer and have to come back down and redo it.
The grit ladder I actually use
Here’s the progression that covers most FDM parts. You don’t always start at the coarsest rung — start where the surface needs it. A part with bad layer lines or support scars starts low; a clean print with fine lines can start higher.
| Grit | Job | Wet or dry | When to start here |
|---|---|---|---|
| 120–180 | Knock down layer lines, support scars, blobs | Dry | Rough prints, visible defects |
| 220–320 | Remove the coarse scratches, even the surface | Dry | Most prints start around here |
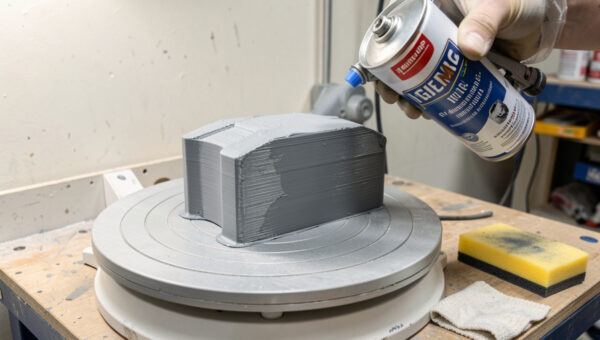
| 400–600 | Refine; the usual stop before filler primer | Wet | Before priming a part for paint |
| 800–1000 | Pre-polish smoothing | Wet | Going for a gloss or bare-plastic finish |
| 1500–2000 | Final polish to near-glass | Wet | High-gloss show parts only |
For a part headed to paint, I usually stop at 320 to 400, because filler primer does the fine work from there — chasing a mirror finish on bare plastic before priming is wasted effort. For a part I want to leave as bare smoothed plastic, or one going under a clear gloss with no paint, I climb the whole ladder to 2000. Match the top of your ladder to the finish you actually want.
Wet sanding: when and why
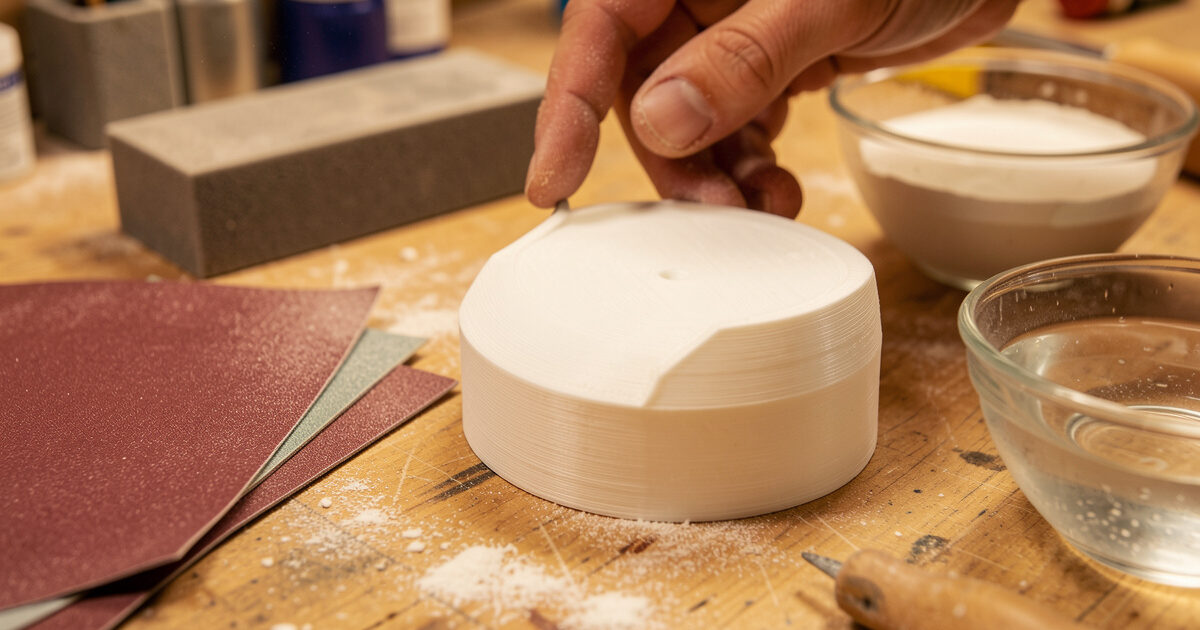
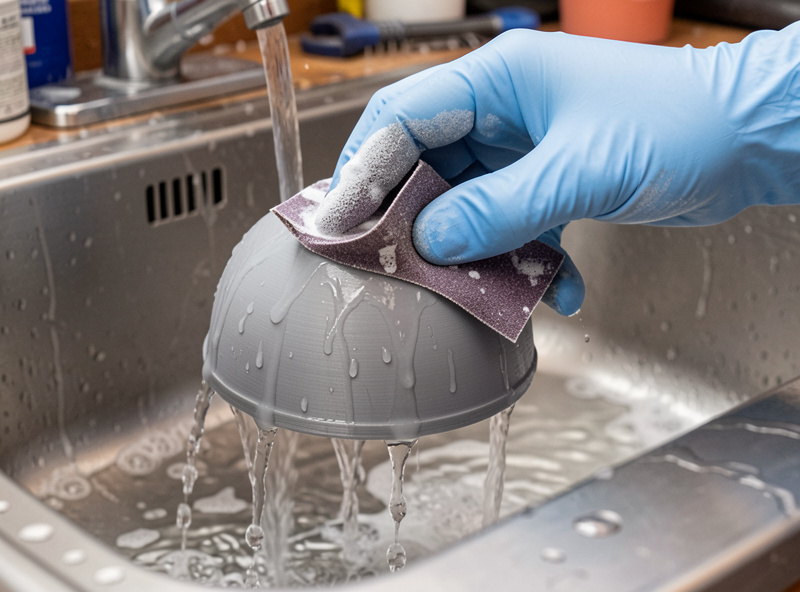
From about 400 grit upward, switch to wet sanding — paper used with water. Two things happen. The water carries away the sanding swarf that otherwise clogs the paper and starts dragging coarse particles across your fine surface, and it keeps friction heat down so you’re not softening and smearing the plastic. The result is a noticeably cleaner, more uniform surface, and it’s the difference-maker for any gloss finish.
Practically: dip the paper, sand with light pressure, rinse the part occasionally to see your progress, and keep a bowl of water handy. The slurry that forms is normal — that’s the cut-away plastic suspended in water. Wet sanding is slower and messier than dry, which is why I only switch to it for the finer grits where it actually pays off.
PLA versus PETG under the paper
Material changes the feel of sanding more than people expect. PLA is the easiest plastic I sand — it’s relatively hard and brittle, so it powders cleanly and takes a fine finish without fuss. It’s the material I reach for when a part needs heavy cosmetic finishing and isn’t load-bearing.
PETG, my default for functional and outdoor parts, is gummier. It’s tougher and slightly softer, so it loads up sandpaper faster and is more prone to smearing if you let friction heat build. The fixes are fresher paper, lighter pressure, and switching to wet sanding earlier than you would on PLA. It’s entirely sandable — just less forgiving. ABS and ASA sand fine too, but for those there’s often a better route entirely: acetone vapor smoothing, which sidesteps most of the sanding. If your part is ABS or ASA and you want smooth, weigh that chemical path before committing to the grit ladder.
Tools that make it easier
You can sand a print with nothing but sheets of paper, but a couple of cheap tools make the result better and faster. A foam sanding block or sanding sponge keeps flat faces flat — wrap paper around your fingers and you’ll round over edges you wanted crisp, and dish surfaces you wanted flat. For curved and detailed parts, flexible sanding sponges conform without destroying detail. And buying paper as a graded assortment kit rather than single sheets means you actually have the next rung when you need it, instead of skipping a grit because that’s what’s in the drawer — I run 3M wet/dry sheets for the fine end of the ladder because they hold their cut longer than the bargain paper.
Here’s the small kit I’d buy starting out:
As an Amazon Associate I earn from qualifying purchases.
- Wet/dry sandpaper assortment, 120 to 2000 grit — the whole ladder in one kit so you never skip a rung.
- Foam sanding block set — keeps flat faces flat and saves your fingertips.
- Flexible sanding sponges — for curved and detailed surfaces that a block can’t reach.
How far to sand
The honest answer is: as far as the finish demands, and no further. A functional part gets a quick pass at one grit to knock off the support scars and sharp edges, and it’s done. A part going to matte paint gets the ladder to 320 and then filler primer. A glass-gloss show part gets the full climb to 2000 plus polishing. Sanding past what the finish needs is just spent time you won’t see in the result.
The way I check progress is raking light — hold the part so a lamp grazes across the surface at a low angle, and every remaining scratch and layer-line valley jumps out as a shadow. When the surface reads uniform under raking light at your target grit, that rung is done. It’s the same check I use after primer, and it catches problems while they’re still cheap to fix.
Frequently asked questions
What grit should I start sanding a 3D print with?
Start with the coarsest grit the surface actually needs, not the coarsest you own. A rough print with visible layer lines or support scars starts around 120 to 180. A reasonably clean print starts around 220 to 320. Starting too coarse just adds deep scratches you then have to sand back out, so begin only as low as the damage requires.
Do I need to wet sand 3D prints?
Not for every part, but yes for fine finishes. From around 400 grit upward, wet sanding keeps the paper from clogging with plastic swarf and reduces friction heat that can smear the surface. The result is noticeably cleaner. For a quick functional cleanup at coarse grits, dry sanding is fine; for any gloss or show finish, switch to wet sanding for the higher grits.
Can you sand PETG prints?
Yes, but PETG is gummier than PLA and loads up sandpaper faster, so use fresher paper, lighter pressure, and switch to wet sanding earlier to control heat and smearing. It sands perfectly well, it is just less forgiving than PLA, which powders cleanly. Expect to go through more paper on PETG for the same surface area.
How smooth should I sand before priming?
For a part going to paint, stopping around 320 to 400 grit is usually enough, because filler primer fills the fine valleys from there. Sanding to a mirror finish on bare plastic before priming is wasted effort, since the primer covers it. Reserve the full climb to very fine grits for bare-plastic or clear-gloss finishes where there is no primer to do the fine work.
Why can I still see layer lines after sanding and painting?
Usually because grits were skipped or the lines were never filled. Skipping grits leaves deep scratches that fine paper only polishes over, and they reappear under primer. And paint alone is too thin to hide layer lines. The reliable fix is a full grit ladder with no skips, then filler primer sanded back, and only then paint.
Is an electric sander good for 3D prints?
For most prints, no. Power sanders generate friction heat fast, and FDM plastics soften and smear or even melt under it, destroying detail and rounding edges you wanted sharp. Hand sanding gives the control these parts need. The exception is large, flat, robust parts where you can keep the tool moving and the speed low, but for typical prints, hand sanding wins.