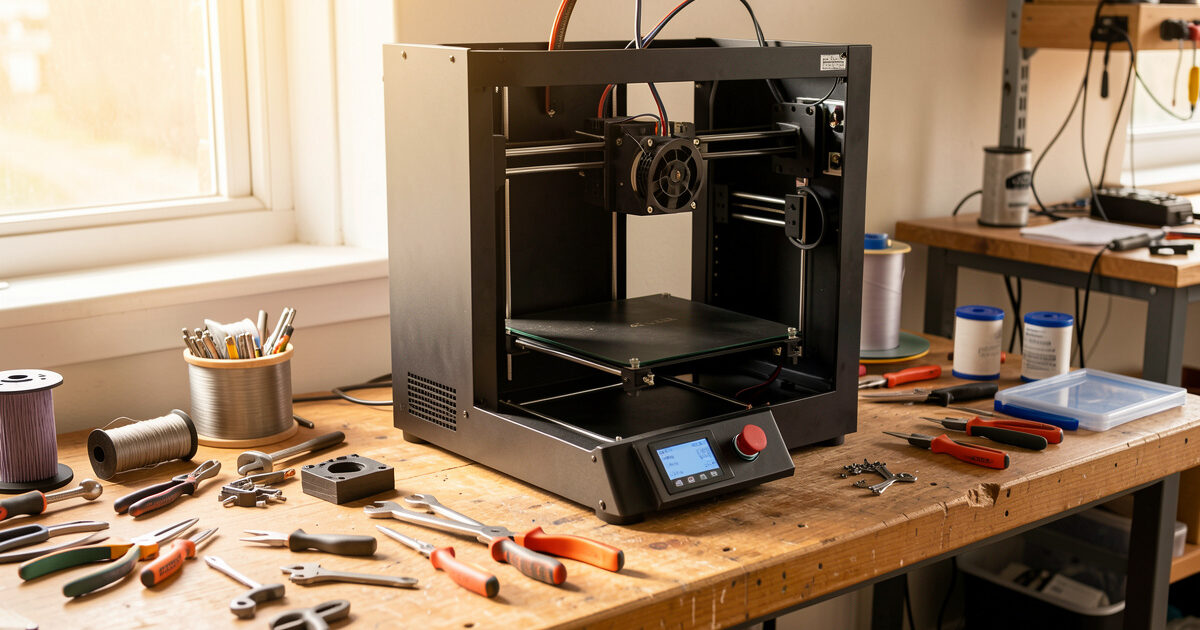
A 3D printer is a machine with a heater, a few motors, and a lot of moving plastic — and like any machine, it drifts out of tune long before it actually breaks. Spend twenty minutes a month on it and the failure rate on my bench stays under one print in fifty. Skip maintenance and that number climbs fast.
I run a stable of current-gen FDM machines side by side — a kit-built Prusa MK4S as my reliability benchmark, plus a Bambu A1 and P1S, a Creality K1C, and an Anycubic Kobra 3 — and the single biggest predictor of which one is printing reliably this week is not the brand on the front. It is whether I have kept up the boring service routine. This guide is that routine: what to do, how often, and which jobs are quick checks versus the deeper repairs each has its own walkthrough below.
Why Maintenance Beats Buying a Better Printer
Most “my printer is junk” complaints I read are maintenance problems wearing a costume. A clogged nozzle, a loose belt, a dry rail, a fan that quietly died — none of those are defects, and none get fixed by spending more money on a new machine. The cheapest printer is rarely the cheapest to own, but the most expensive printer still fails if you never touch it.
Here is the total-cost reality from my test logs: a nozzle costs a couple of dollars, a meter of quality PTFE tube is pocket change, and a tube of synthetic grease lasts years. The labour is minutes. Against that, a failed print on a long job wastes filament, electricity, and the part you actually needed. Maintenance is the highest-return time you can spend in the workshop, which is exactly why the influencer videos skip it — it does not photograph well. Before you blame the machine, work the checklist. If you are still fighting failures after that, my guide to the ten most common print failures sorts symptoms from causes.
A Maintenance Schedule You Can Actually Keep
The trick is not doing everything constantly — it is matching each task to how fast that component actually wears. On my bench a machine running 30–40 hours a week gets the schedule below. A machine that prints occasionally can stretch the intervals, but never skip the per-spool checks. The table is the routine I keep taped inside my enclosure door.
| Interval | Task | Why It Matters | Time |
|---|---|---|---|
| Every print | Check first layer; clear nozzle ooze from the tip | Catches adhesion and partial-clog issues before they ruin a long job | 1 min |
| Every spool change | Wipe the nozzle tip; inspect filament path for grinding dust | Stops baked-on residue and detects extruder slip early | 2 min |
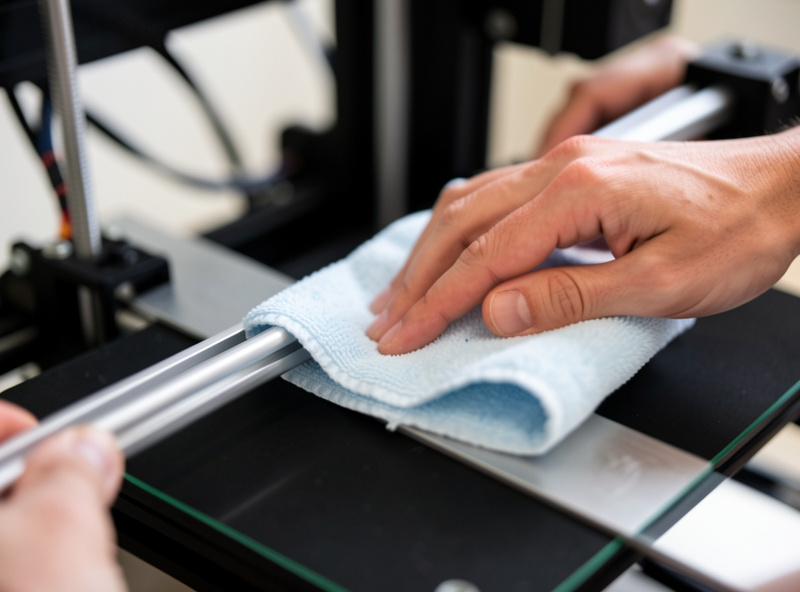
| Weekly | Wipe rails and rods; check bed for residue; listen for new noises | Dry rails and a dirty bed are the top causes of layer shift and poor adhesion | 5 min |
| Monthly | Check belt tension; cold-pull the hotend; clean fans; re-level/tram | Belts stretch, hotends accumulate char, fans collect dust that kills cooling | 20 min |
| Quarterly | Re-grease rails/lead screws; inspect PTFE tube ends; check wiring | Lubricant breaks down; PTFE deforms at the hotend; vibration loosens connectors | 30 min |
| As needed | Replace nozzle, PTFE tube, fan, or thermistor | Wear parts have finite lives; replacing on schedule prevents mid-print failures | 10–30 min |
Notice that the heavy repairs sit in the “as needed” row. You do not replace a nozzle on a calendar — you replace it when the symptoms show up. The rest of this guide is how to read those symptoms, and each linked walkthrough is the full job done the way I do mine.
The Hotend and Nozzle: Where Most Failures Start
The hotend is the part that runs hottest, sees the most plastic, and clogs the most. If your prints suddenly under-extrude, string badly, or stop mid-layer, the hotend is the first place I look. The good news is that most hotend problems are cleared in minutes once you know which one you have.
Start with the gentlest fix and escalate. A cold pull drags softened char and debris back out of the melt zone without taking anything apart — it is my monthly default and clears the majority of partial clogs. If the nozzle is fully blocked and filament will not move at all, that is a different procedure: my clogged-nozzle walkthrough works from a needle and heat soak up to a full teardown. And when the nozzle is simply worn — abrasive filaments like PA-CF and PETG-CF chew brass in well under a kilo — no cleaning brings it back, so you swap the nozzle and re-set your Z offset.
One part the influencer builds never mention: on Bowden machines and many direct-drive hotends there is a short PTFE liner that sits against the hot zone. It deforms and chars over time, creating a gap where filament jams. If you keep clogging right after cleaning, the liner is the suspect — my PTFE tube replacement guide covers cutting a clean square end, which is the detail that actually matters. The choice between a Bowden and a direct setup changes how often you touch this part, which I get into in direct drive vs Bowden.
The Motion System: Belts and Rails
Everything the hotend does is wasted if the motion system is sloppy. The two jobs here are tension and lubrication, and they fail in opposite directions: a belt that is too loose causes ghosting and layer shift, while a rail that is too dry causes binding, missed steps, and grinding wear. Both are quick to check and both drift silently.
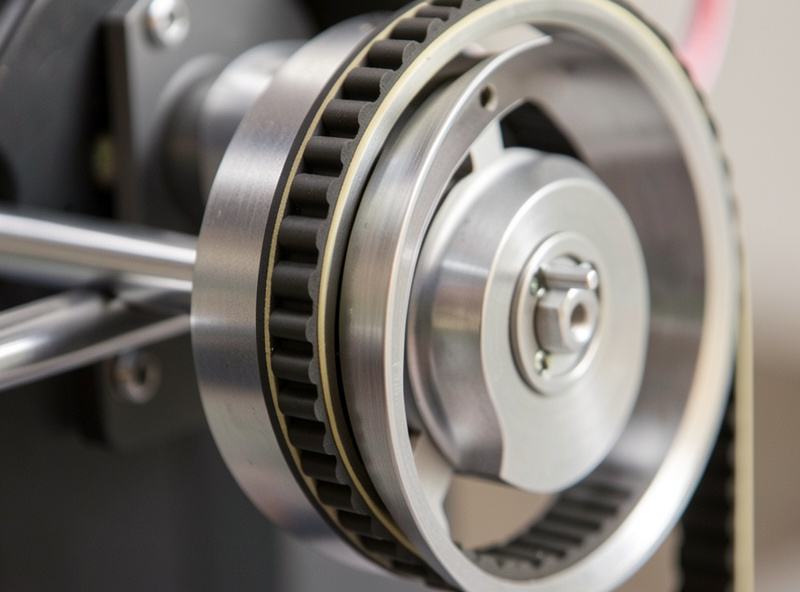
Belt tension is the one most people get wrong in both directions — guitar-string tight is as bad as loose. I tune mine to a firm pluck with no flapping, and I re-check monthly because new belts stretch as they bed in. The full method, including how to feel the difference and the frequency-app trick, is in my belt tension guide. If you see ghosting that tension does not cure, the fix is motion compensation — see input shaping.
Lubrication is where the wrong product does real damage. Never put oil on a linear rail and never use the white lithium grease from the hardware store — it gums up and attracts grit. I use a light synthetic PTFE grease on rails and a thin film on lead screws, wiped on, never flooded. My lubrication guide covers which product goes where and how a clean, lightly greased rail should sound (almost nothing). A rail that squeaks or feels notchy is overdue.
Cooling and Electronics: Fans and Thermistors
Fans are the components most people forget exist until a print fails. There are usually three — a hotend (heatsink) fan, a part-cooling fan, and an electronics fan — and they have different jobs. The hotend fan is the critical one: if it stops, heat creeps up the heat-break and you get a heat-creep clog that looks exactly like a nozzle problem but is not. Any fan that rattles, slows, or goes silent is on borrowed time.
While the panels are off for a fan swap, spend two minutes on the wiring. Vibration slowly backs out screw terminals, and a loose heater or bed connector is the single most dangerous fault on a 3D printer — a high-current connection that is not tight gets hot, and hot connectors are how printers catch fire. I tug-test every power connector at the heated-bed and hotend terminals on my quarterly pass and keep a Class-C extinguisher within reach of the bench. It is a thirty-second check that belongs on the schedule next to everything else.
Thermistors are the other electronics failure I plan for. A flaky thermistor throws a “thermal runaway” or “heating failed” error and aborts the print, and a thermistor reading slightly wrong quietly ruins your temperatures. Both fans and thermistors are inexpensive, fast swaps once you have done one — my fan and thermistor replacement guide walks through diagnosing which fan died and replacing a thermistor without damaging the wiring. When you are chasing temperature instability, it is also worth re-running PID tuning afterward.
The Tools and Consumables I Keep on the Bench
Maintenance is fast only if the parts are already in a drawer. Waiting three days for a nozzle to arrive while the printer sits idle is the real cost of being under-stocked. The kit below is what I keep on hand across every machine I run, and none of it is expensive.
As an Amazon Associate I earn from qualifying purchases.
The short list: a set of brass and hardened nozzles in your machine’s size, a length of genuine low-friction PTFE tube for liner replacements, a tube of synthetic PTFE grease for the rails, and a cheap pack of cleaning needles. Add a digital caliper, a set of nozzle-cleaning brushes, and spare fans and thermistors for your specific board once you know the connector type. That drawer turns most of the repairs in this guide into a ten-minute job instead of a lost week. Pair it with a sensible workspace setup and the maintenance routine becomes muscle memory.
Bed Surface and Adhesion: The Maintenance Nobody Schedules
The build surface is a consumable, not a permanent fixture, and treating it like one is behind a surprising share of first-layer complaints. A spring-steel PEI sheet picks up skin oils, glue residue, and a polished sheen in the high-traffic centre, and once that happens prints pop loose no matter how perfectly the bed is trammed. On my bench every plate gets wiped with isopropyl alcohol between prints and a proper dish-soap-and-water wash every week or two — fingerprints are the enemy.
The texture you print on wears differently by surface. Smooth PEI eventually needs a light scuff or a fresh side; textured PEI lasts far longer but loses bite where it gets greasy; a glass plate with glue stick is nearly immortal but needs the glue refreshed. Match the surface to the filament, too: PETG will weld itself to bare smooth PEI and tear a chunk out, so I keep a textured plate or a glue-stick barrier for it. If your first layer used to be perfect and slowly got worse, clean the plate before you touch a single setting — then confirm with my first layer tuning and bed leveling walkthroughs. Nine times out of ten the “leveling problem” was a dirty plate.
How Maintenance Differs Across the Machines I Run
The schedule above is universal, but the specifics shift with the machine. Knowing where each design hides its wear points saves you from servicing the wrong thing. Across the machines on my bench the patterns are consistent enough to plan around.
A bedslinger like the Anycubic Kobra 3 or the Prusa MK4S moves the whole bed back and forth on the Y axis, so the Y belt and the bed-carriage wheels or rails take the most abuse and the Y belt is the first to need re-tensioning. A CoreXY machine like the Bambu P1S or Creality K1C keeps the bed still and flies the toolhead on two crossed belts — tension on both has to match, and the gantry rails are the lubrication priority. Enclosed, high-temperature machines bake their PTFE and degrade their part-cooling fans faster because everything runs hotter, which is the trade-off I cover in the enclosure guide.
Multi-material systems add their own maintenance. The Bambu AMS and similar units have feed gears and a buffer that collect filament dust and the occasional shredded strand; I clear mine when I clean fans. None of this changes the core routine — it just tells you which row of the table to lean on for your machine. If you are still choosing hardware, reliability-per-hour is the spec that matters most, which is the whole framing of my 2026 buyers guide and the reason the MK4S is still my benchmark after hundreds of hours.
Following the Schedule vs Chasing a Symptom
There are two modes of maintenance, and confusing them wastes time. Scheduled maintenance is preventive — you do it on the interval whether or not anything is wrong, and it stops most failures before they start. Diagnostic maintenance is reactive — a print failed, and you are working backward from the symptom to the cause.
When a print fails, resist the urge to change five things at once. Read the symptom first: under-extrusion and clicking point at the hotend; ghosting and shifted layers point at the motion system; aborted prints with temperature errors point at fans or thermistors. Change one thing, print a test, and confirm before moving on. That discipline is why my calibration sequence is ordered the way it is — and why a clean machine is so much easier to diagnose. Keeping moisture out of your filament removes another whole class of phantom symptoms, which is why I treat a dry filament habit as part of maintenance too. Reliability over hundreds of hours is not luck, and it is not the badge on the front of the machine either. It is the twenty minutes a month, done — and the small drawer of spare parts that lets you act the moment a symptom shows up.
Frequently Asked Questions
How often should I do maintenance on my 3D printer?
Match each task to how fast it wears. Check the first layer every print, wipe the nozzle each spool change, wipe rails weekly, and do belt tension, a cold pull, and fan cleaning monthly. Re-grease rails and inspect the PTFE tube quarterly. A machine printing 30 to 40 hours a week needs this cadence; occasional printers can stretch it.
What is the most important 3D printer maintenance task?
Keeping the hotend clean and the part-cooling and hotend fans working. The hotend sees the most plastic and clogs first, and a dead hotend fan causes heat-creep clogs that mimic nozzle problems. A monthly cold pull plus a fan check prevents the majority of mid-print failures on my bench.
How do I know if my nozzle is clogged or just worn?
A clog comes on suddenly: filament stops moving, the extruder clicks, or flow drops mid-print, and a cold pull or needle usually clears it. Wear is gradual: brass nozzles printing abrasive PA-CF or PETG-CF lose dimensional accuracy and you see rough surfaces no cleaning fixes. Wear means replacement, not cleaning.
What lubricant should I use on 3D printer rails?
A light synthetic PTFE grease, applied as a thin wiped film. Never use oil on linear rails and never use hardware-store white lithium grease, which gums up and traps grit. Lead screws take a thin grease film too. Flooding any surface attracts dust and makes things worse.
Why does my printer keep clogging right after I clean it?
The most common cause is a deformed or charred PTFE liner in the hotend, which creates a gap where filament jams just above the nozzle. Cleaning the nozzle cannot fix it. Replace the PTFE tube and cut a clean, square end so it seats flush against the nozzle.
Do I really need spare parts on hand?
Yes. The real cost of a failure is the printer sitting idle while a two-dollar part ships for three days. Keep spare nozzles, a length of PTFE tube, synthetic grease, cleaning needles, and a spare fan and thermistor for your board. That drawer turns most repairs into a ten-minute job.