A painted 3D print that looks injection-molded and one that looks like a school project use the same paint. The difference is the primer underneath: two or three filler-primer cycles erase the layer lines that sanding alone can’t reach. Treat priming and painting as one process, not two. Primer isn’t prep for painting — primer is most of the painting.
What follows is my full bench routine for taking a part from sanded plastic to a finished painted surface. It assumes you’ve already sanded — if you haven’t, start with how to sand 3D prints, because paint faithfully reproduces every scratch you skip. For where this sits in the full sequence, see the post-processing guide.
Two primers, two jobs
The thing that unlocks good results is realizing there are two kinds of primer doing two different jobs, and the layer-line one is the one that matters most.
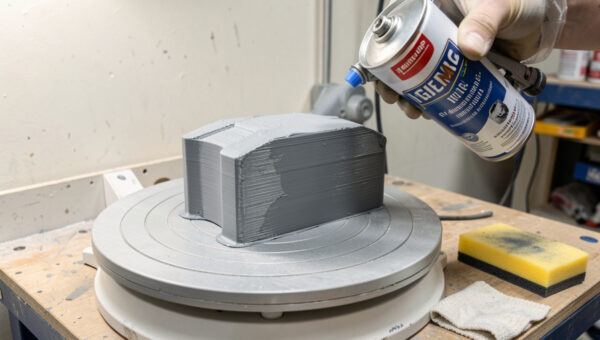
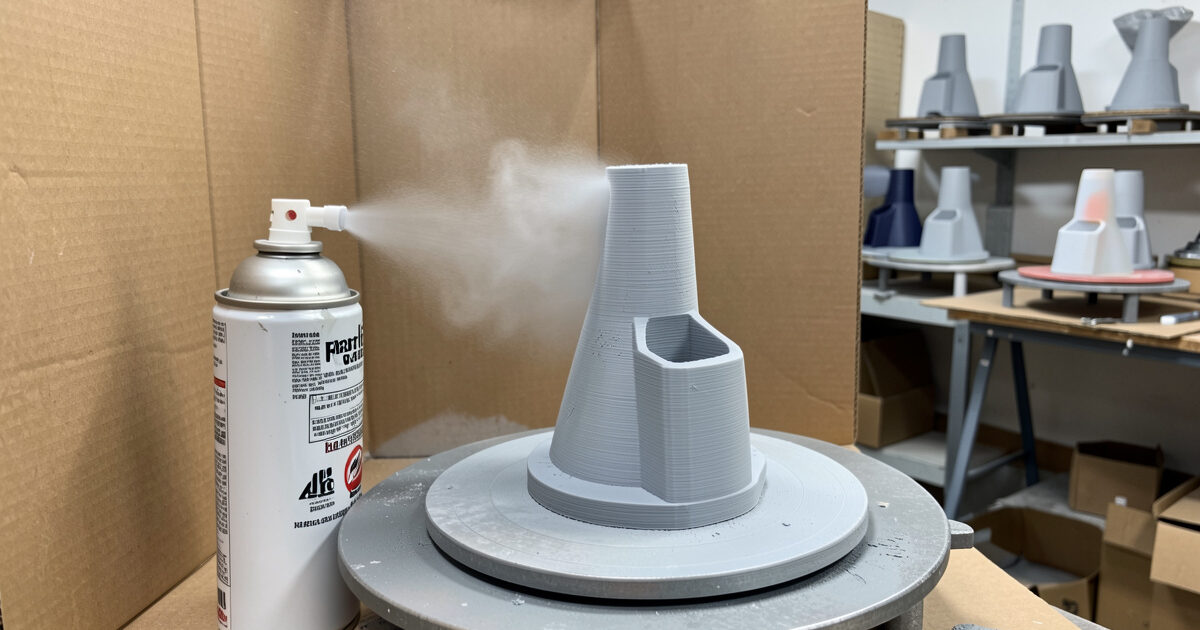
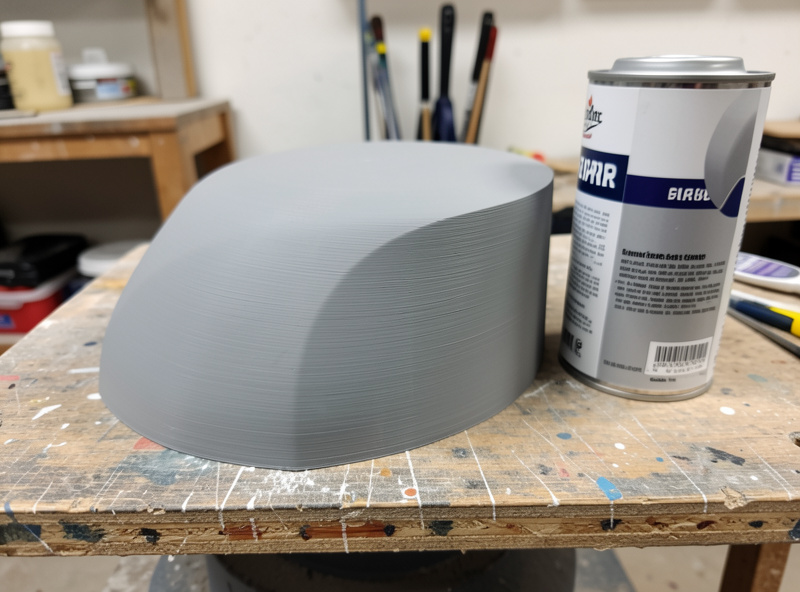
Filler primer (high-build, sandable primer) is thick. Its job is to fill the fine valleys that sanding leaves behind. You spray a coat, let it cure, sand it back, and the surface gets flatter each cycle. Two or three of these cycles erase layer lines that no amount of sanding bare plastic would remove. This is the secret to the injection-molded look, and it’s why I rarely sand bare plastic past 320 — the filler primer does the fine work.
Standard primer is thin and just promotes paint adhesion and gives a uniform base color so your topcoat covers evenly. Once the filler primer has done its job and the surface is flat, a final thin standard primer coat (or just the last sanded filler-primer coat) is your base for color. Don’t confuse the two — reaching for thin primer to hide layer lines is the most common reason a painted part still shows them.
The filler primer cycle
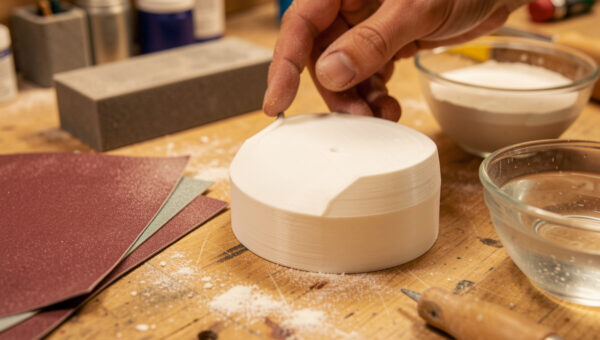
Here’s the loop, exactly as I run it. Spray a medium coat of filler primer — enough to build, not enough to run. Let it cure fully; rushing this is how you get a soft surface that sands gummy. Then sand it back with around 320 to 400 grit. You’re not removing all the primer, just knocking the high spots down flat. The valleys keep their primer; the peaks get cut. Hold it under raking light: if lines still show as shadows, repeat. Two cycles handles most prints; a really lined surface might take three.
The trap is impatience — spraying the next coat before the last cured, or trying to build the whole thing in one heavy coat. Heavy coats run, sag, and stay soft underneath for ages. Thin, cured, sanded-back coats win. This stage is slow and it’s the stage that determines everything, so this is where the patience goes.
Painting: thin coats, kept moving
Once primer is flat and uniform, painting is genuinely the easy part. The rules are simple and boring, which is exactly why people break them:
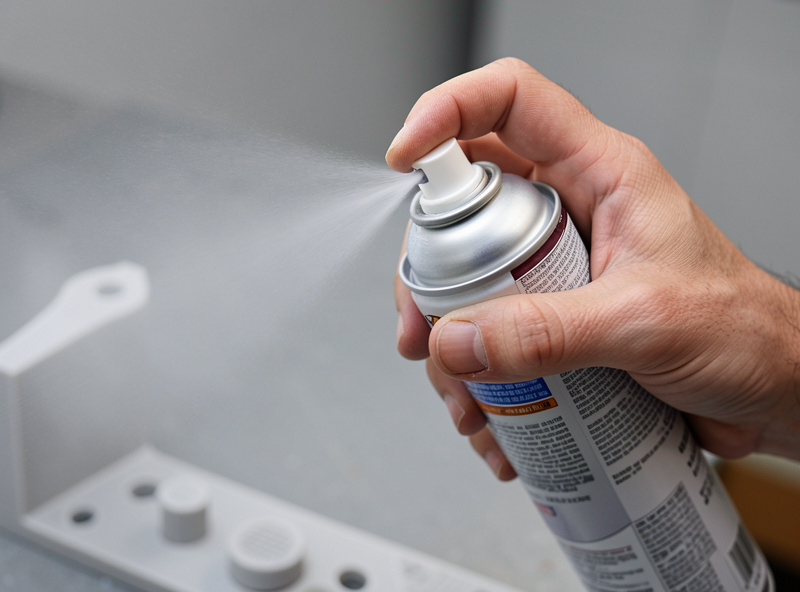
Spray thin coats, not one heavy one. Let each coat flash off — go tacky — before the next. Keep the can moving the whole time, starting and stopping the spray off the part, never holding it still over one spot. Hold a consistent distance, roughly a hand’s width, and overlap your passes by about half. Three thin coats give better coverage and a smoother finish than one thick coat ever will, and they won’t run.
Spray versus brush, and which paint
For an even finish on a whole part, spray wins — a rattle can or an airbrush lays down a far more uniform coat than a brush, which leaves strokes on flat surfaces. I brush only for tiny detail touch-ups or picking out recessed features. For the body of the part, it’s spray — Rust-Oleum’s plastic-formulated rattle cans are my default topcoat over filler primer.
On paint type, here’s how the common options actually compare for prints:
| Paint type | Best for | Notes |
|---|---|---|
| Rattle-can spray (acrylic/enamel) | Most painted parts | Cheap, even coats, huge color range; the default |
| Automotive spray | Durable, outdoor, gloss parts | Tougher film; pairs well with clear coat |
| Airbrush acrylic | Detail work, blends, fine control | More setup; best for small or detailed parts |
| Brush-on acrylic | Touch-ups, recessed detail only | Leaves strokes on broad flat faces |
Whatever you pick, keep the primer, paint, and clear coat chemically compatible — staying within one family (or testing on scrap first) avoids the nasty surprise of a topcoat crazing or lifting the layer beneath it.
Masking for multi-color parts
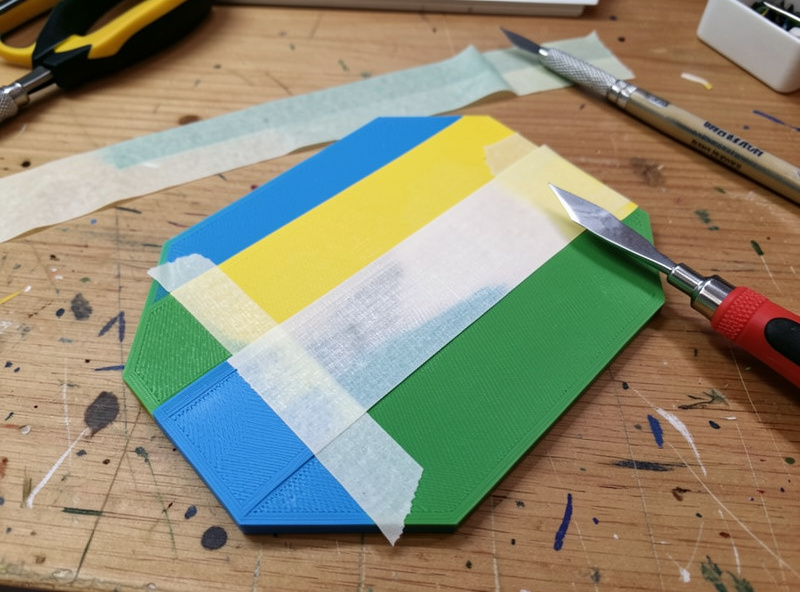
For two-tone parts, masking is what gives you crisp boundaries instead of fuzzy overspray edges. Paint the lighter color first and let it cure hard. Then mask the area you want to keep with quality painter’s tape, burnishing the edge down firmly so paint can’t creep under it. Spray the second color in thin coats as usual, and — this is the bit people get wrong — peel the tape while the paint is still slightly soft, not bone dry, so it lifts cleanly instead of tearing a ragged edge.
The kit I’d buy
You can get excellent results with a surprisingly short shopping list. The leverage is all in the filler primer and the masking tape, not in anything expensive.
As an Amazon Associate I earn from qualifying purchases.
- High-build filler primer spray — the layer-line killer; this is the can that does the real work.
- Spray paint for plastic — thin even coats, wide color range, the default topcoat.
- Fine-line painter’s masking tape — for crisp multi-color boundaries.
Seal the result with a clear coat once the paint has cured — it protects the finish from handling wear and sets the final sheen. That’s a stage of its own, and it’s the difference between paint that survives use and paint that develops shiny worn spots within a week.
Frequently asked questions
Do I need to prime a 3D print before painting?
Yes, for any quality finish. Primer gives paint a uniform surface to grip and, more importantly, filler primer fills the layer lines that paint alone is too thin to hide. Painting bare unprimed plastic gives poor adhesion and shows every layer line through the color. Filler primer sanded back is the single most important step for a smooth painted result.
What kind of paint works best on 3D prints?
Rattle-can spray paint formulated for plastic is the default for most parts: it lays down thin even coats, comes in a huge color range, and is cheap. Automotive spray is tougher for outdoor or high-wear parts. Airbrush acrylics suit detail and blending. Brush-on paint is best kept to touch-ups, since it leaves strokes on broad flat surfaces.
How many coats of paint does a 3D print need?
Usually two or three thin coats rather than one thick one. Thin coats build even coverage without running or sagging, and each should flash off to tacky before the next. One heavy coat looks faster but runs, stays soft underneath, and obscures detail. Patience with thin coats is what gives the smooth, even finish.
How do I get a crisp line when painting two colors?
Paint the lighter color first and let it cure hard, then mask the boundary with quality painter’s tape, burnishing the edge down firmly so paint cannot creep under it. Spray the second color in thin coats, and peel the tape while the paint is still slightly soft rather than fully dry, which lifts a clean line instead of tearing a ragged edge.
Can I paint directly over filler primer?
Yes, once the filler primer is sanded flat and fully cured, you can paint your color straight over it. Many painters do exactly that, treating the final sanded filler-primer coat as the base for color. Just keep the products compatible, ideally within one paint family or tested on scrap first, so the topcoat does not lift or craze the primer.