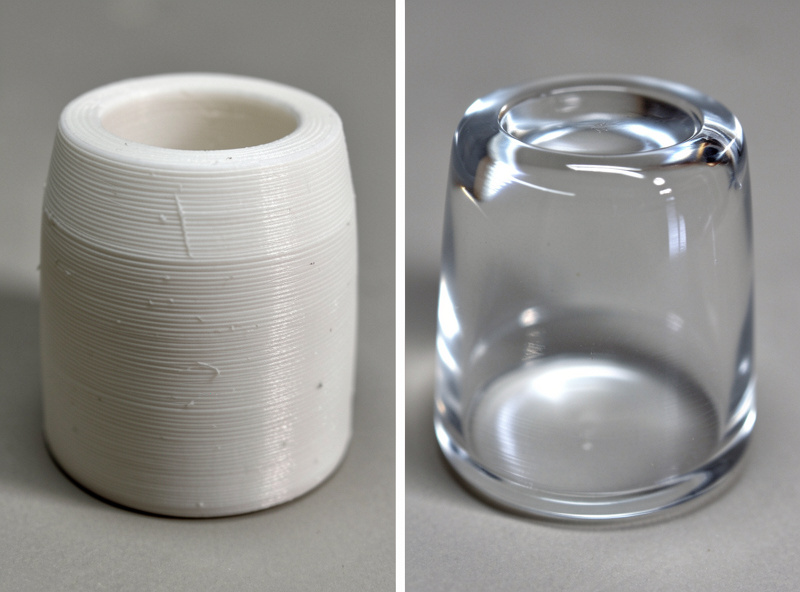
Epoxy coating is the one finishing step that makes a print both smoother and stronger at the same time. One thin coat — well under a millimetre — self-levels into a glass-smooth skin that fills layer lines and adds a rigid shell that stiffens thin walls. Paint only changes how a part looks; epoxy changes how it performs.
It’s also the finishing step people are most nervous about, because resin sounds fussy. It isn’t, once you understand that the whole game is a thin coat. This is how I run it on the bench. For where epoxy fits among the other options, the post-processing guide lays out when to reach for it versus paint or acetone.
What epoxy coating actually does
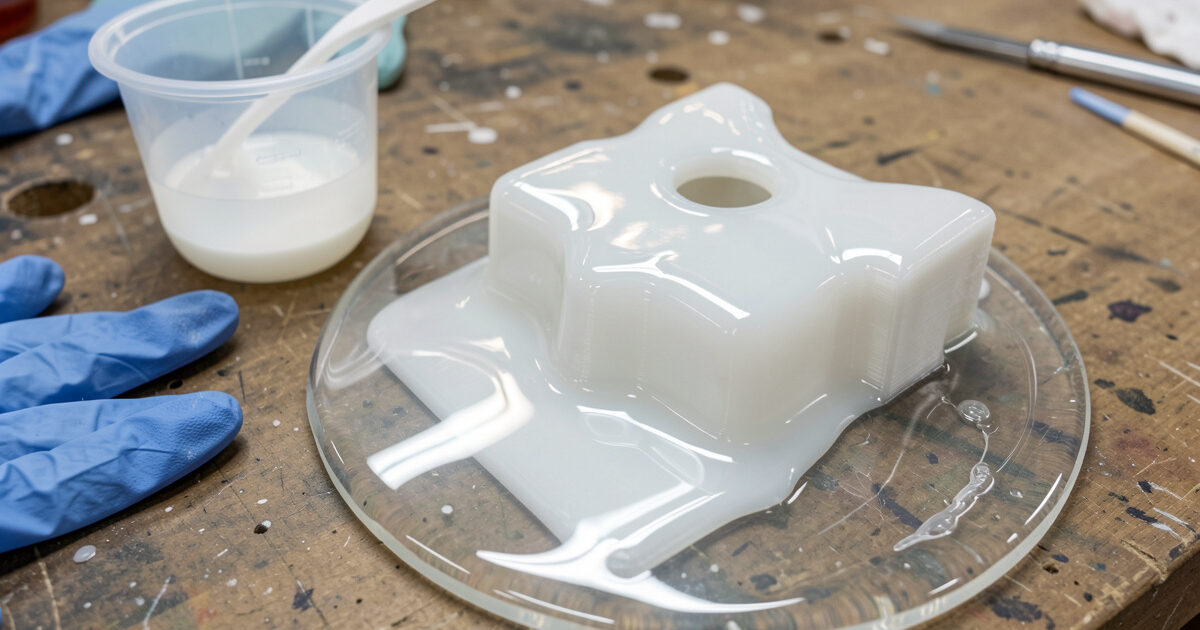
A coating epoxy is a two-part resin — resin plus hardener — that you mix, brush or pour onto the part in a thin layer, and let cure to a hard, clear, glossy solid. Because it’s a liquid that self-levels before it sets, it flows into the valleys between layer lines and pools level across the surface, leaving a far smoother result than the printed plastic underneath. And because it cures rigid and bonds to the surface, it adds real mechanical stiffness — a flexy thin-walled enclosure gets noticeably more rigid after a coat.
That dual benefit is why I treat epoxy as a different tool from paint, not a competitor to it. Paint is color. Epoxy is smoothness plus strength. On some parts I do both: epoxy first for the smooth, strong shell, then paint and clear coat on top for the look.
Pick the right epoxy
This is where most epoxy disappointment starts: using the wrong product. Not all epoxy resins are meant to coat. The families that matter:
| Epoxy type | Behavior | Use on prints? |
|---|---|---|
| Coating / finishing resin | Thin, self-levels, designed for surfaces | Yes — this is the one you want |
| Tabletop / bar-top resin | Self-levels but thick, pours heavy | Sometimes — can pool too thick on detail |
| Casting resin | Very thin, slow cure, made to fill molds | No — runs off, won’t build a coat |
| Epoxy glue / putty | Thick, fast, won’t level | No — for bonding, not coating |
What you’re looking for is a low-viscosity coating or finishing epoxy that self-levels but is meant for thin surface layers, not a deep pour — Smooth-On’s XTC-3D is the one I keep on the bench for exactly this. Read the product’s intended use before you buy — “self-leveling” and “thin coat” are the keywords. The casting resins that fill molds are too thin to build a coat and just run off your part onto the bench.
Mixing: the part that’s actually critical
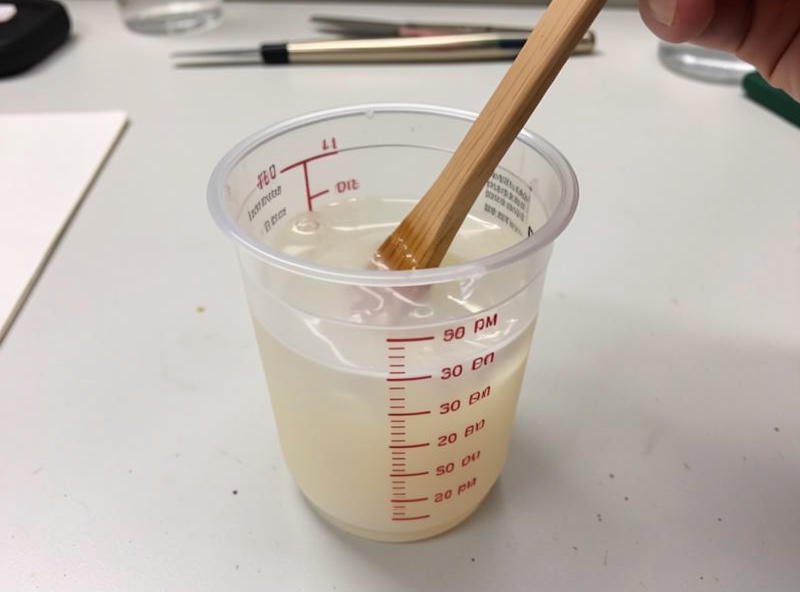
Two-part epoxy lives or dies on the mix ratio and thoroughness. Every product has a specified ratio — often 1:1 or 2:1 by volume — and it is not a suggestion. Get the ratio wrong and the epoxy never fully cures; it stays tacky forever, and there’s no fixing it after the fact. Measure by the marks on a graduated mixing cup, not by eye.
Then mix thoroughly — slowly, scraping the sides and bottom of the cup, for the full time the product calls for. Under-mixed epoxy has streaks of uncured resin that stay soft. Stir slowly to avoid whipping in air bubbles. The discipline here is the whole job: right ratio, full mixing, no shortcuts. Get this right and the rest is easy.
Applying a thin coat without drips
The cardinal rule: thin. A thin coat self-levels beautifully and cures hard and clear. A thick coat runs, sags, drips off edges, and pools at the bottom. Brush on a thin, even layer — or for the very thinnest finish, a foam brush works well — and let surface tension and gravity do the leveling. Work over a surface you don’t mind catching drips, and rotate the part as it starts to set if any edges are pooling.
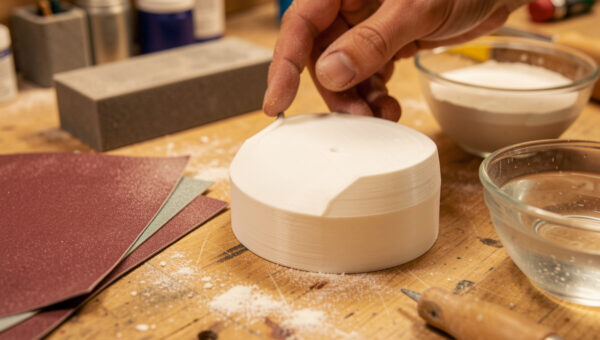
A light scuff-sand of the part first, around 220 grit, gives the epoxy a surface to key into. You don’t need a smooth surface under epoxy — the resin fills it — you just need a clean, slightly abraded one for good adhesion. Then let it cure fully before handling; coating epoxies usually want several hours to overnight depending on the product and temperature. Warmer rooms cure faster but also flatten the working window, so don’t rush a coat in a cold garage.
Where I use it, and where I don’t
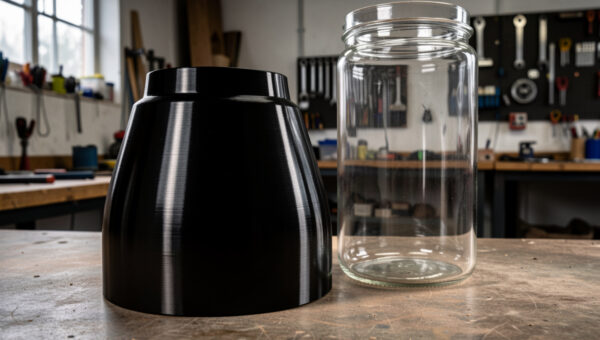
Epoxy earns its place on parts that need to be both smooth and stiffer: thin-walled enclosures that flex, handles and grips that take load, display pieces where I want a deep glassy finish in one step instead of climbing the sand-prime-paint ladder. It’s also a genuine strength upgrade on parts printed with thin walls — the rigid shell does real structural work.
I skip it on parts with fine sharp detail I want to keep crisp, because even a thin coat softens edges and fills recesses slightly. For those, sanding and filler primer and paint preserve the detail better. And for ABS or ASA parts I want smooth, acetone vapor smoothing is often the cleaner route since it works the existing plastic rather than adding a layer. Epoxy is one tool in the finishing kit — the one to reach for when smooth-and-stronger is the goal.
The kit
As an Amazon Associate I earn from qualifying purchases.
- Clear self-leveling coating epoxy — a thin finishing resin, not a deep-pour casting resin.
- Graduated mixing cups and stir sticks — measure by the marks so you nail the ratio every time.
- Nitrile gloves — uncured resin is messy and a skin irritant; gloves are non-negotiable.
Frequently asked questions
Does epoxy coating make 3D prints stronger?
Yes, meaningfully. A cured epoxy coat is a rigid shell bonded to the part, so it stiffens thin walls and ties the printed layers together, reducing flex and improving how the part handles load. It is one of the few finishing steps that improves both appearance and mechanical performance at once, rather than just changing how the part looks.
What kind of epoxy should I use to coat a 3D print?
A low-viscosity coating or finishing epoxy that self-levels but is intended for thin surface layers. Avoid casting resin, which is too thin and runs off, and avoid epoxy glue or putty, which will not level. The keywords to look for are self-leveling and thin coat or surface coating. Tabletop resin can work but often pools too thick on detailed parts.
Why is my epoxy coat still sticky and not curing?
Almost always a mix-ratio or mixing problem. Two-part epoxy must be measured at the exact ratio the product specifies and mixed thoroughly, scraping the cup sides and bottom. An off ratio or under-mixing leaves uncured resin that stays tacky permanently, and there is no fix after the fact. Measure by graduated-cup marks and mix for the full specified time.
Do I need to sand a print before epoxy coating it?
A light scuff-sand around 220 grit helps the epoxy key onto the surface for good adhesion, but you do not need a smooth surface underneath, since the resin fills layer lines as it self-levels. So a quick scuff for adhesion is worth it, but the heavy fine-sanding you would do before painting is unnecessary because the epoxy does the smoothing.
How do I avoid drips when epoxy coating?
Keep the coat thin. A thin layer self-levels and cures clean, while a thick coat runs, sags, and pools at edges. Brush on a thin even layer, work over a surface you do not mind catching drips, and rotate the part as it starts to set if edges begin to pool. Multiple thin coats beat one thick coat every time.