Good photos sell 3D prints; the printer barely matters to the buyer. Two sellers can print the identical part on the identical machine, and the one with clean, well-lit photos sells several times as many. The buyer cannot hold your print, so the photograph is the product as far as the purchase decision goes — and the fix costs nothing but a window and a sheet of paper. Marketplaces like Etsy give you up to 10 photo slots per listing — sellers who fill all 10 with clean, varied shots routinely out-convert those who upload two. This is the cheapest, highest-leverage improvement most 3D-print shops can make.
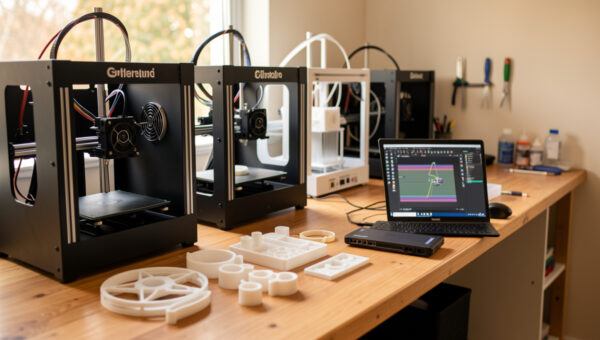
I photograph functional parts for sale the same way every time, and the results come from soft light and a clean background, not expensive gear. A phone camera is more than enough; the difference between an amateur listing and a professional one is technique. Here is the practical setup and workflow, sitting inside the 3D printing business guide and feeding directly into your Etsy listings, where photos drive the clicks that decide your ranking.
Light Is Everything: Use a Big, Soft Source
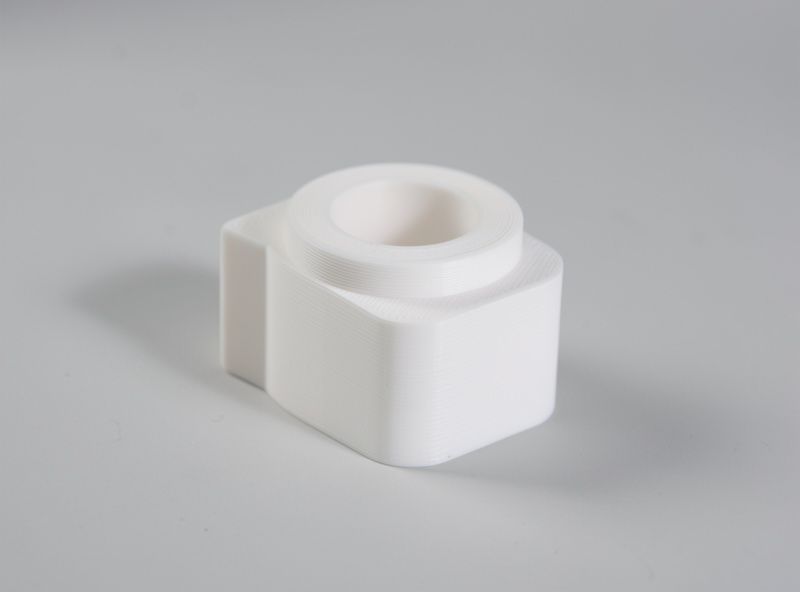
The single biggest factor in a product photo is the light, and the best free light source is a large window. Soft, diffused daylight wraps around a part and reveals its shape without harsh shadows or blown-out highlights. Place your part near a window but out of direct sun, which is too harsh — an overcast day or a north-facing window gives perfect soft light. Never use your phone’s flash; it flattens the part, throws ugly shadows and renders colour badly. If the light is uneven, a sheet of white paper or card on the shadow side bounces light back and fills the gap.
The reason soft light matters so much for prints specifically is layer lines. Hard, raking light exaggerates every layer line and surface imperfection, making a clean print look rough; soft, even light minimises them and lets the form read clearly. If a part still looks layer-lined under good light, that is a finishing problem to fix before the camera comes out, not a lighting problem — which is why I prep surfaces first.
Backdrop: Clean, Neutral, Distraction-Free
A cluttered background screams amateur and pulls the eye off the product. The fix is a clean, neutral backdrop: a simple white or light-grey sweep is the safe default, and it makes a part look like a finished good rather than something on a messy desk. A large sheet of white card curved up behind the part creates a seamless background with no visible corner, the same “infinity” look professional product shots use. Neutral grey or a natural wood surface can work for warmer, lifestyle shots, but avoid busy or colourful backgrounds that fight the product.
Consistency across a listing and across your whole shop matters as much as any single shot. When every product sits on the same clean backdrop with the same lighting, your shop looks professional and trustworthy, which lifts conversion on every listing. I shoot all my products the same way precisely so the storefront reads as one coherent brand rather than a pile of mismatched snapshots.
Staging: Show Scale, Use and Detail
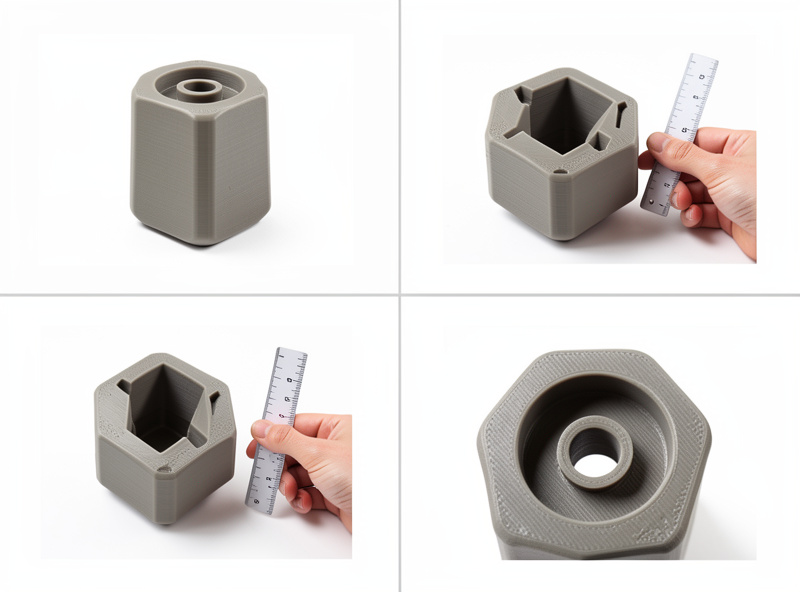
One photo is never enough; a buyer wants to understand size, use and quality before committing. Use every photo slot a marketplace gives you — Etsy allows 10, eBay 24 — starting with a clean hero shot on the neutral background, then the product actually in use or in context, a shot with something for scale (a hand, a coin, a common object), and a close-up showing finish and detail. The in-use shot is the most persuasive because it answers “what is this for and will it work for me,” turning a lump of plastic into a solution to the buyer’s problem.
The scale shot prevents the single most common complaint and return: a product arriving far smaller or larger than the buyer pictured. A part photographed alone on a white background has no size cues, so a buyer fills in the blank with their imagination and is disappointed. Showing the part in a hand or beside a familiar object sets expectations honestly and cuts returns, which protects both your margin and your reviews. Honest staging is good business, not just good photography.
Phone Camera Settings and Simple Edits
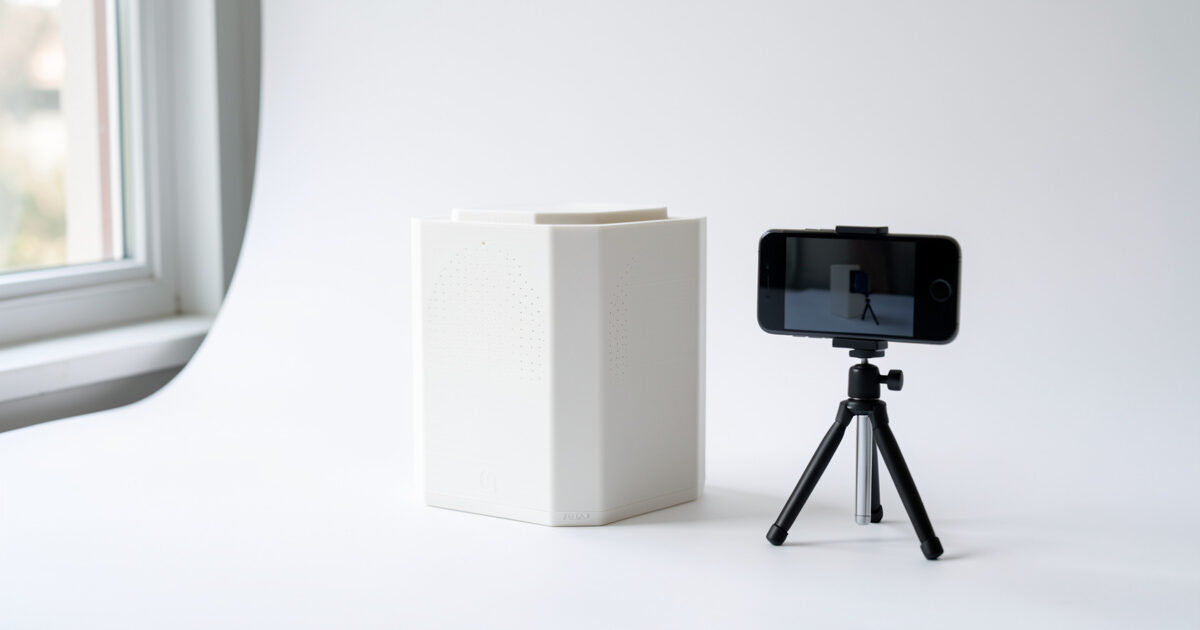
Your phone is capable of excellent product shots if you use it well. Tap to focus on the part, lock exposure so it does not drift, turn the flash off, and use the gridlines to keep things straight. Shoot a little wider than you need so you have room to crop to a clean square. Keep the phone steady — a cheap tripod or even propping it on books helps — because sharpness reads as quality. Get the shot as right as possible in-camera so editing is light.
A few simple edits finish the job. Correct the white balance so white backgrounds look truly white and your part’s colour is accurate; nothing erodes trust like a grey part that arrives a different shade than the photo. Nudge brightness and contrast so the part pops, crop to a consistent square, and straighten if needed — then stop. Over-edited, over-saturated photos look fake and set expectations the physical product cannot meet, which leads straight to returns. The goal is an honest, flattering representation, not a fantasy.
Finish the Part Before You Photograph It
The camera is honest, so the part has to earn the photo. A quick pass of finishing — sanding seams, a coat of primer, paint where it suits the product — turns a layer-lined print into something that looks moulded, and that shows directly in the shot. I run sellable parts through a finishing step before any photography, leaning on my post-processing workflow, and the time pays for itself in higher perceived value. A well-finished part under soft light needs almost no editing to look professional.
Matching finish to product is part of the craft. A functional bracket may only need its seams cleaned up, while a decorative or gift item rewards a full prime-and-paint treatment. The point is that photography and finishing are one workflow, not two separate jobs — the photo can only be as good as the part in front of the lens. Get the finish right, light it softly on a clean background, and even a phone produces listing photos that outsell competitors printing the very same model.
Frequently Asked Questions
How do I photograph 3D prints for selling?
Use large, soft light from a window out of direct sun, a clean neutral backdrop such as a white card sweep, and several angles: a hero shot, an in-use shot, a scale shot and a detail close-up. Finish the part first, then keep edits light and honest.
Do I need a special camera to photograph prints?
No. A modern phone camera takes excellent product photos when you tap to focus, lock exposure, turn off the flash and use soft window light on a clean background. Technique and lighting matter far more than the camera; expensive gear is not required to sell.
What background should I use for 3D print photos?
A clean, neutral background, most safely a white or light-grey sweep made from a curved sheet of card so there is no visible corner. Keep it distraction-free and consistent across every listing so your whole shop looks professional and trustworthy.
Why do my 3D print photos show layer lines?
Hard, raking light exaggerates layer lines. Switch to large, soft, diffused light from a window and the lines fade. If they still show, finish the part first by sanding or priming, because that is a surface problem to fix before shooting, not a lighting one.
How many photos should a 3D print listing have?
Use every slot the marketplace allows, typically several. At minimum include a clean hero shot, the product in use, a shot with something for scale, and a detail close-up. The scale and in-use photos do the most to win the sale and reduce returns.
Related Guides
- Selling 3D Prints: The Business Guide — the whole selling picture.
- Etsy SEO for 3D Print Sellers — where these photos drive clicks.
- Best Things to 3D Print and Sell — products worth photographing well.
- Post-Processing 3D Prints — finishing parts before the camera.
- Priming and Painting 3D Prints — full finish for photo-ready parts.