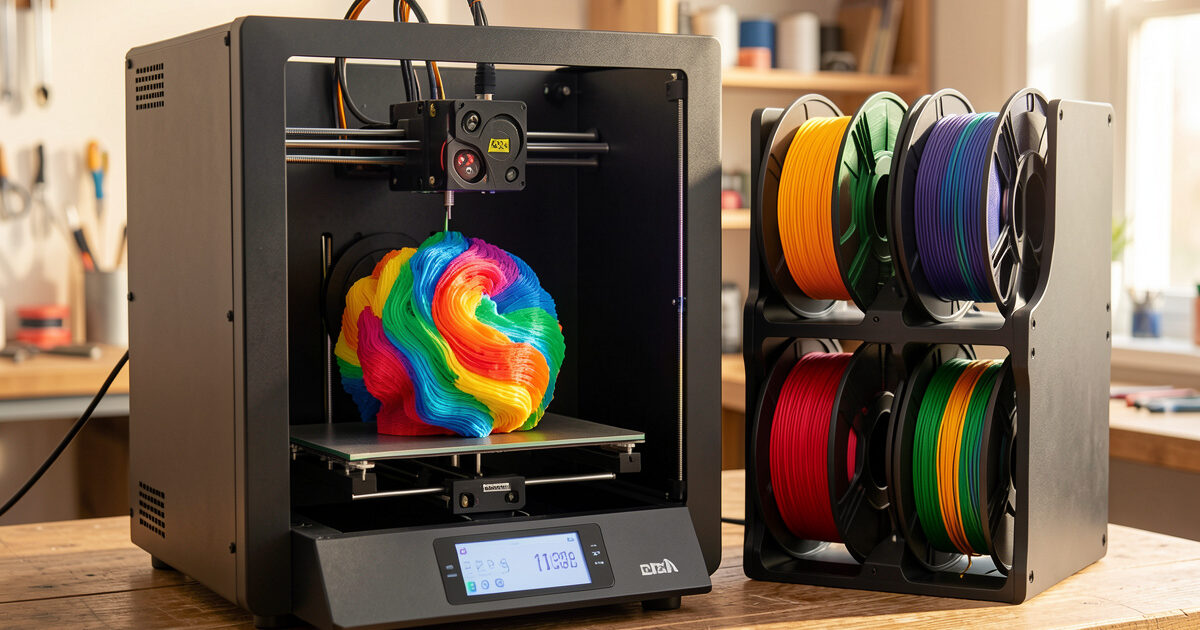
Multi-color and multi-material 3D printing means running two or more filaments in a single print, either through an automated changer like the Bambu AMS, a Prusa-style MMU, or a manual layer swap. On my bench, the single biggest cost of going multi-color is not the hardware — it is wasted filament, where a four-color print can burn 30 to 60 grams into a purge tower for every 100 grams of actual part.
I have run multi-material across most of the machines that matter — my Prusa MK4S, the Bambu A1 and P1S, the Creality K1C, and the Anycubic Kobra 3 with its ACE Pro unit — and the gap between the marketing demo and a reliable workflow is wide. This guide is the map I wish I had when I started swapping colors: how the systems actually work, what they cost to own, where they fail, and which approach fits the part you are trying to make. Every section links out to a deeper guide on the specific piece, so treat this as the hub and drill down where you need to.
The Four Ways to Print in More Than One Color
There are four mechanical approaches, and they are not interchangeable. An automated multi-material unit (AMS, MMU, ACE Pro) feeds several spools into one hotend and swaps between them mid-print. A multi-hotend machine (IDEX) uses two independent toolheads. A manual color swap pauses the print so you change filament by hand at a set layer. And firmware-driven layer changes (M600) script those pauses. Each trades cost, waste, and reliability differently.
For most people reading this, the realistic choice is between an automated single-hotend system and manual swaps. IDEX is a smaller slice of the market, and true production multi-material lives on industrial machines I treat as out of scope. The honest framing competitors skip: automated systems buy you convenience and pay for it in purged filament and added failure points, while manual swaps cost you nothing but attention.
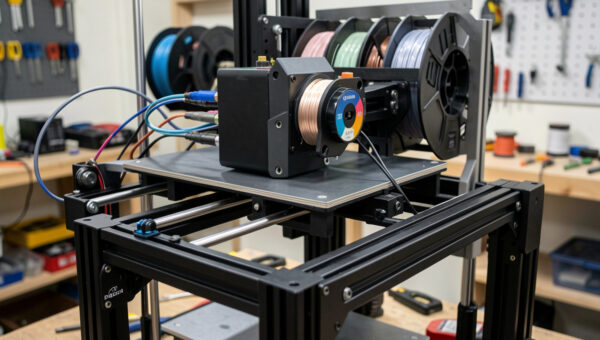
Automated Multi-Material: AMS, MMU, and ACE Pro
An automated multi-material unit holds several spools and a selector mechanism that loads one filament at a time into a single hotend. To change color, the printer retracts the active filament, parks it, advances the next one, and purges the old material out of the nozzle before resuming. That purge — clearing the previous color from the melt zone — is the whole reason multi-color wastes so much plastic.
The Bambu AMS is the most polished version of this on the desktop, and the one I reach for when a part needs clean color separation without babysitting. The Prusa MMU3 and the open-source ERCF (Enraged Rabbit Carrot Feeder) give you the same capability with more tuning and more control. Anycubic’s ACE Pro is the newcomer on the Kobra 3. They all share the same core tradeoff and the same enemy: humidity, jams at the splitter, and purge waste. I break down the Bambu system in the Bambu AMS multi-material guide and the open-source side in the MMU and ERCF setup guide.
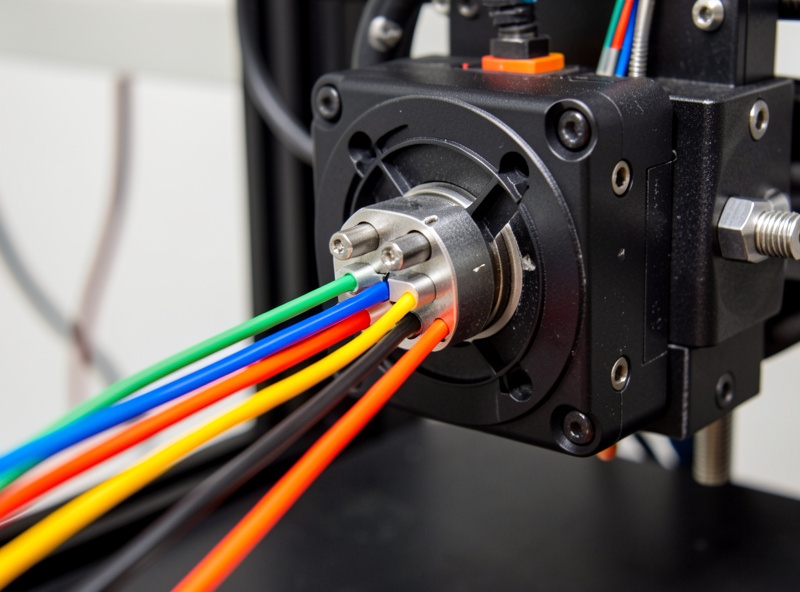
How a Color Change Actually Happens Inside the Nozzle
Understanding the change cycle is what separates people who fight their multi-material system from people who dial it in. When the slicer hits a color boundary, the printer unloads the current filament with a long retraction, the unit indexes to the new spool, the new filament is pushed to the nozzle, and then the machine extrudes a slug of plastic to flush the old color. That flush goes somewhere — a purge tower, a purge-to-infill scheme, or a “poop” chute on Bambu hardware.
The amount it flushes is set by the flushing volume in your slicer, and tuning that number is the difference between a 40-gram print and a 90-gram one. Light-to-dark transitions need almost nothing; dark-to-white or red-to-translucent can need 700 mm³ or more to come out clean. I cover the math and the settings in the purge tower and waste reduction guide, because this is where multi-material printing either pays for itself or quietly bleeds filament.
Manual and Firmware-Driven Color Swaps (No Extra Hardware)
You do not need an AMS to print in multiple colors. Any printer can do a layer-based swap: the slicer inserts a pause at a chosen height, the machine stops, you change the filament by hand, and the print resumes. This is how I make two-tone functional parts — a black enclosure with a colored lid band, or a label embossed in a contrasting filament — without burning a gram of purge waste. The catch is that color only changes at horizontal layer lines, so you cannot do a logo in the middle of a wall, only a clean break at a Z height.
On Marlin-based machines the swap is driven by the M600 filament-change command; Bambu and Prusa firmware have their own pause-and-resume flavors. The technique is genuinely underrated for functional work, and it is the cheapest possible entry into multi-color. I walk through the whole workflow — where to put the swap, how to avoid a seam, how to keep adhesion across the change — in the color swap by layer guide. If you want the slicer-side view of all three methods in one place, the older how to slice multi-color prints walkthrough still holds up.
Multi-Material Is Not Just Multi-Color
The most useful thing an AMS does in my workshop has nothing to do with color. It is printing a rigid part and a flexible part in one job, or printing engineering plastic on top of a dissolvable support material. PETG body with a TPU gasket. PLA model on PVA or HIPS supports that wash or dissolve away, leaving overhangs no support interface could match. That is real multi-material, and it unlocks geometries you simply cannot print single-filament.
It is also where adhesion becomes the make-or-break variable, because the whole point fails if the two materials delaminate. Not every pair bonds — PLA and PETG famously refuse to stick, which is exactly why PETG makes a good breakaway support for PLA, and exactly why a PLA-PETG functional part splits at the interface. Knowing which combinations weld and which release is core knowledge; I lay out the working pairs in the multi-material adhesion guide.
The Real Cost of Going Multi-Color
Here is the total-cost-of-ownership view the spec sheets never give you. A four-color desk organizer that weighs 80 grams as a finished part can consume 130 to 160 grams of filament once you count the purge tower and the prime line. At roughly 25 dollars a kilo for decent PLA, that wasted 60 to 80 grams is real money over dozens of prints, and it is time — a multi-color print can take two to three times longer than the single-color version because every change is a full unload, load, and flush cycle.
So the question is never “can this machine print in color.” It is “is the color worth the waste and the time for this specific part.” For a display piece or a gift, absolutely. For a structural bracket nobody sees, I print it in one color and move on. The discipline of asking that question per part is what keeps multi-color from turning into an expensive novelty.
| Approach | Extra Hardware Cost | Filament Waste | Reliability | Best For |
|---|---|---|---|---|
| Bambu AMS (single hotend) | $300–$350 per unit | High (purge per change) | Very good, tuned | Clean multi-color, hands-off |
| Prusa MMU3 / ERCF | $300 kit / DIY parts | High (purge per change) | Good once tuned | Tinkerers, multi-material |
| Anycubic ACE Pro | $200 with bundle | High (purge per change) | Improving | Budget multi-color entry |
| Manual / M600 layer swap | $0 | Near zero | Excellent | Two-tone functional parts |
| IDEX dual hotend | Built into machine | Low (no purge) | Good, alignment-sensitive | Two materials, support combos |
Choosing a Machine for Multi-Color in 2026
If you are buying specifically to print in color, the field has consolidated. Bambu’s ecosystem is the smoothest out of the box, the Prusa MMU3 rewards patience with the most control, and Anycubic has made multi-color cheap enough to be an impulse add-on. But the cheapest path to multi-color hardware is rarely the cheapest path to good multi-color prints, because the budget systems make up the difference in jams and wasted material. I rank the current machines by how they actually behave on my bench — not by spec sheet — in the best multi-color 3D printers 2026 roundup.
One thing I will say flatly: do not buy a machine you do not otherwise want just to get the multi-material unit. Buy the printer that fits your work, then add color capability if the parts you make call for it. A reliable single-color machine you trust beats a flaky four-color machine you fight.
HueForge and the Art Side of Multi-Color
There is a whole category of color printing that is not about discrete colors at all — it is about blending them through layer thickness. HueForge uses the translucency of filament to create full-color images out of just three or four filaments, controlling color by how thick each layer of each color is over a backlight or in reflected light. The lithophane crossover is where this gets genuinely impressive: a flat-looking print that resolves into a photograph when light passes through it.
This is the one corner of multi-color where the purge waste is worth every gram, because the result is something a single-color print fundamentally cannot do. It also demands tight control of your filament’s actual transmission values, which is a calibration job in itself. I cover the workflow, the filament-profiling step, and the lithophane settings in the HueForge and color lithophane guide.
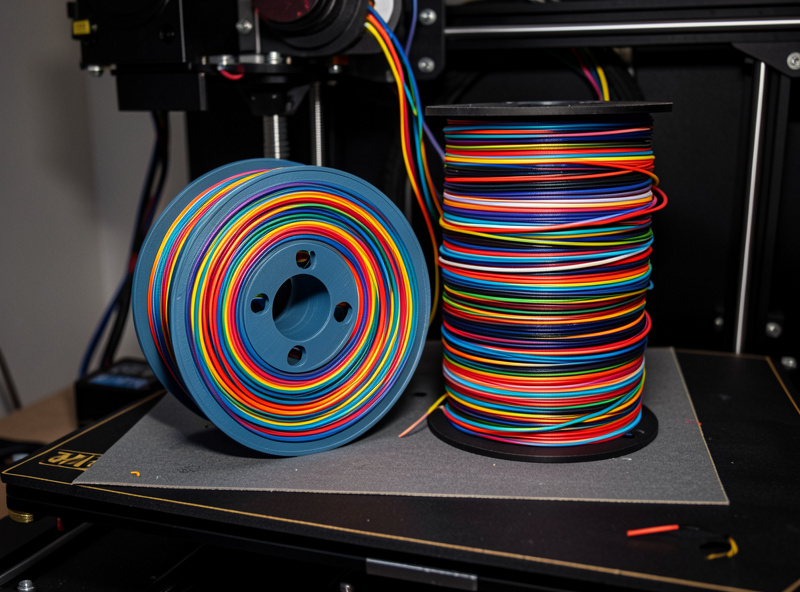
Filament Storage Is Not Optional for Multi-Material
Running four spools at once means four chances for wet filament to wreck a print. PETG and TPU drink moisture fast, and a damp spool that snaps mid-change leaves you with a jammed selector and a ruined six-hour job. Every AMS-class unit benefits from desiccant inside it, and anything hygroscopic on the shelf belongs in a sealed box with indicating desiccant, not on an open rack. I keep a heated dry box for the materials that need it and a digital hygrometer reading the storage so I am not guessing.
If you are scaling into multi-material seriously, budget for storage the same way you budget for filament. A drybox and a tub of indicating silica gel desiccant costs a fraction of the filament it saves over a year. As an Amazon Associate I earn from qualifying purchases.
A Workflow That Actually Holds Up
The setup I run for any multi-color job is the same regardless of machine. Model the part with the color breaks in mind — discrete regions for an AMS, clean Z-height bands for a manual swap. Slice with flushing volumes tuned to the actual color transitions, not the slicer defaults. Dry anything hygroscopic before it goes in. Print the first color change as a test if the job is long, so a bad transition does not cost you hours. And keep a log of the flushing volumes that worked, because next time you will not remember whether dark-to-yellow needed 500 or 700 mm³ — I keep mine in a notebook by the printer for exactly this reason.
None of this is hard once the system is dialed in. The mistake is treating multi-color as a button you press rather than a process you tune. Get the purge volumes right and the storage handled, and a multi-material machine becomes one of the most useful tools on the bench — the same printer that makes a four-color sign on Monday prints a TPU-gasketed enclosure on Tuesday.
Designing a Part for Multi-Color From the Start
The prints that come out clean are the ones designed for color from the first sketch, not painted on afterward. When I model a part destined for an AMS, I build the color regions as discrete bodies in CAD so the slicer can assign a filament to each one without me hand-painting faces. A recessed logo, a raised band, a separate clip — each becomes its own colored region with a real geometric boundary. The slicer reads those boundaries cleanly, and the print has crisp color separation instead of bleed.
For manual swaps the design rule is even simpler: every color change has to fall on a flat horizontal plane, because that is the only place a layer swap can happen. So I orient the part and place the features so the color breaks land on clean Z heights. A nameplate printed flat with the text as a shallow recess, swapped to a second color partway up, comes out perfect. The same nameplate printed on its edge cannot be two-tone at all. Thinking about color at the design stage is what keeps you from fighting the slicer later — and it is the single habit that most separates good multi-color results from frustrating ones.
One more design note that saves filament: keep the colored regions grouped in the model’s height where you can. If all the color changes happen in the bottom 10 millimeters, the printer only swaps in that band and prints the rest single-color, slashing both purge waste and time. Scattering color changes evenly up a tall part is the most expensive way to do it.
Single Hotend Versus IDEX: Which Architecture Wins
Almost every desktop multi-color system funnels several filaments through one nozzle, which is why they all purge. IDEX machines — independent dual extruders — take a different path: two complete toolheads, each with its own filament, parking out of the way when not in use. The payoff is that an IDEX machine barely purges, because it never has to clear one color out of a shared melt zone. For two-material jobs, especially a model plus a dissolvable support, IDEX is genuinely more efficient on filament.
The cost is mechanical complexity and calibration. The two nozzles have to agree on the exact same origin in all three axes, and any drift shows up as a misaligned color boundary or a Z-height mismatch between the two materials. Single-hotend systems sidestep that entirely — one nozzle, one origin, no alignment to maintain — at the price of all that purge waste. My honest read across the machines I have run: for two materials and low change counts, IDEX is the smarter architecture; for many colors in one layer, the single-hotend AMS approach is the only practical option. Most buyers land on single-hotend because the software ecosystem is further along, and that is a defensible choice.
The Multi-Material Failure Modes I See Most Often
When a multi-color print fails, it is almost always one of a handful of causes, and knowing the short list saves hours of guessing. The most common by far is a tip-shaping problem: when filament unloads, the molten end forms a little string or blob, and if that tip is malformed it jams on the next load. Tuning the tip-shaping and cooling-move settings is the first thing I check when a unit starts skipping changes. The fix lives in the slicer, not the hardware.
Second is wet filament. A spool that has absorbed moisture extrudes rough, snaps at the worst moment, and turns a flawless selector into a jam factory — which is exactly why I treat the drybox as part of the multi-material system, not an accessory. Third is under-purging, where the new color comes in contaminated by the old one and the first few millimeters of the region look muddy; the cure is more flushing volume for that specific transition. Fourth, and most avoidable, is a poorly tuned first layer, because every color change resets adhesion conditions and a marginal first layer compounds across a long multi-color job. Get the first layer perfect single-color before you ever add a second filament.
Where Multi-Color Earns Its Keep in a Real Workshop
I came to multi-color through function, not display models, and that lens changes which jobs are worth it. Color-coded parts are genuinely useful: a set of identical brackets where the color tells you the size at a glance, or a control knob with a printed-in indicator line that never wears off because it is part of the plastic, not a painted mark. Embossed labels in a contrasting color are permanent in a way a sticker never is — I print shop fixtures with their part numbers built right into the surface.
Multi-material is where the workshop payoff gets bigger. A rigid enclosure with a printed-in flexible gasket seals against dust without a separate part to source. A tool holder with a soft TPU lining grips without scratching. A jig with a dissolvable-support overhang prints in one shot instead of two glued halves. These are the parts that justify the hardware — not because they are pretty, but because the alternative is more steps, more parts, and more failure points. That is the framing I keep coming back to across the network: the printer is the connective tissue of the whole workshop, and multi-material is what lets one bed produce parts a single filament never could.
Frequently Asked Questions
Do I need an AMS to print in multiple colors?
No. Any printer can do a manual or M600 layer swap, changing filament by hand at a set height with zero purge waste. An AMS only adds value when you need many color changes within a single layer or fully hands-off operation across a long print.
How much filament does multi-color printing waste?
It depends on the flushing volume per color change. A four-color print can waste 30 to 60 grams per 100 grams of actual part, mostly in the purge tower. Tuning flushing volumes to the real color transitions is the biggest lever for cutting that waste.
What is the difference between multi-color and multi-material printing?
Multi-color uses different colors of the same filament type. Multi-material combines different plastics in one print, such as a rigid PETG body with a flexible TPU gasket, or a model printed on dissolvable support material. Multi-material unlocks geometries single-filament printing cannot achieve.
Why do my two materials keep separating?
Not all plastics bond to each other. PLA and PETG refuse to stick, which makes PETG a good breakaway support but a bad structural pairing for PLA. Choose material combinations that are known to weld, or design a mechanical interlock at the interface instead of relying on adhesion.
Is the Bambu AMS or the Prusa MMU better?
The Bambu AMS is smoother out of the box and needs little tuning. The Prusa MMU3 and open-source ERCF give more control and handle multi-material better but reward patience and calibration. Pick based on whether you want hands-off convenience or maximum control.
Can I print full-color photos with a 3D printer?
Yes, using HueForge, which blends three or four filaments by controlling layer thickness to exploit filament translucency. Paired with a lithophane, the result resolves into a detailed image when backlit. It is the one multi-color use where heavy purge waste is genuinely justified.