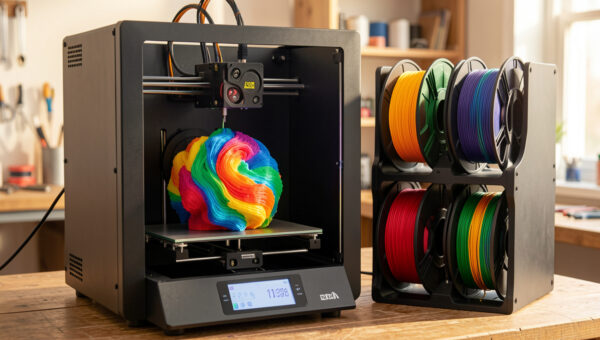
An MMU (Multi-Material Unit) is an add-on that feeds several filaments into a single hotend on a printer that did not ship multi-material. The two that matter on the desktop are the Prusa MMU3, which bolts onto an MK4S or MK3.9, and the open-source ERCF — the Enraged Rabbit Carrot Feeder — which runs on Klipper machines. Both do the same job as a Bambu AMS, but they trade hands-off convenience for control and a real tuning curve: expect to spend an evening calibrating before your first clean five-color print.
I run the MMU3 on my MK4S, and I have built the case for ERCF as the tinkerer’s route enough times to know where each one rewards you and where it punishes impatience. This guide is the setup path I actually follow, the calibration order that matters, and the failures to expect. For where MMU sits against the AMS and manual swaps, the multi-color and multi-material guide is the overview.
MMU3 vs ERCF: Pick Your Path First
Before you buy or build anything, decide which philosophy fits you. The Prusa MMU3 is a supported product with official firmware, a known-good assembly, and a community that has documented every failure mode. It is the closest the MMU world gets to “follow the instructions and it works.” The ERCF is a from-parts build — you print most of the chassis, source the hardware, and wire it into Klipper with the Happy Hare software. It is more capable and more configurable, and it asks far more of you in return.
| Aspect | Prusa MMU3 | ERCF (Happy Hare) |
|---|---|---|
| Form | Kit, mostly assembled | Self-printed and sourced |
| Firmware | Official Prusa | Klipper + Happy Hare |
| Host printer | MK4S, MK4, MK3.9 | Any Klipper machine |
| Channels | 5 | Configurable (often 8–12) |
| Tuning effort | Moderate | High |
| Best for | Prusa owners wanting support | Tinkerers wanting control |
If you want to print parts and not debug a machine, the MMU3 is the answer. If the machine is the project, ERCF gives you more channels and total control over the logic. There is no universally best choice here — only the one that matches how much tuning you enjoy.
The Assembly Mistakes That Cause Most Failures
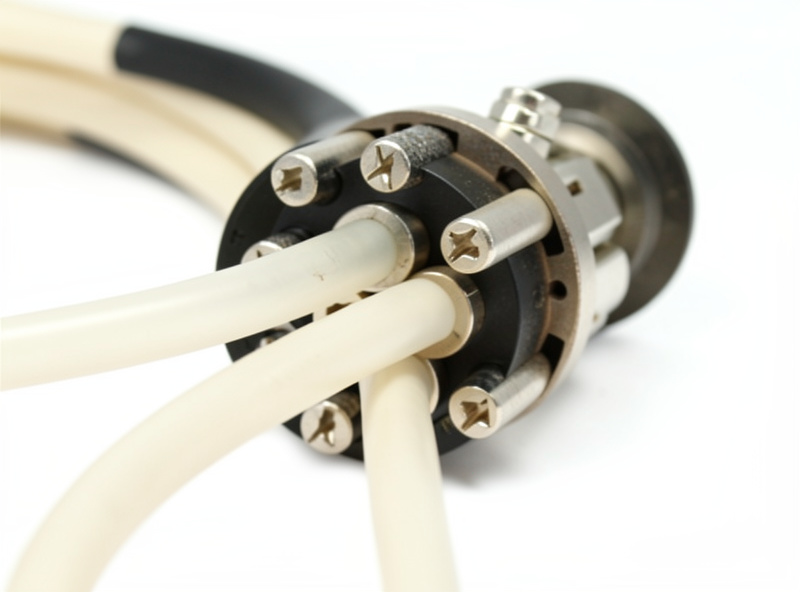
The majority of MMU grief traces back to assembly, not software. On the MMU3, idler tension is the big one — too tight and the filament deforms and slips, too loose and it cannot grip to load. The unit ships with a spec for this, and eyeballing it is how people end up with intermittent load failures that look like a firmware bug but are pure mechanics. The second is the PTFE path: every tube between the buffer, the selector, and the hotend has to be cut square and seated fully, because a gap at any junction lets the filament tip catch on the next load.
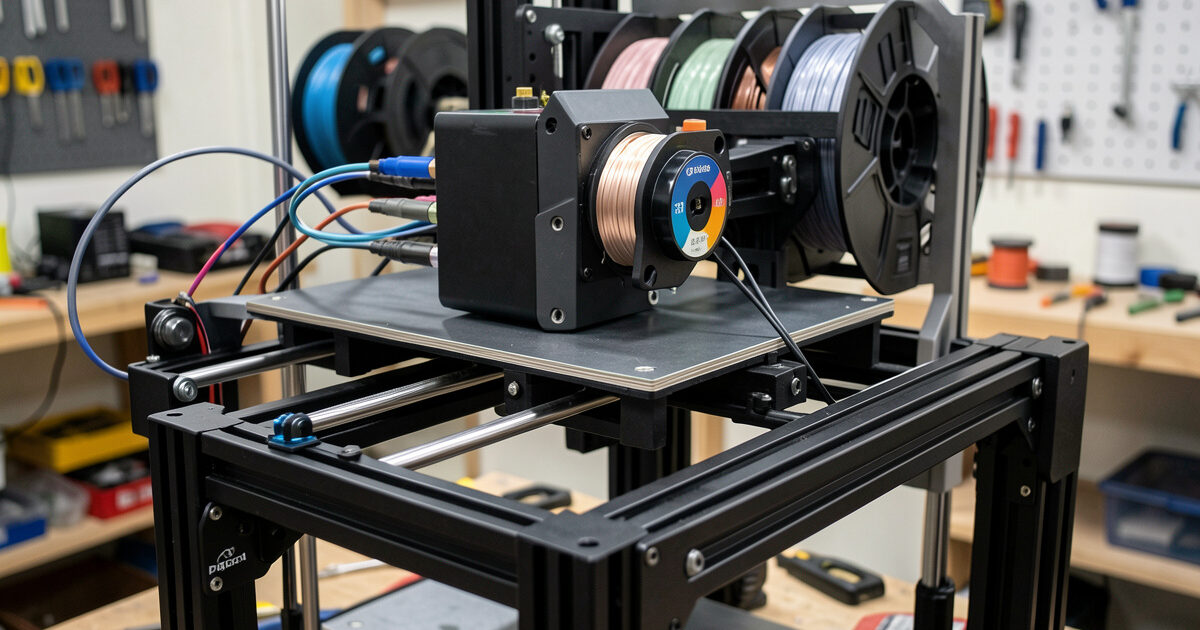
ERCF builds add a third trap: print quality of the chassis parts. The gears and the selector body have to be dimensionally accurate, so this is not the project to print in a poorly tuned PETG. I print ERCF parts in a well-dialed material with the tolerances the design calls for, because a slightly oversized bore in the selector will haunt every print afterward. Build slow, check each subassembly moves freely before moving on, and you skip most of the pain.
The Calibration Order That Matters
Calibrate in the right sequence and the unit comes alive; do it out of order and you chase ghosts. The order I follow on both systems is the same in spirit. First, get single-filament loading and unloading reliable — the unit must hand one filament to the nozzle and take it back cleanly every time before color changes mean anything. Second, calibrate the filament path lengths so the firmware knows exactly how far to push from the selector to the nozzle. Third, tune tip shaping, the way the filament end is formed on unload, because a clean tip is what loads without jamming next time.
Only after those three are solid do I tune the purge and flushing volumes for actual color quality. People reverse this — they chase a muddy color transition by adding purge when the real problem is a malformed tip jamming the load. Fix the mechanics and the path first; treat color purity as the last step. Once the unit loads and unloads flawlessly, dialing purge is the easy part, and the same flushing-volume logic from the purge and waste guide applies directly.
Buffer, Spools, and the Mechanics of Five Filaments
The part of MMU setup people underestimate is managing five spools that all need to feed and retract without tangling. When the unit unloads a filament, that filament has to go somewhere — it gets pulled back toward its spool, and if the spool does not rewind smoothly the slack loops and snags. The MMU3 uses a buffer box that holds the retracted length in controlled loops; ERCF builds use a buffer or a filament-tug setup that does the same job. Getting this right is the difference between a print that swaps a hundred times cleanly and one that jams on change forty.
My rule is that every spool on the unit must turn with very little resistance. A spool binding on a too-tight holder, a cardboard core that has gone oval, or a tangle from a badly wound budget filament will all show up as a load failure that looks like the unit’s fault. I keep the spools I run through the MMU on smooth-rolling holders and I am picky about filament that is wound cleanly, because a single cross-wound spool can ruin an otherwise perfect setup. This is one place where buying decent filament pays for itself in saved prints rather than in print quality. I have torn down a “failing” unit twice only to find the real culprit was a single warped spool dragging just enough to skip the load, so I now check the spools before I ever suspect the mechanism.
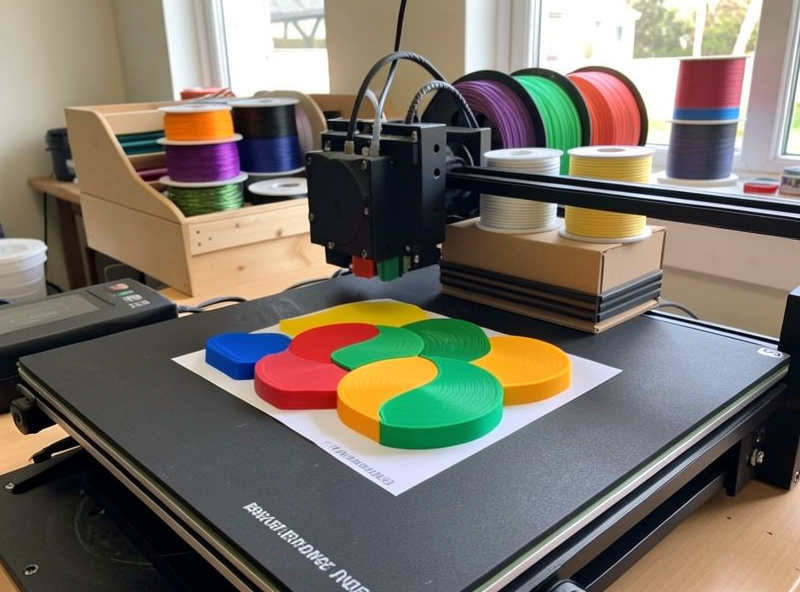
Slicer Setup for an MMU
On the software side, PrusaSlicer drives the MMU3 natively — you enable the multi-material configuration for your printer profile, and the slicer exposes per-extruder filament assignment and the wipe tower controls. The wipe tower is mandatory on an MMU in a way it is not always on an AMS, because the unit needs a dedicated structure to purge into and to prime each filament before it returns to the model. I keep the wipe tower as small as the transitions allow and tune its position so it is not fighting the part for bed space.
For ERCF, Happy Hare integrates the logic into Klipper and you slice in whatever slicer you prefer, mapping tools to filaments and letting the macros handle the change sequence. Either way, the slicer’s flushing volumes are where your filament budget is won or lost, and the same tuning discipline applies regardless of which unit is doing the feeding. Get the loading mechanics rock-solid first, then spend your effort on the purge numbers.
Troubleshooting the Failures You Will Actually Hit
A few patterns cover most of what goes wrong after a good build. Filament fails to load to the nozzle: almost always tip shaping or a PTFE gap — check the tip of the just-unloaded filament under good light; a hook or a long string means tune the cooling moves. Selector grinds or skips position: mechanical binding or, on ERCF, a stepper current set too low; the selector must move freely by hand with power off. Color contamination on the new region: under-purging, raise the flushing volume for that specific transition only. Random jams at the buffer: usually wet filament snapping or a spool that is binding on its holder and dragging.
The one that catches everyone is moisture. Five spools loaded for a long print is five chances for a damp filament to snap mid-change and jam the whole run. I keep anything hygroscopic dry before it goes near the MMU, and on multi-day projects I do not leave PETG or nylon sitting loaded in open air between sessions. The MMU does nothing to protect filament the way a sealed AMS box does, so storage discipline is entirely on you — a sealed tub with indicating desiccant for the spools you are not actively running. As an Amazon Associate I earn from qualifying purchases.
Is an MMU Worth the Trouble?
For a Prusa owner who already trusts the base machine, the MMU3 turns it into a genuine multi-material printer for a fraction of buying a second machine, and once tuned it is reliable enough that I forget it is an add-on. For a Klipper tinkerer, ERCF is one of the most satisfying upgrades there is — and one of the most frustrating if you wanted a tool rather than a project. What I would not do is recommend either to someone who just wants occasional two-tone parts; for that, a free manual swap covered in the color swap by layer guide gets you there with none of the build, and the Bambu AMS is the smoother path if you are buying into multi-color fresh.